Also...
Part of my intention for the saber and specifically the mid section has been to have some sort of wooden overlay/shroud.
As it's had a bit of an insectile/skeletal look/feel come together as part of the aim, I decided to try and make something reminiscent of insect wings or wing casings for this.
I still don't know what to do with the front end, but took a photo of current where parts so far are at roughly mocked up together:
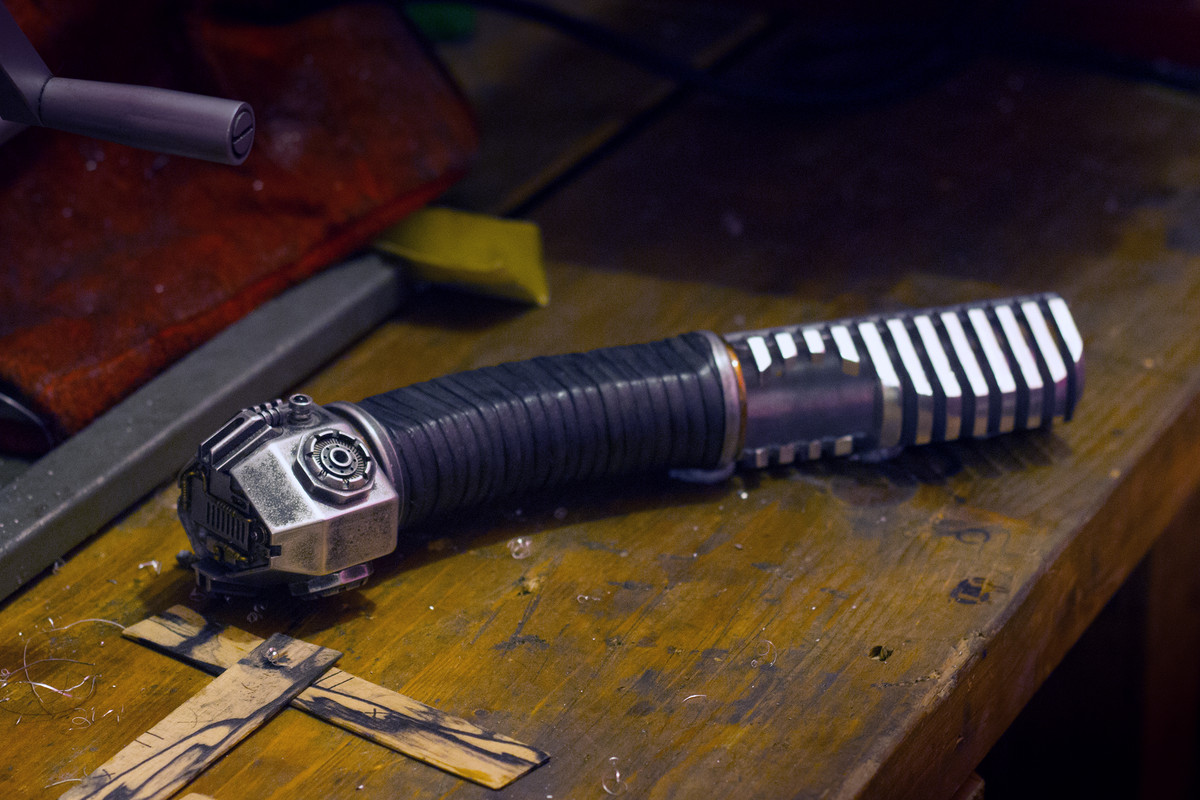
You can see a couple of the pieces of wood 'veneer' by it.
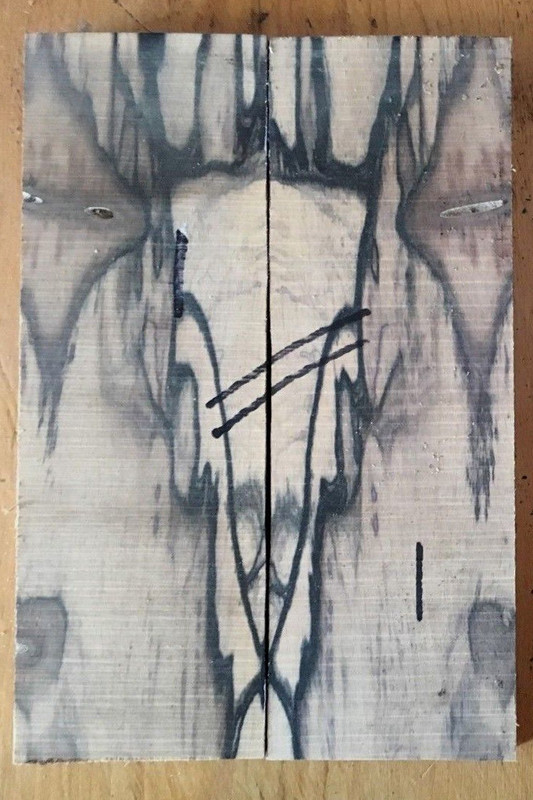
I'd found some lovely wood on eBay a bit ago described as 'black and white ebony' or 'pale moon ebony'. I bought it after lots of internetting to see what else was available and prices and couldn't find anything that I liked as much, so I coughed up and bought it (it was about £20, so not crazy, but well worth shopping around before buying, I thought). It was 2 'book matched' pieces - with the two sides of the cut roughly mirroring each other, which I thought would be great to somehow integrate so they mirrored each other on both sides of the saber. The original photo on eBay made the wood look more monochrome and less brown/woody than it was in person:
It was about 1.5cm thick so , for want of having a bandsaw or other tools more suited to the job, I milled it as thin as I could (a little over 1mm), leaving enough structure to keep a 'frame' to hold the shape. The intention was to try and steam bend the wood, which I'd come acros some info on looking into how to bend wood.
For the quarter circle I wanted (12.5mm radius, matching the corner rounding mill I used for the top curves of the mid body part), it turned out I could get two pieces for each side, so I thought at best it'd be cool to have two layers/'wings' on each side, and also that it'd give me a couple of test pieces which would still leave me with a second chance and two good pieces if something went wrong with the process of trying to bend them.
I thought it's probably snap the way this is conventionally done and that perhaps making some sort of press/jig type thing would apply pressure more evenly and so would be more likely to succeed, so I made a little press type thing, with the idea of steaming the wood and then feeding it in, tightening the bolts down, opening it to feed a bit more in, repeated until the whole piece was curved if it went as hoped.
This was the makeshift press thing:

So I steamed the first piece of wood for about 10 minutes with a wall paper steamer:
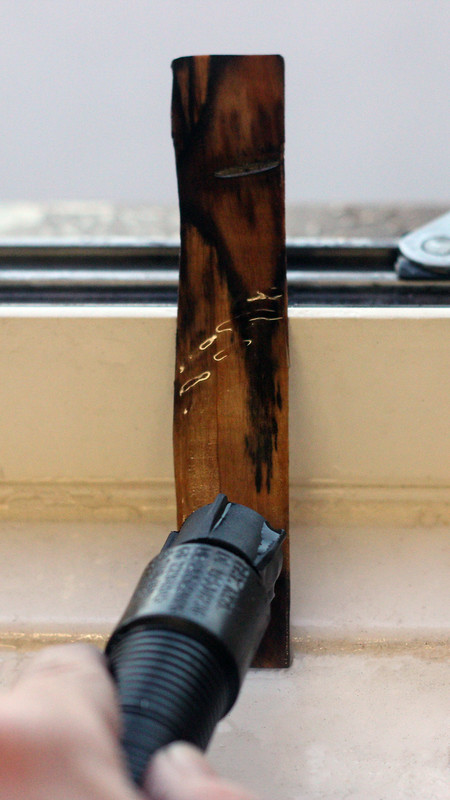
...and the press thing just didn't work very well at all, which was disappointing ??? the wood softened a bit and it did curve a bit, but the aluminium wasn't fully holding it's shape and or pressing down evenly along the length or something - whatever was going on, it wasn't working as I'd hoped! ...so I (frantically) thought of a plan b and tried it with the parts of the 'press' just squeezed in a vice with the wood - which, thankfully, worked better (like this, but with the wood in there and a heavy mist of steam and me dashing around and swearing a lot):
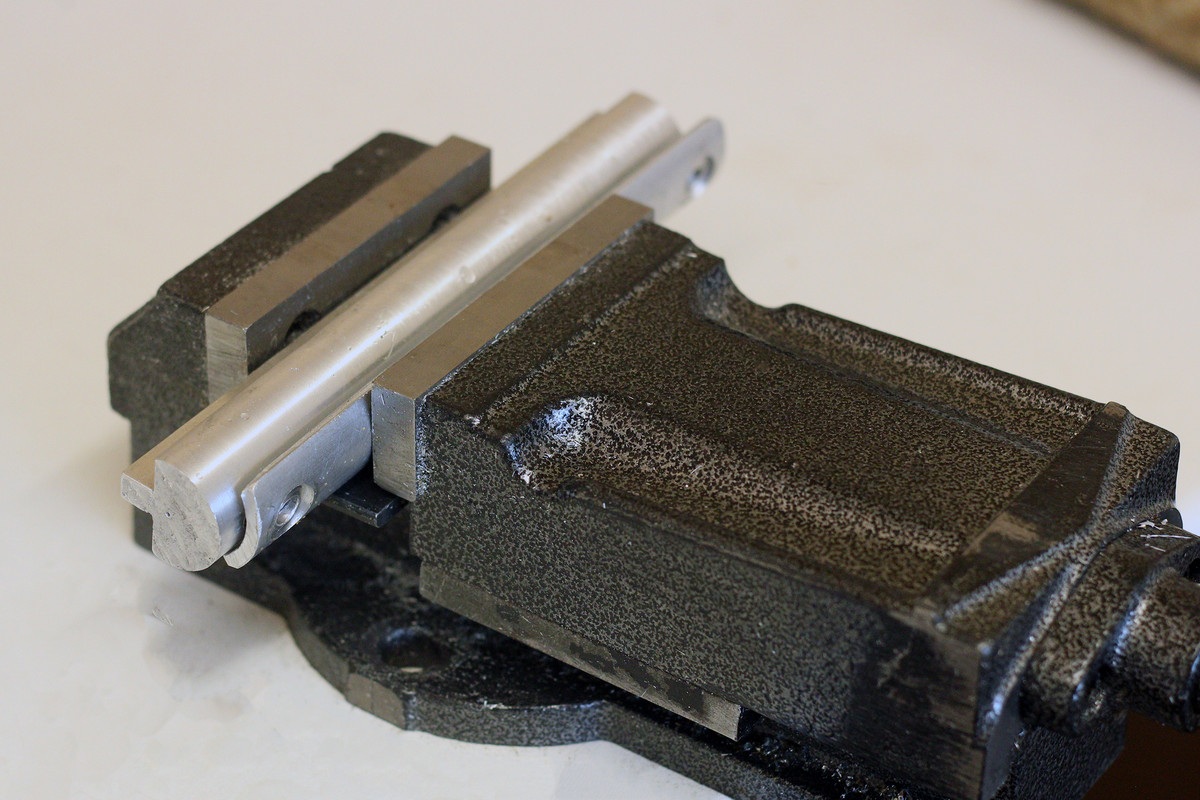
It still wasn't quite there, so, after a minute or two of 'refresher' steaming, I taped it rightly around a 25mm aluminium bar (to match the 12.5mm radius curves on the saber part) and it fit snuggly without any snapping noises. Very relieved at that point...
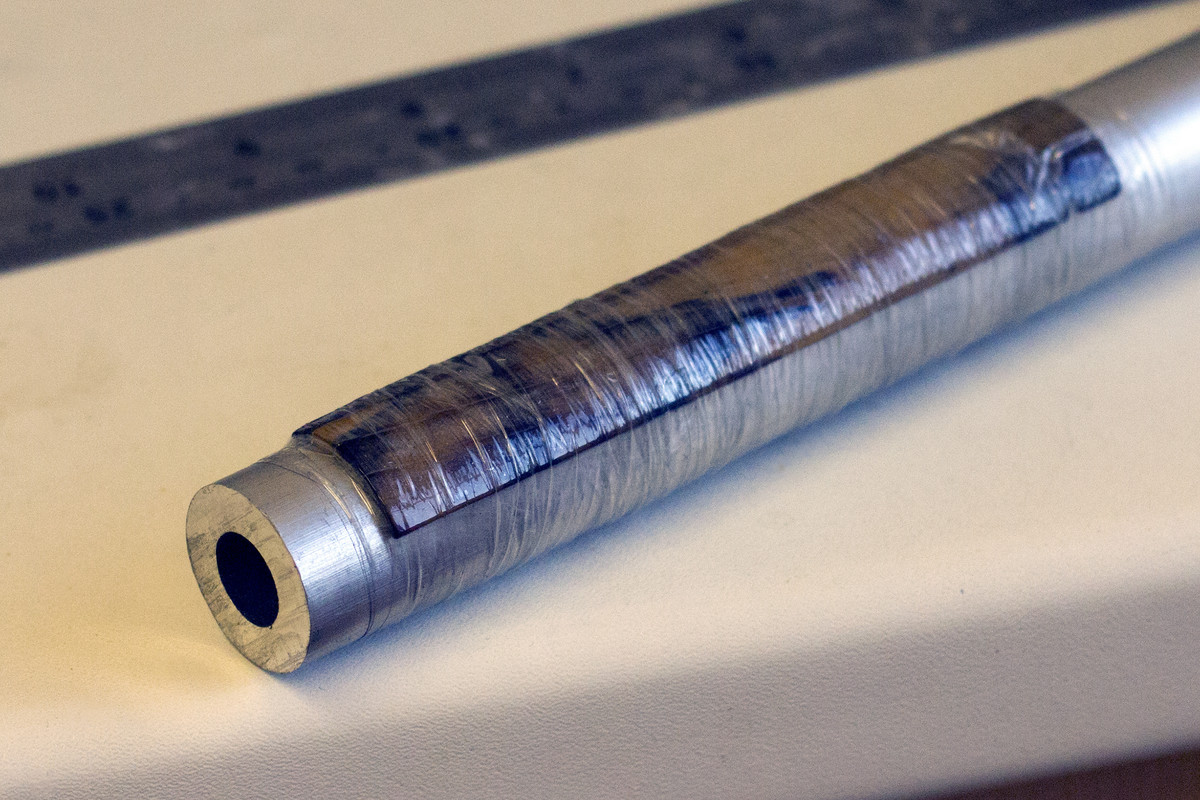
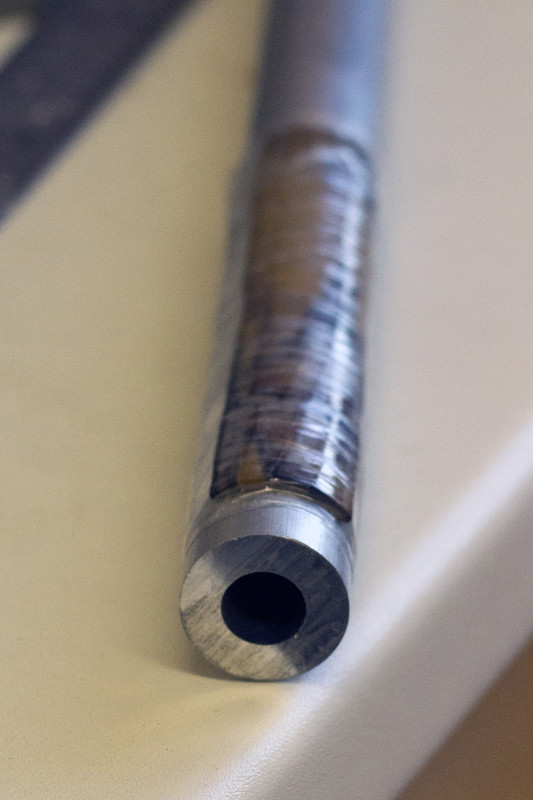
Then I followed the same process with the other 4 pieces.
The next sensible step, I think, will be to set up something to hold the pieces in shape while allowing some air to get to them so they can dry out without the risk of 'unbending' while that happens over a couple of days.
It was good learning, even though it didn't go as planned, and also gave me ideas for a better two piece 'press' that sits in vice jaws (kind of 2 L-shaped parts with a negative and positive that line up) and could be used for more wood bending and also to bend thin, flat metal pieces to a curve, both of which appeal to use as part of build processes in future and might open up some options that wouldn't be possible with curved/tubular metal.
 Topic: 2nd scratch built custom saber build log (Read 7406 times)