Hello
So, some years back, I made my first lightsaber. It was mostly made from scrap parts scavenged from stuff I had on hand at the moment, and the lucky acquisition/upcycle/stealing from the neighbour's bin of a Hasbro bladebuilder soundboard. I didn't have much in the way of sabersmithing skills at the time: when I started, my initial goal was to try and figure out a way of making the hasbro board compatible with 12volt LED lighting strips that I had on hand (I'd built some prop stunt lightsabers with those strips for a friend's final year film studies short) instead of an in-hilt LED. At the time, never having made a "proper" saber, I thought that in hilt LEDs were obviously inferior to LED string blades- it took actually making a string blade to beat that stupid out of my thick skull

Unsurprisingly, the 12V conversion failed. And I did try, at one point, the hilt was filled with a dozen AAA batteries, eight going to the blade, four to the board, with a PNP between the board and blade, but it was simply too heavy to be practical, the batteries died too fast, and there was *barely* and space in hilt for the soundboard, let alone the speaker. So, I swallowed my pride and contacted JQ Sabers for parts to convert it to an LED Saber.
Here's what it looked like then. I'd link to the original forum post, but it lost all pictures to photobucket.
That was okay, for a padawan effort. I'd like to think I've gotten better since.
So, why bring it up? Well, I always had a soft spot for that saber. there's something about the hilt design that really worked for me, but that saber was out of commission most of the time. Because I didn't know much about lithium-ion batteries back then, I chose to stick to AAA batteries, which could barely power the saber for more than an hour. I'd vaguely thought about upgrading it to li-ion power over the years, but I couldn't figure out if I wanted to keep the chassis and the Hasbro Economy Board or change that out altogether, so I delayed.
Forward to this January. I started experimenting with Open Source soundboards, specifically the FX-SaberOS powered arduino board, on the grounds that I could buy most of the components at my local hackspace's part bin. I made a testing rig in a breadboard, and was blown away by how well it worked. So, I knew I had to go for a full in-hilt install, but for budget-related reasons, I couldn't really afford a new hilt.
What better excuse to upgrade my old padawan build?

[/center]
Full album:
Scrapsaber + Scrapsaber Upgrade | FlickrFeatures:
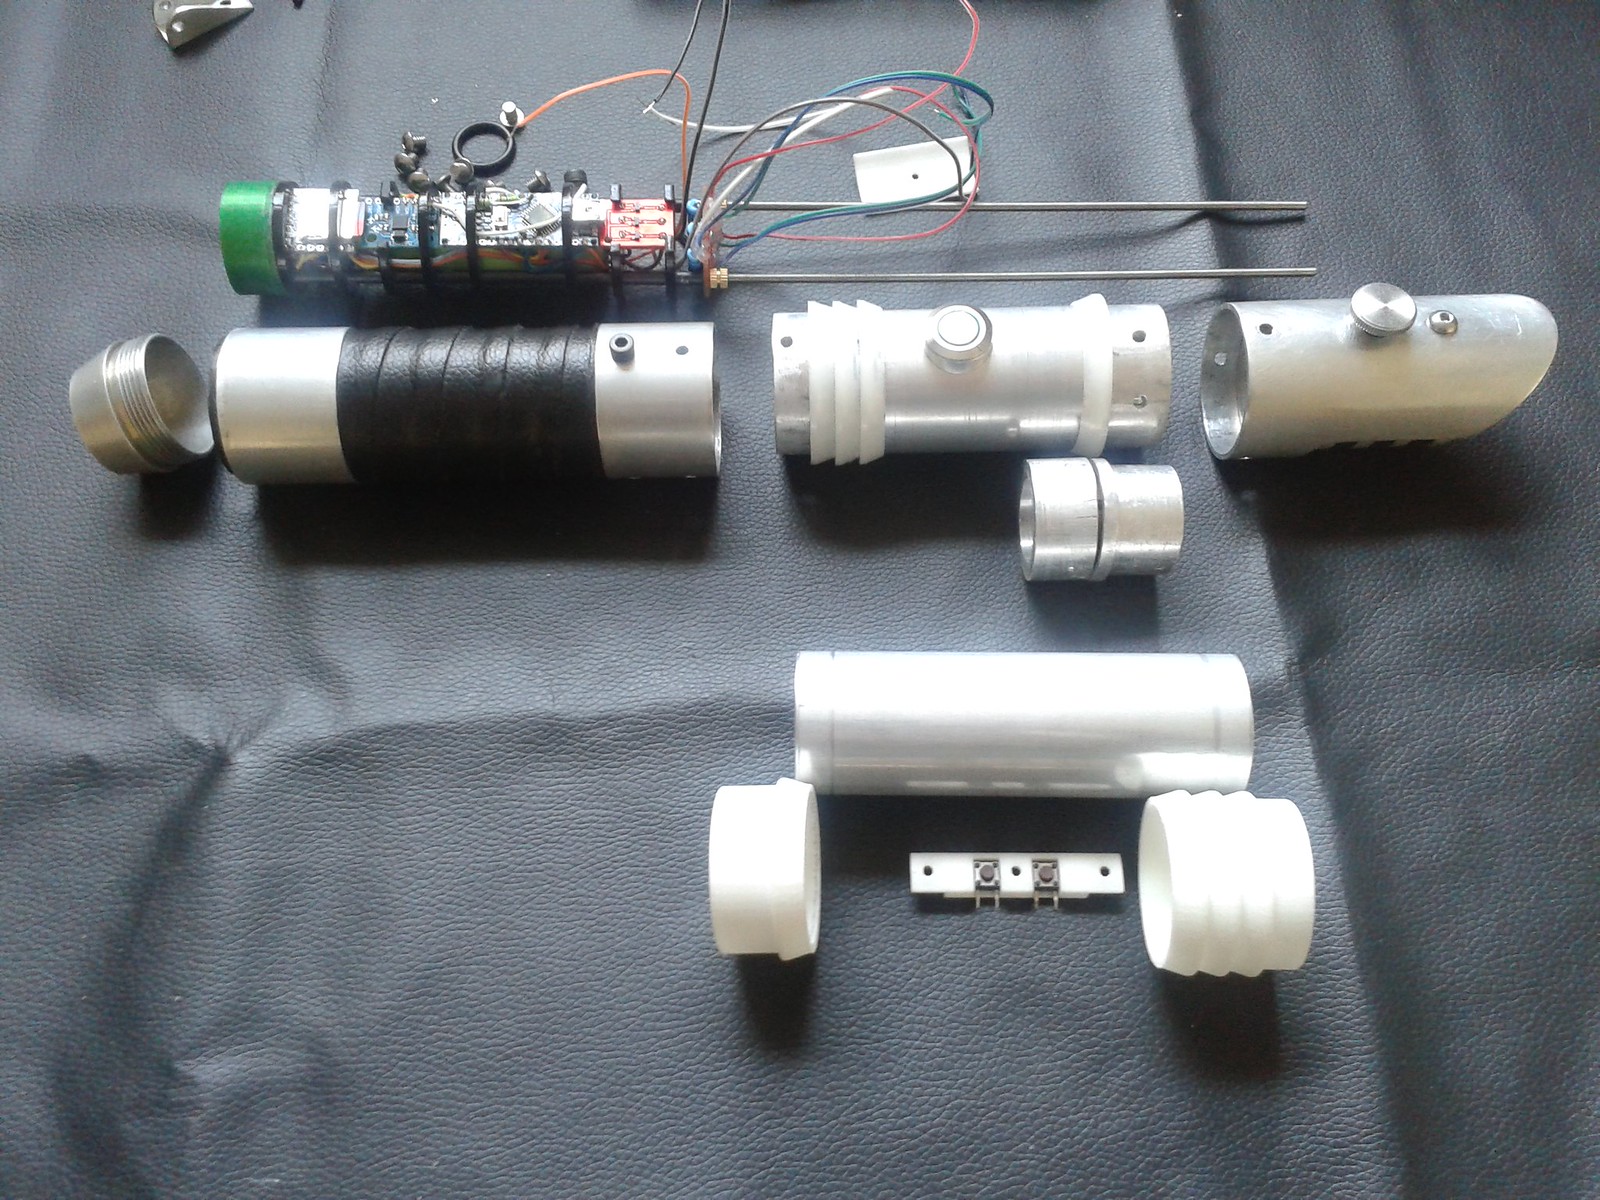
-Homebrew FX-SaberOS Arduino controller
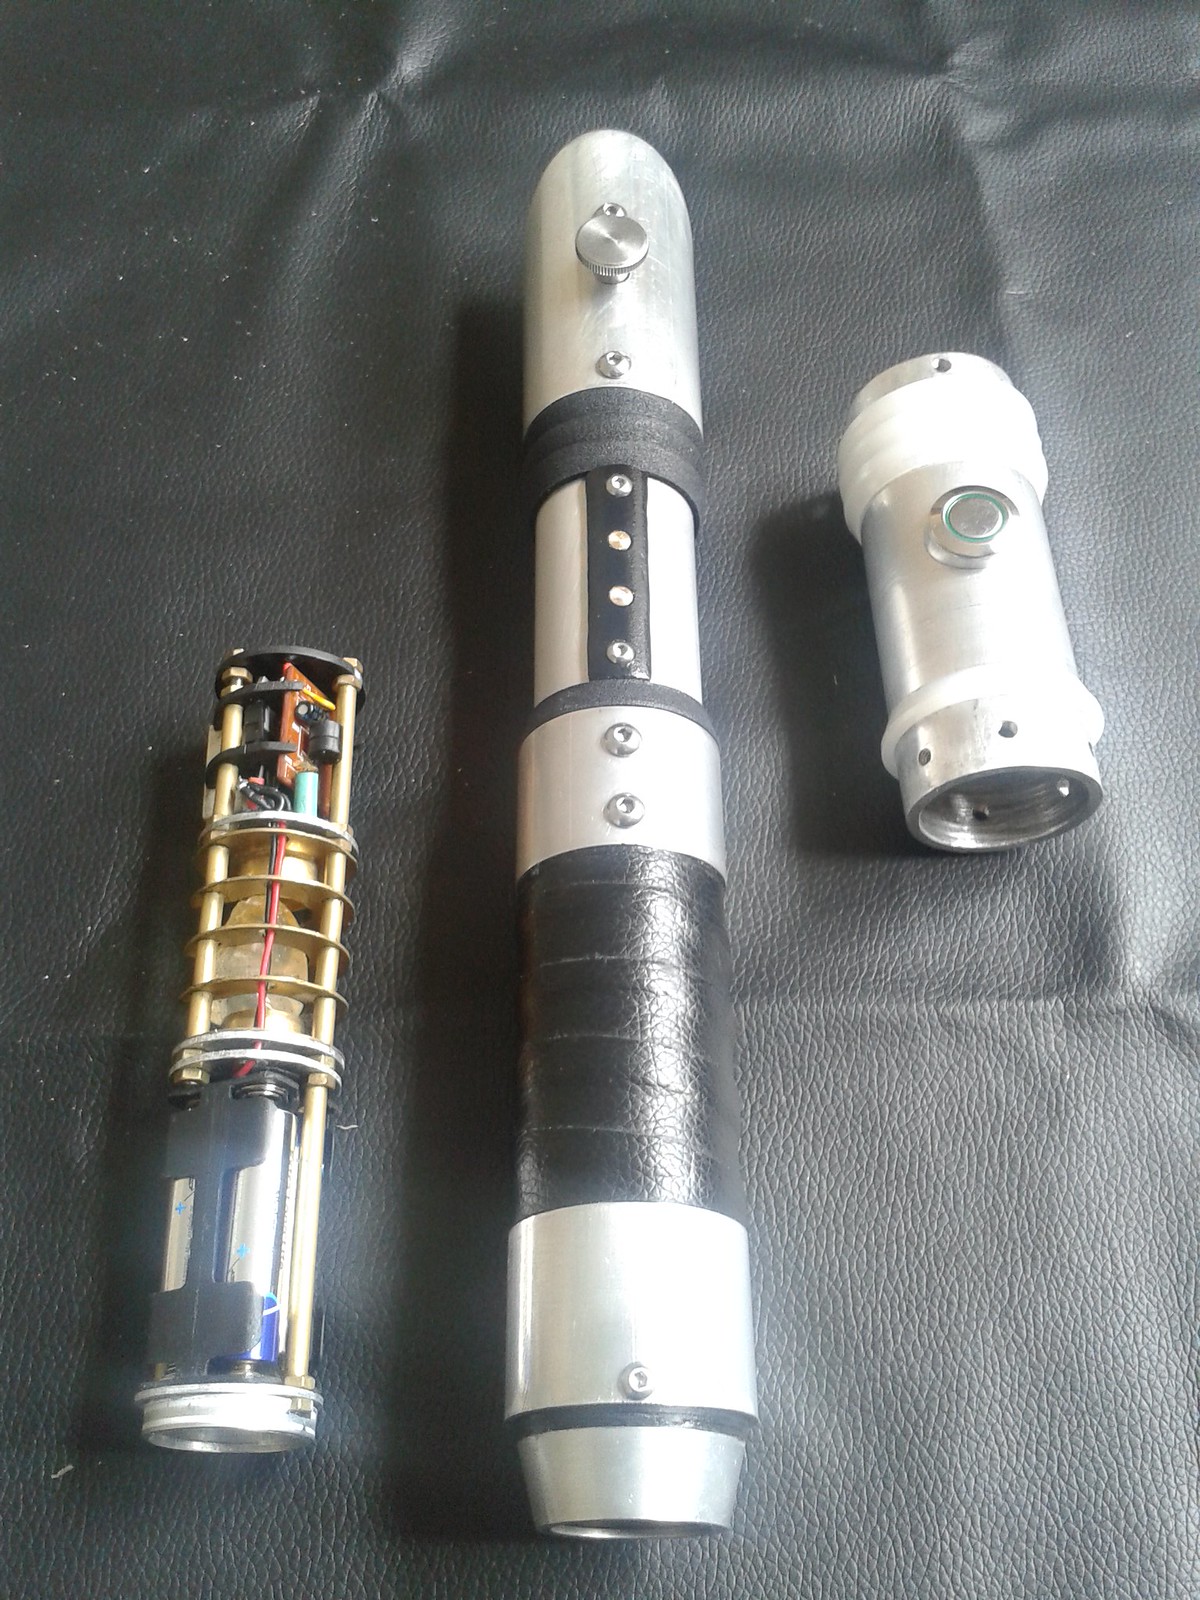
-Custom laser cut and 3D printed Chassis with custom anodised spacers
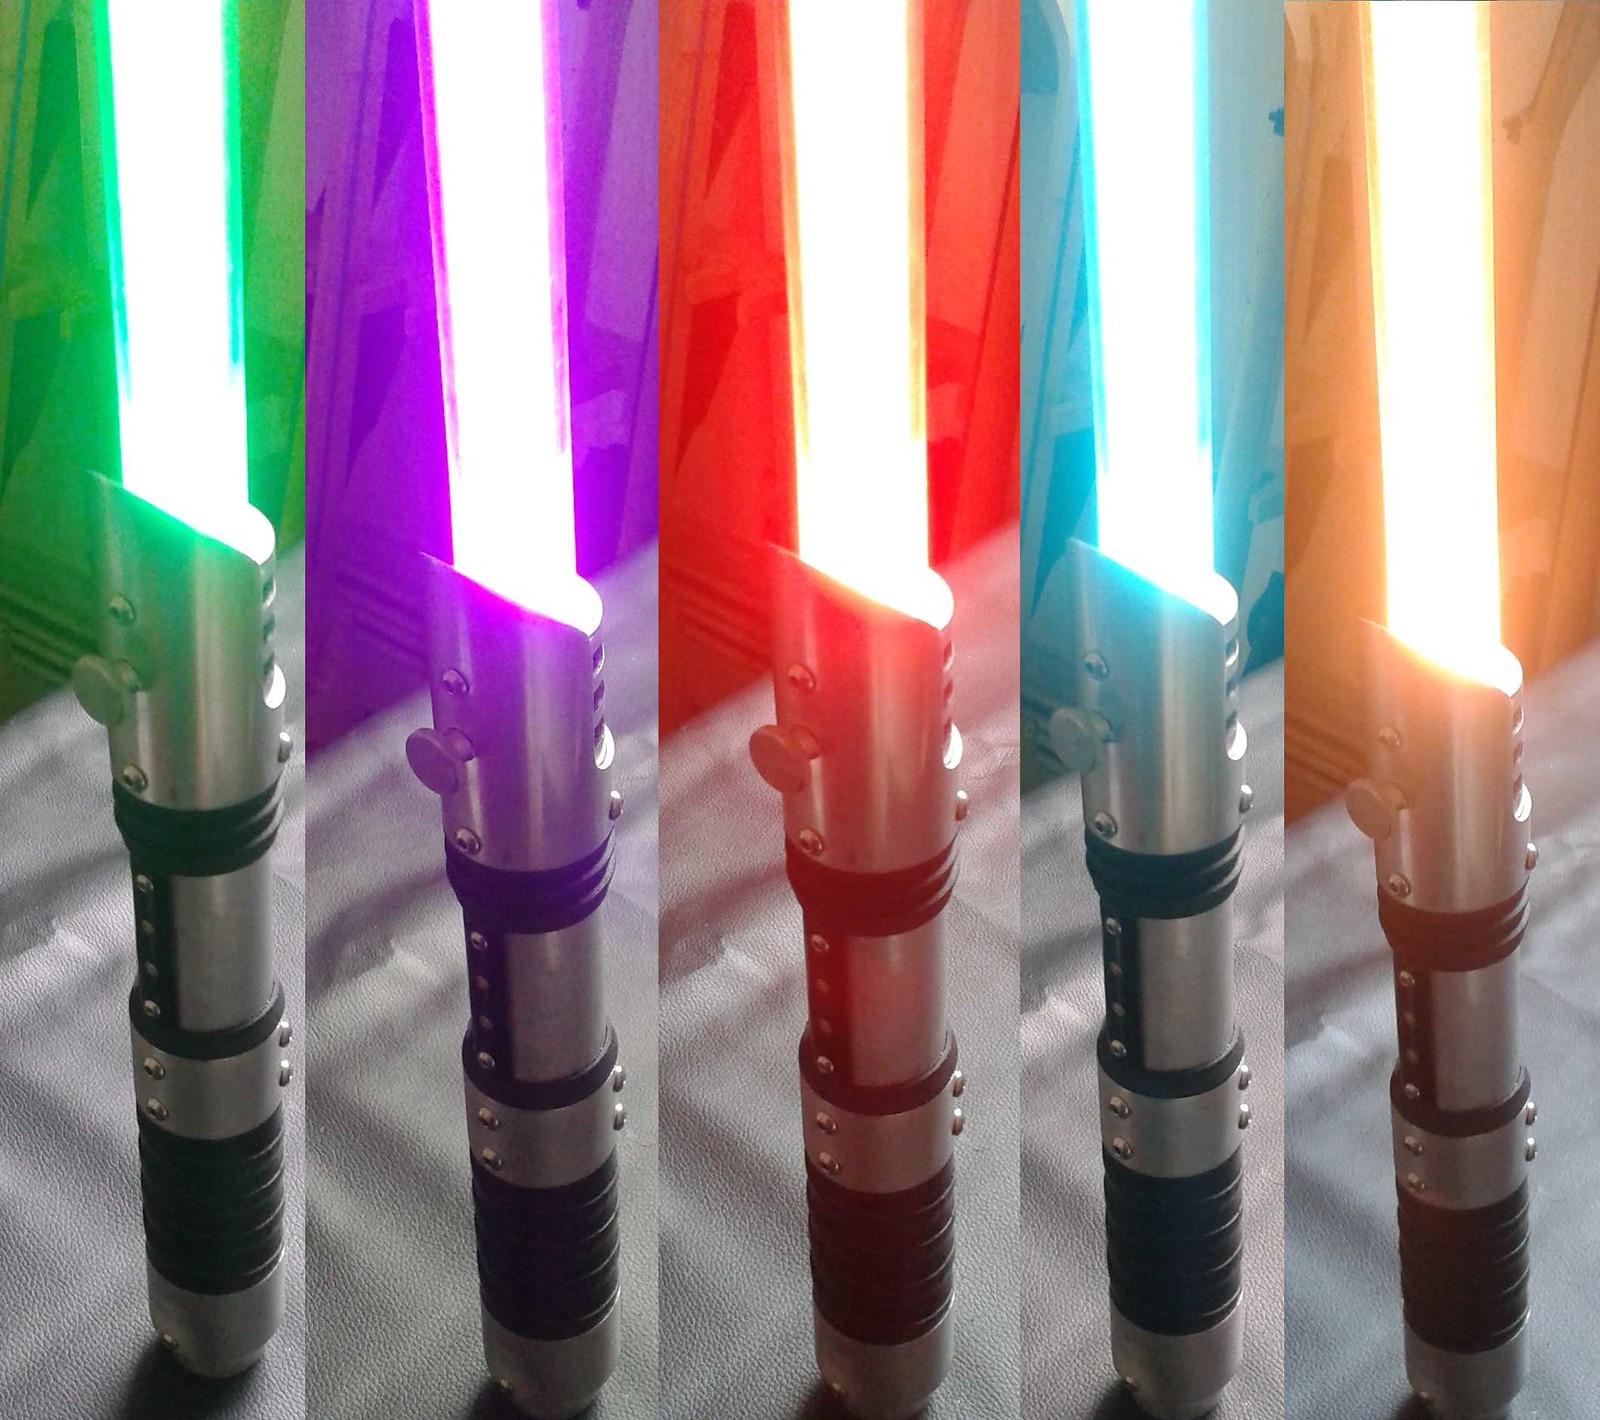
-Royal Blue, Red, Green Tri-Cree XPE-2
-Two custom CNC engraved PCBs, one for SMD Mosfets, the other for resistors
-Veco 28mm Speaker from JQ Sabers
-Recharge port + custom killkey
Soundfonts:
-Kyber and Pitch Black by Lord Blako
-Staple Gun by Shameem's saber Customisation Services
-Praetorian Redguard by Novastar
-Spitfire by Genesis Custom Sabers
All sound fonts went through JakeSoft's SoundFont converter to get them running on the FX-SaberOS.
It didn't take long to design some custom laser cut chassis disks, and a 3D printed speaker cup, and assemble it all. Besides the new internals, I replaced one hilt section with a new length of aluminium, swapped out those washers with some Shapeways prints that imitated them, and extended the hilt a little by adding an MHS pommel.
I had planned to make a spring-loaded crystal chamber, in the style of Genesis Custom Saber's Halo themed Saber. The wiring is in place for an RGB accent, and I even went as far as making a prototype as a proof of concept. But, in between making the prototype and making the real thing, a friend of mine bought a resin 3D printer that he claims has shapeways-level print accuracy, so I decided to put the spring-loaded CC aside for the time being, and design a chassis for his machine to print, maybe incorporating the spring loaded design.
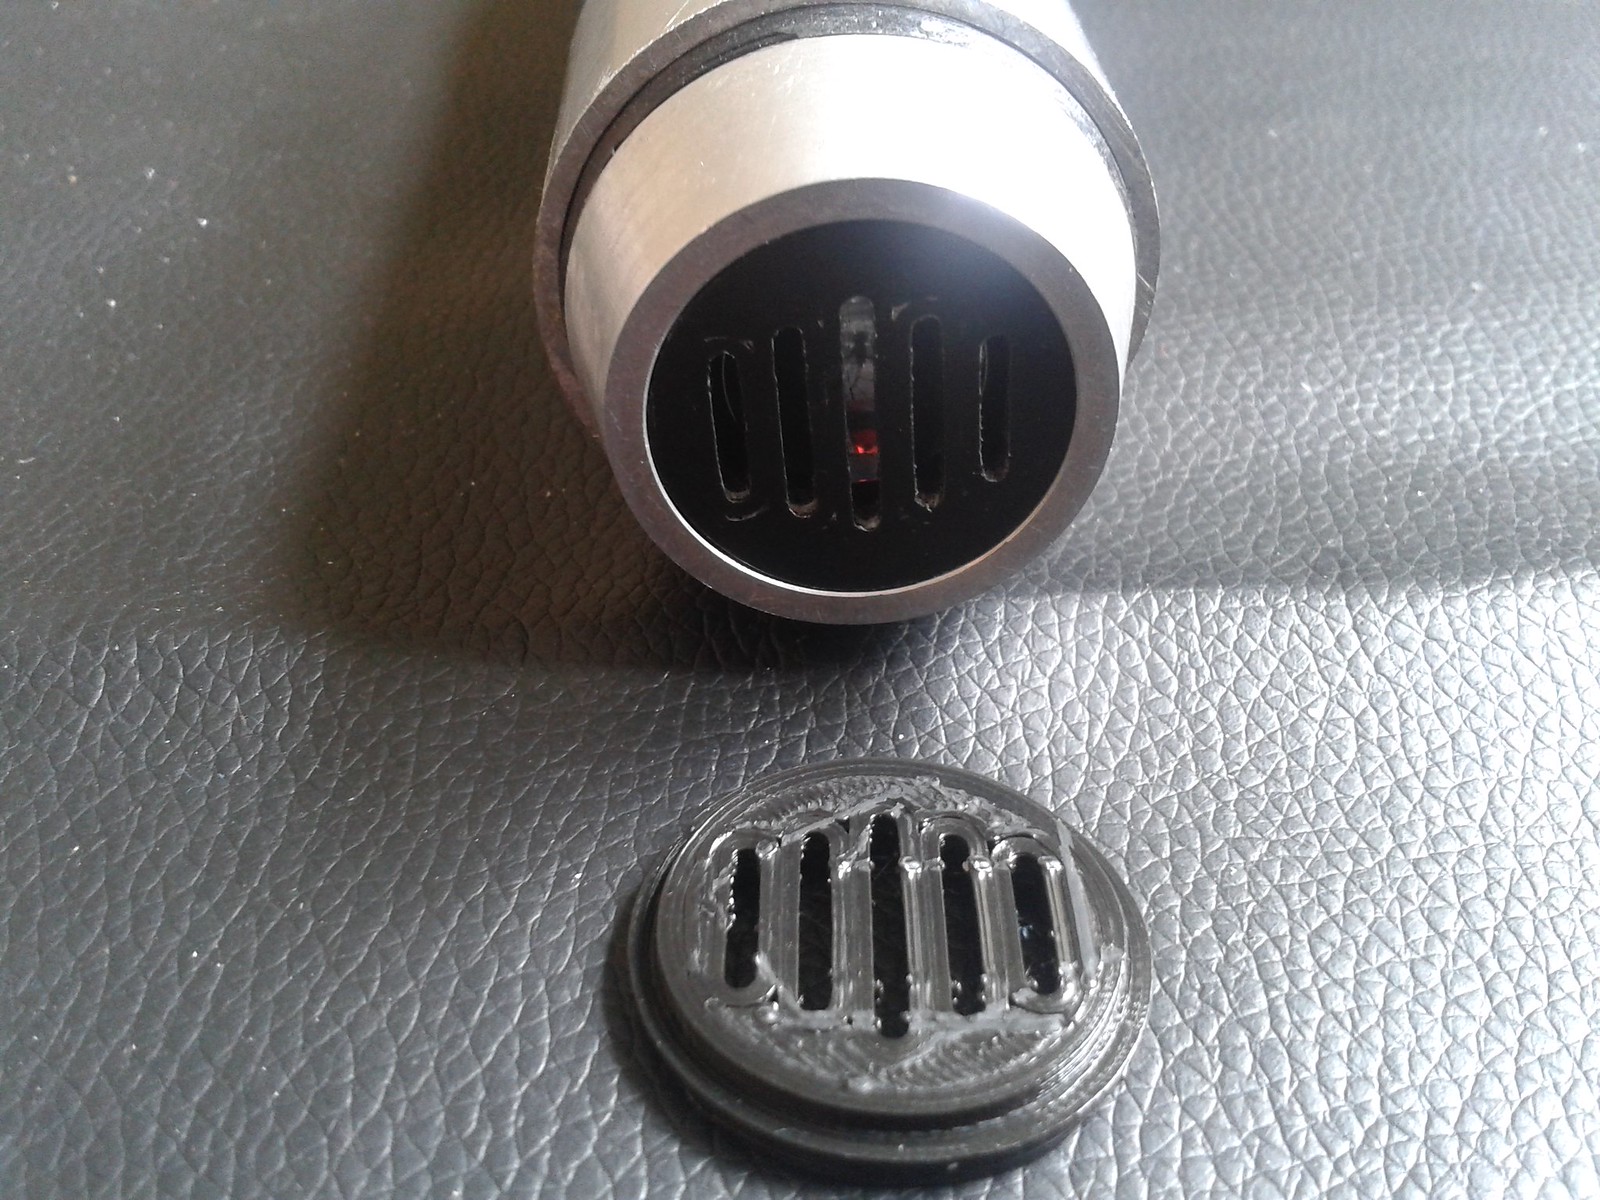
As of yet, I haven't quite gotten around to that. The saber itself is wired up and (after a lot of fine tweaking) works absolutely fine, which is the important part. There's a couple of bits I'm not happy with that I'll replace: the 3D printed pommel insert I made looks awful, and so does the switch plate I made by recycling a 3D printed spare from my Sith Rose build. They'll both be gone soon. I've also found that the mini-usb on the Arduino is a pain in the rear to reach, so I intend to extend that usb out into the future crystal chamber design somehow. that's still on the to-do list.
Anyway, that's all. Thanks for reading/watching, any feedback welcome.
MTFBWY!
 Topic: Scrapsaber 1.5: FX-SaberOS Arduino Upgrade (Read 1639 times)