Recent Posts
91
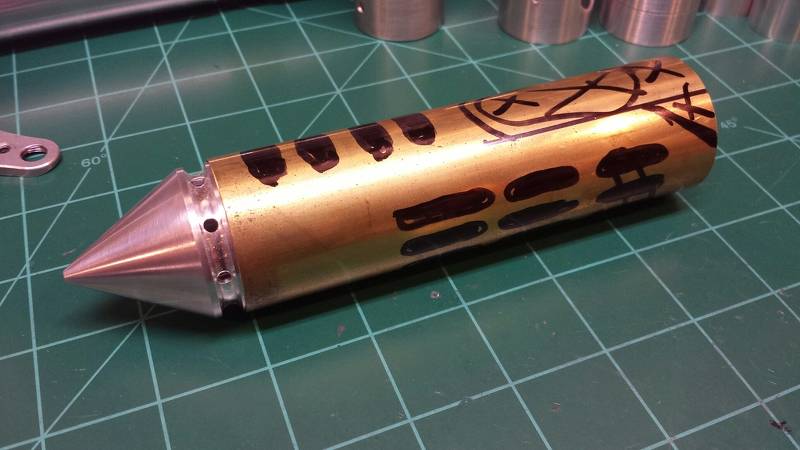
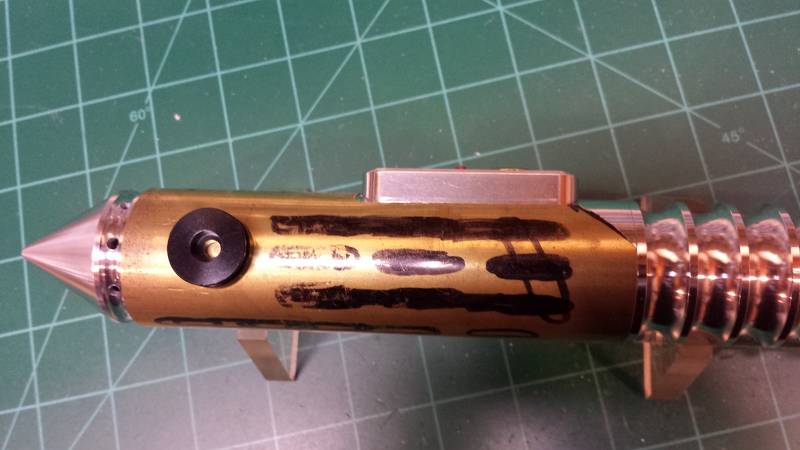
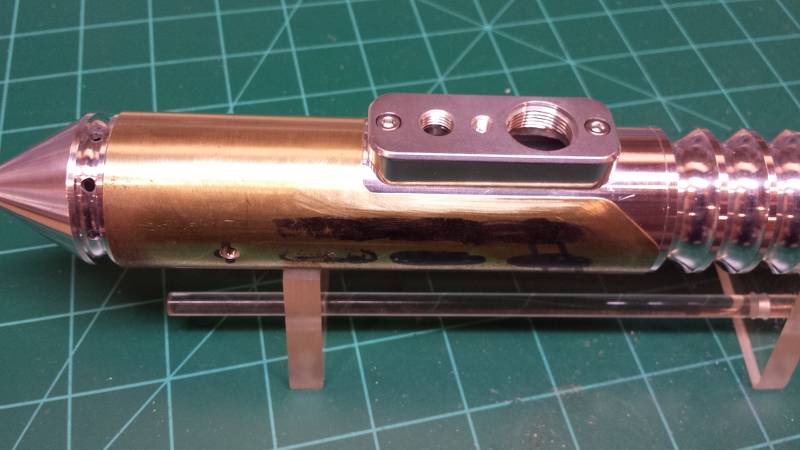
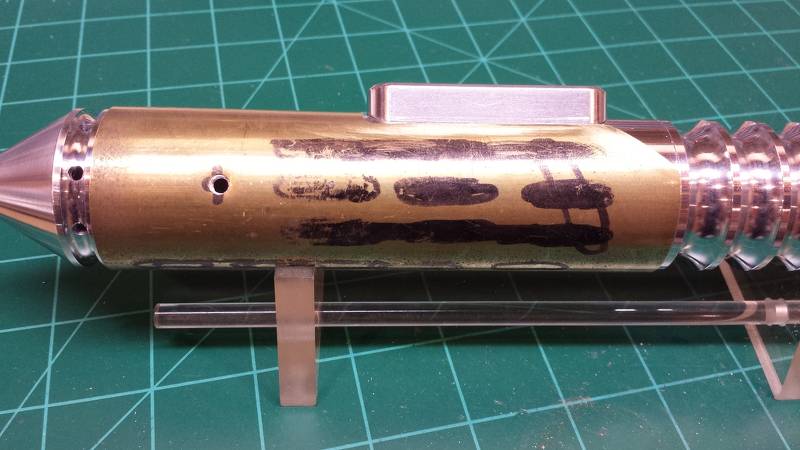
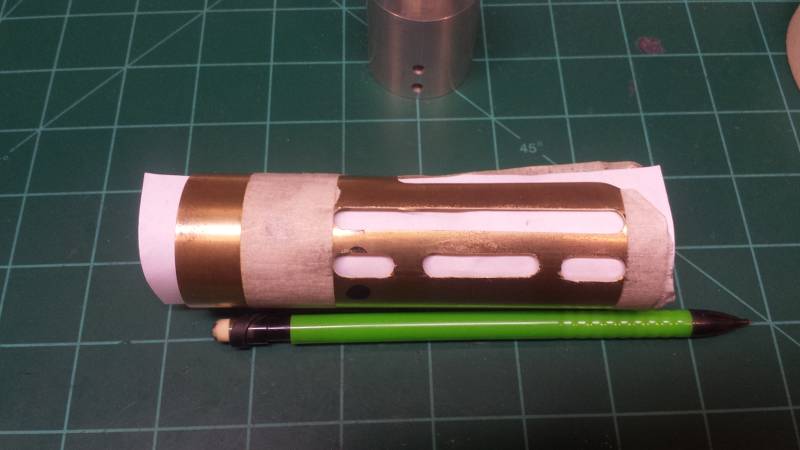
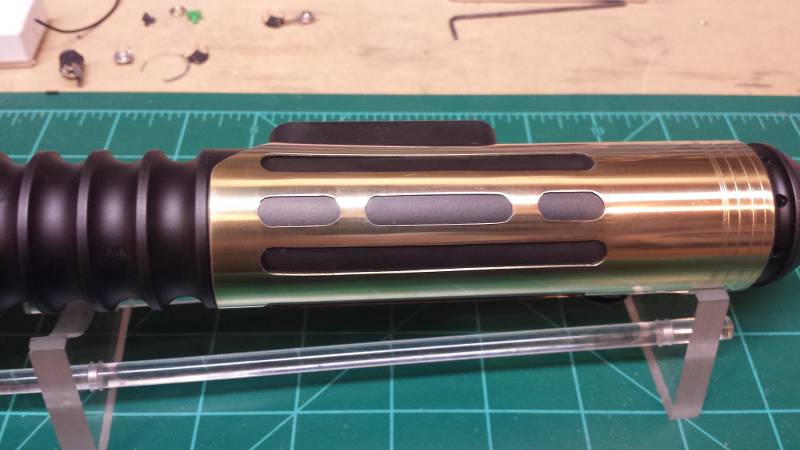
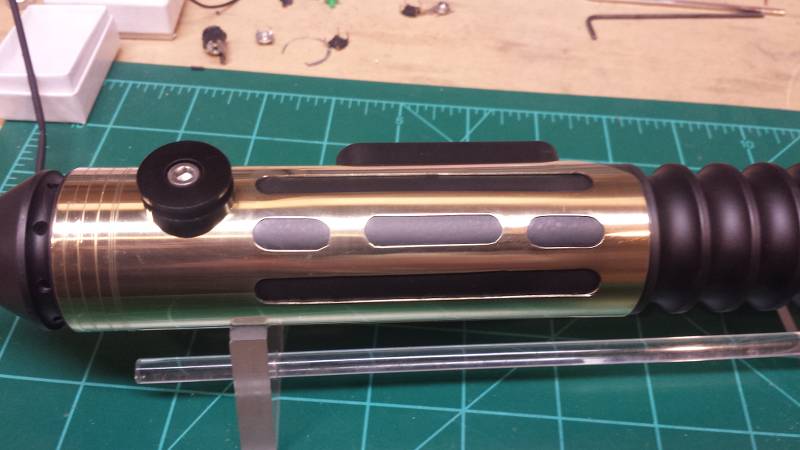
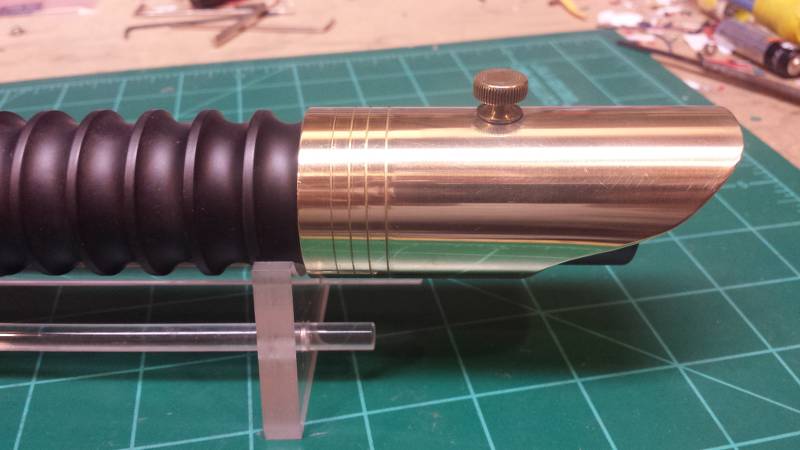
JGJSabers / Re: JGJSabers Brass Saber Series 32 (BS-32)
« Last post by QUI-GON JINN on October 27, 2023, 09:06:06 AM »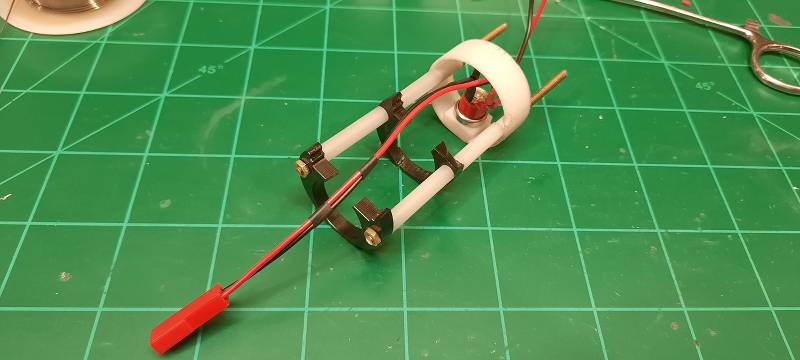
This was almost ready...I forgot to add in a positive lead for the sound board, though. I got that later and all was well.
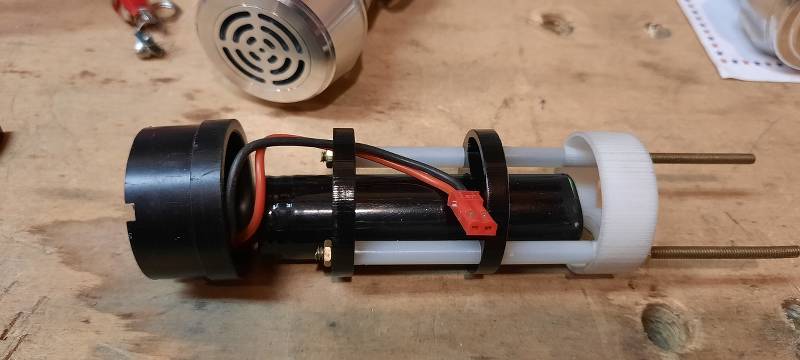
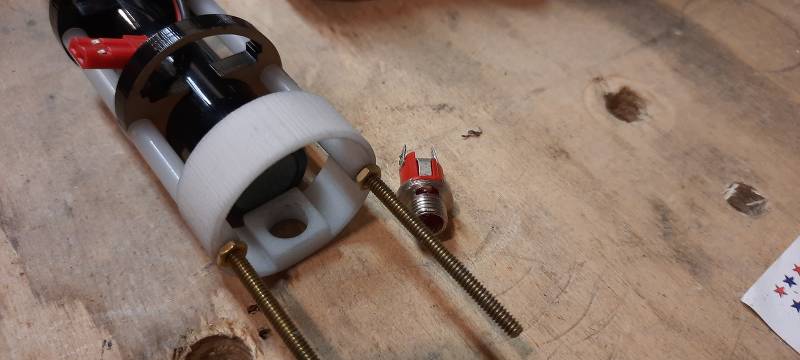
This ought to be enough length to make it easy to swap out the battery.
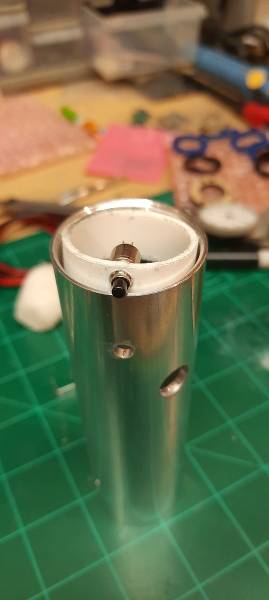
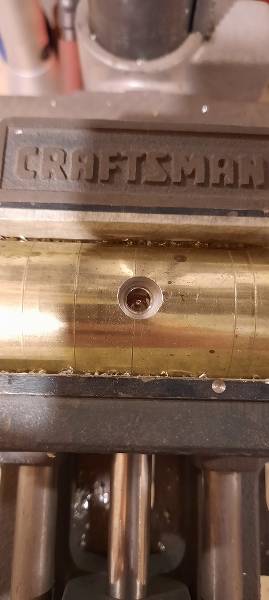
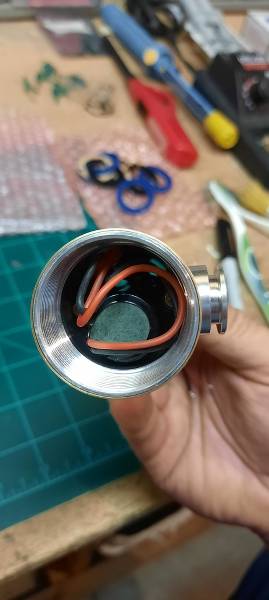
Should fit right in there, wired end first.

Fit right in, but had to be wiggled around a bit to get the wires through the cut out in the chassis disc.
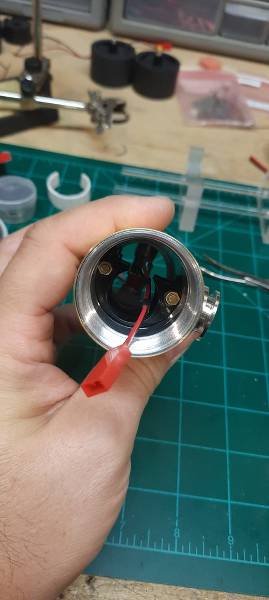
Tuck the wires in.
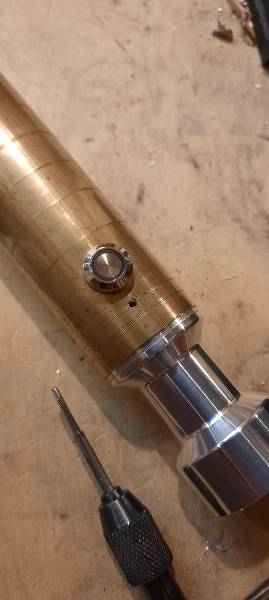
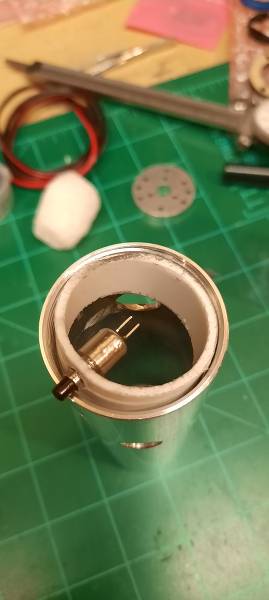
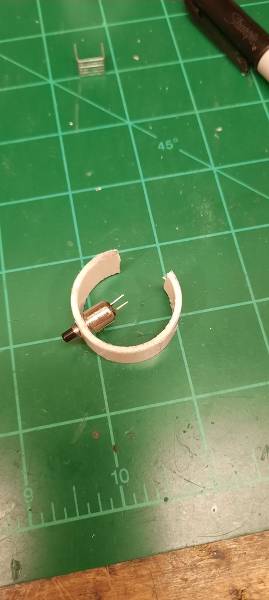
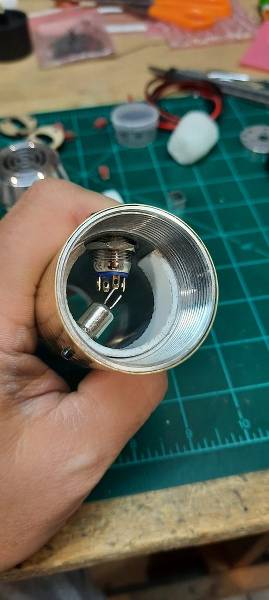
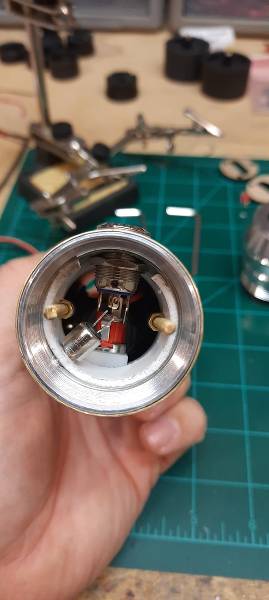
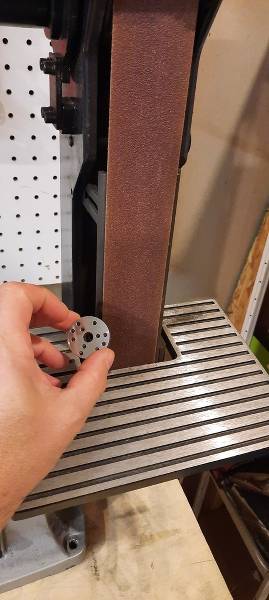
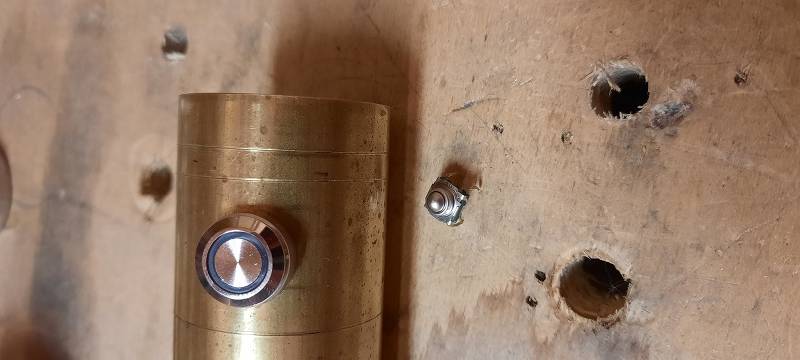
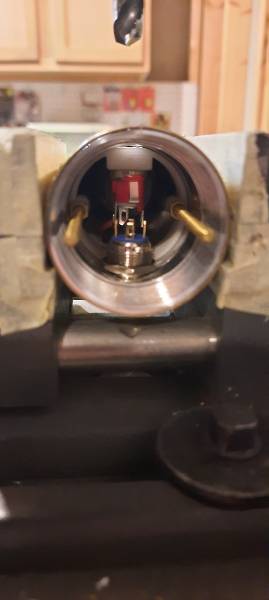
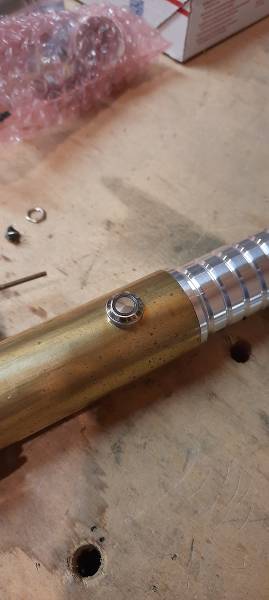
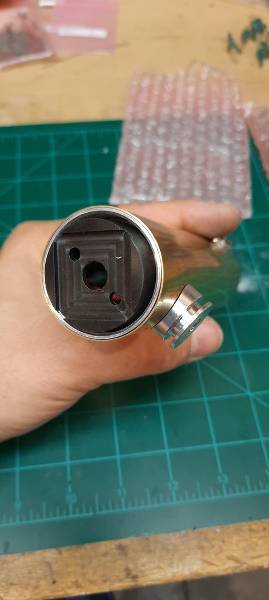
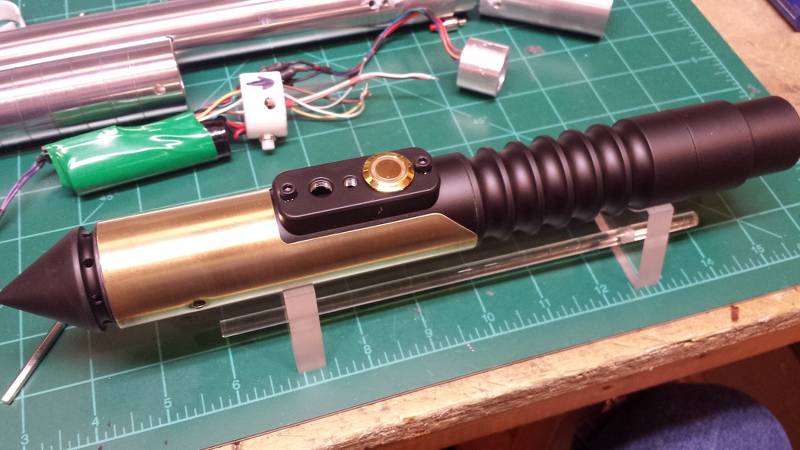
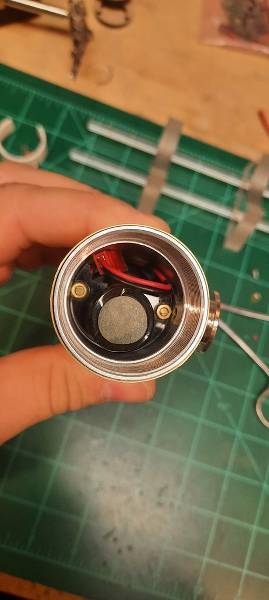
Check the fit one more time for the speaker mount. That was still good, so I moved on to the wiring of the switch.
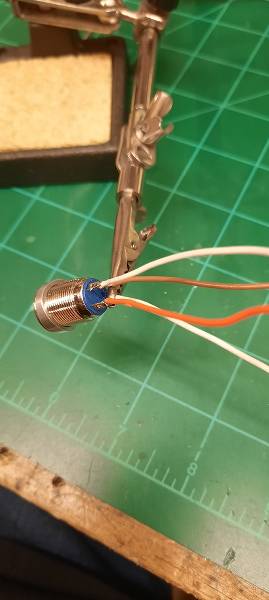
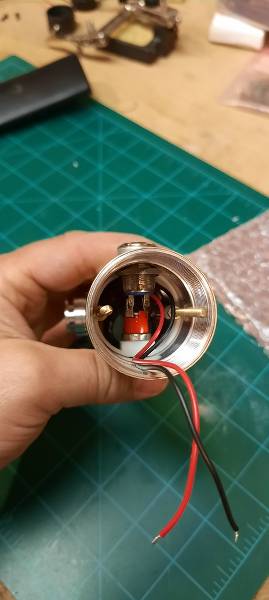
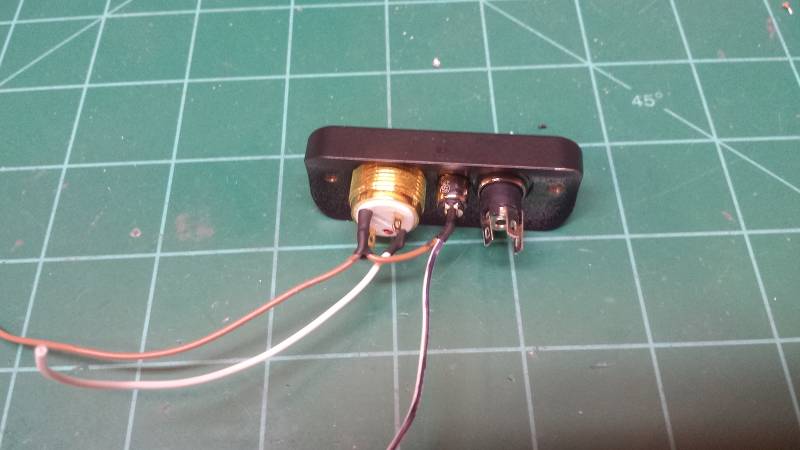
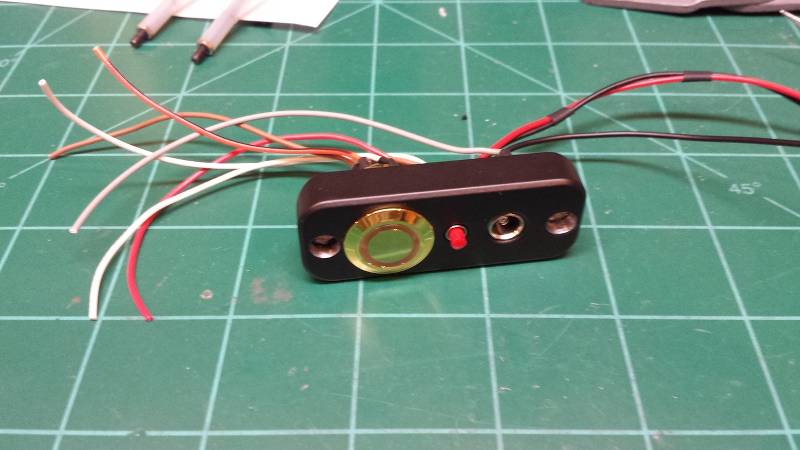
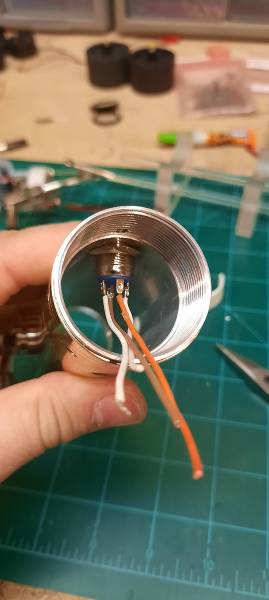
The white wires are the actual switch, orange and brown are for the led.
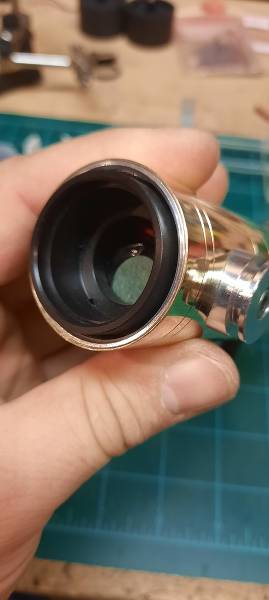
Checking the fit...
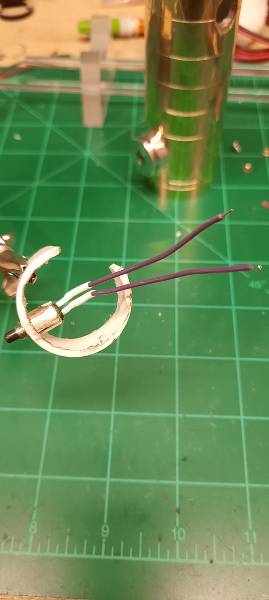
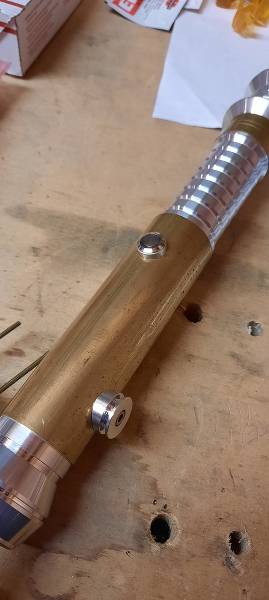
Added the wires for the aux switch...I went with purple for that.
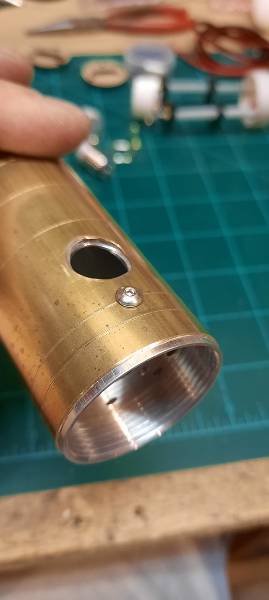
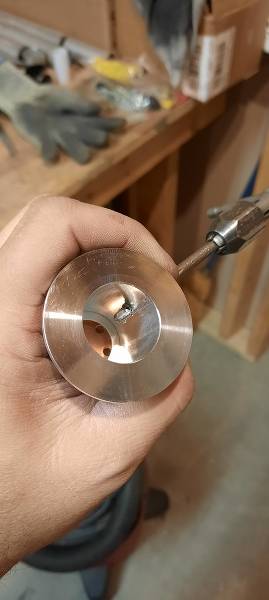
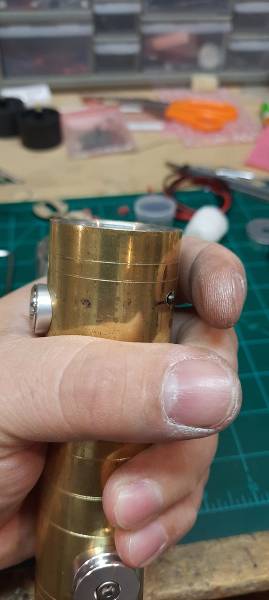
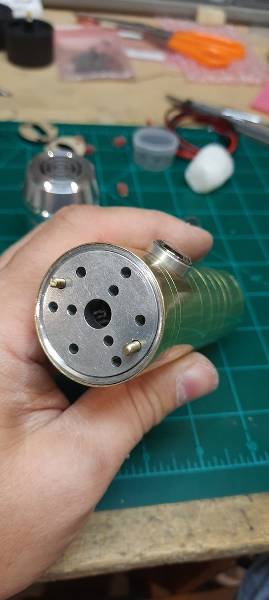
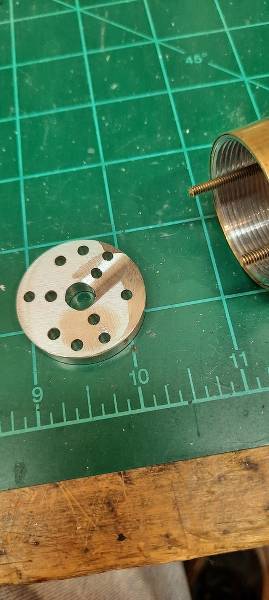
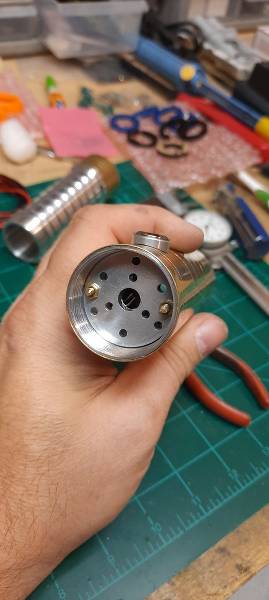
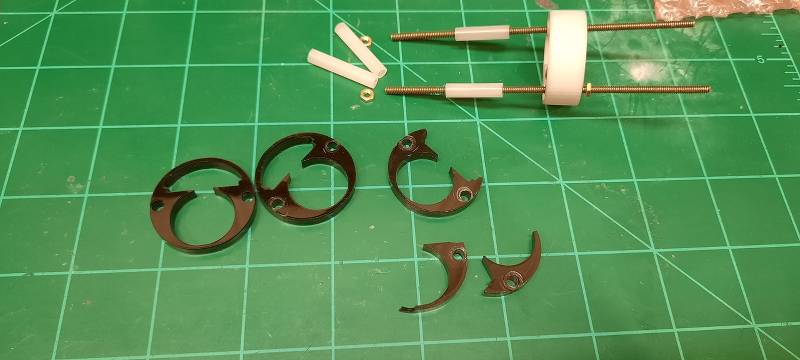
Installed the aux switch and then checked the fit again for the chassis disc.
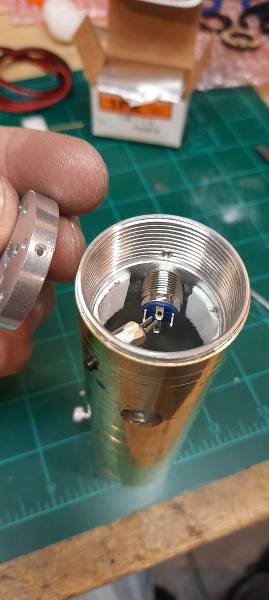
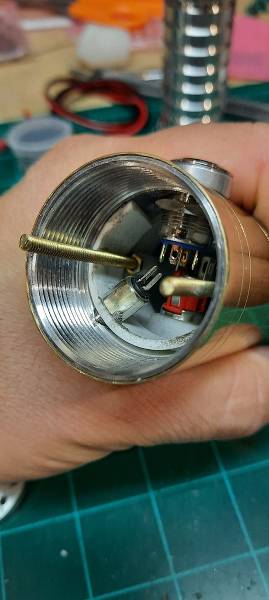
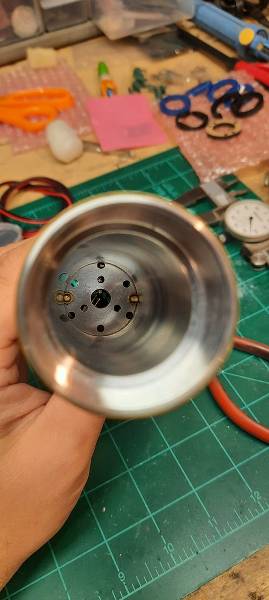
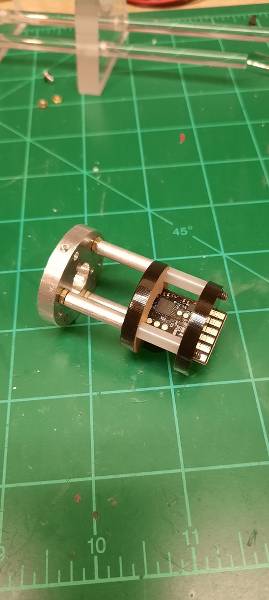
Satisfied with that, I started to work out how I was going to mount the Golden Harvest board. I happened to have some acrylic discs for an NBIV on hand and tried it in those...almost a perfect fit!
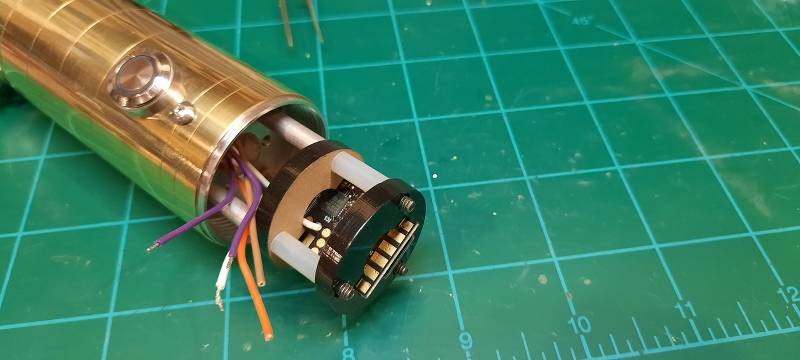
This will give me some idea of how long I'll need the wires to be to reach the board.
I think this might work!
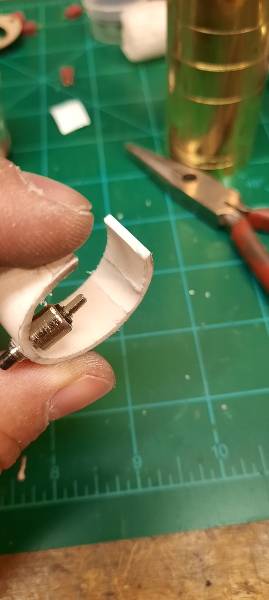
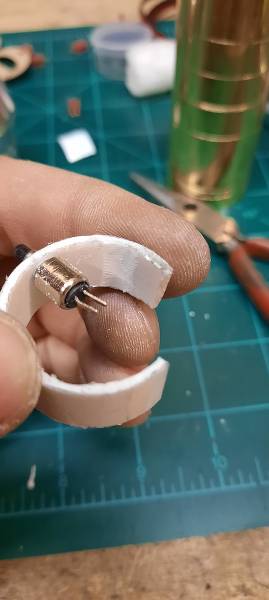
I like how this would work. The board will have to be installed "backwards" though, so the SD card can be accessed.

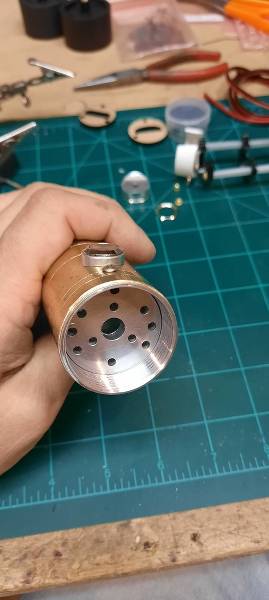
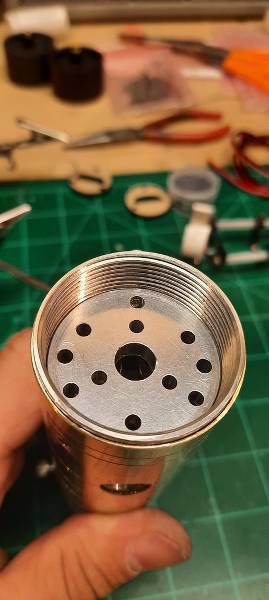
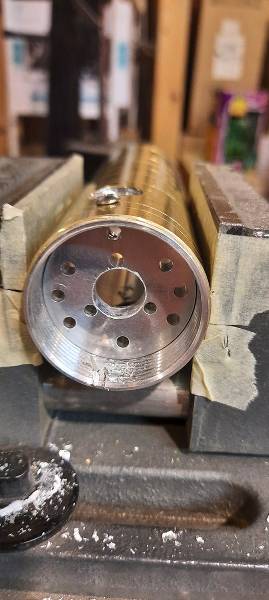
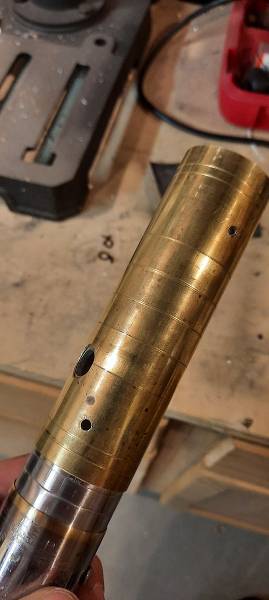
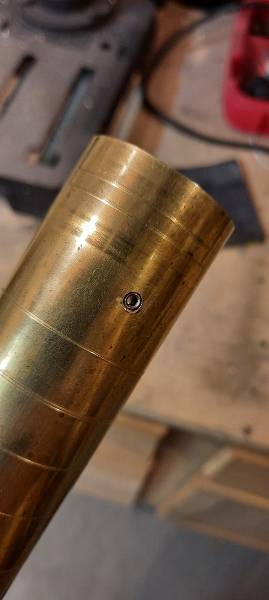
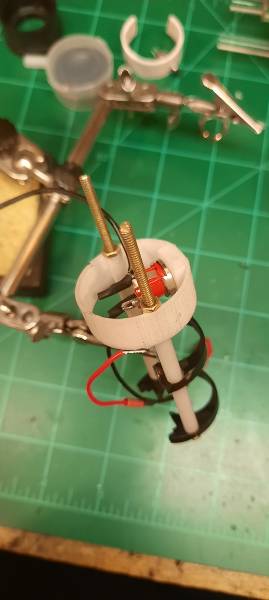
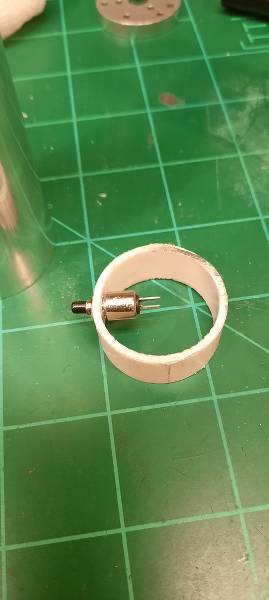
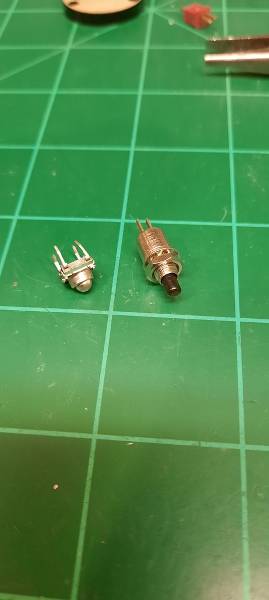
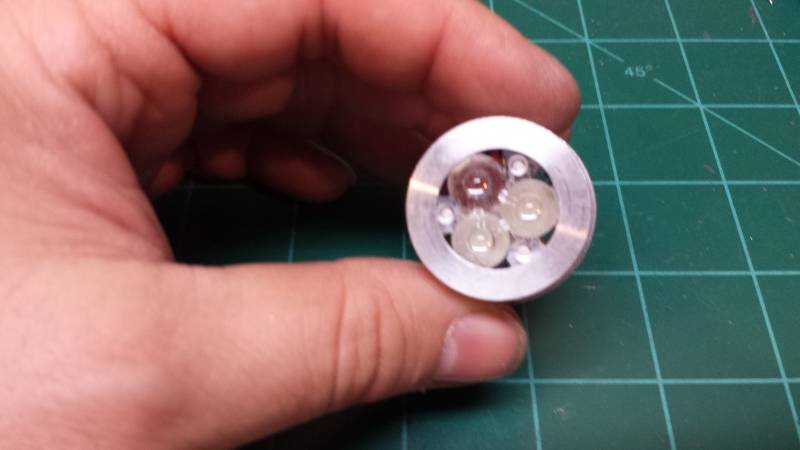
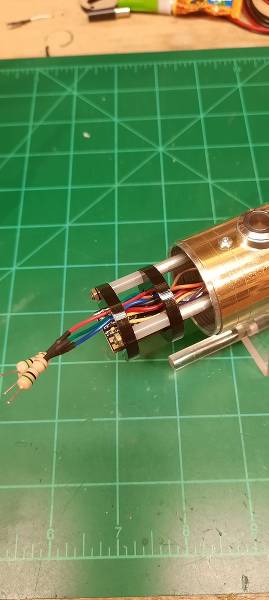
Should have plenty of room for the resistors and wires for the Tri-Cree RGB LED.

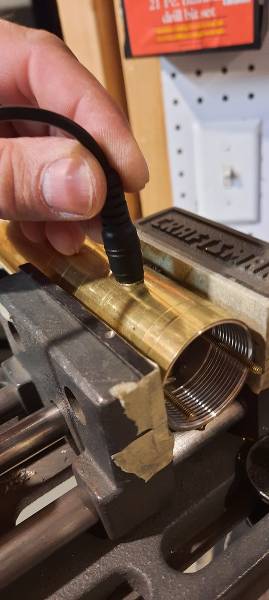
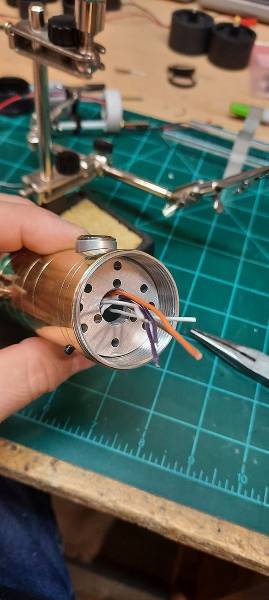
I figured out how long I needed the wires for the speaker mount while i was at it, and cut those.
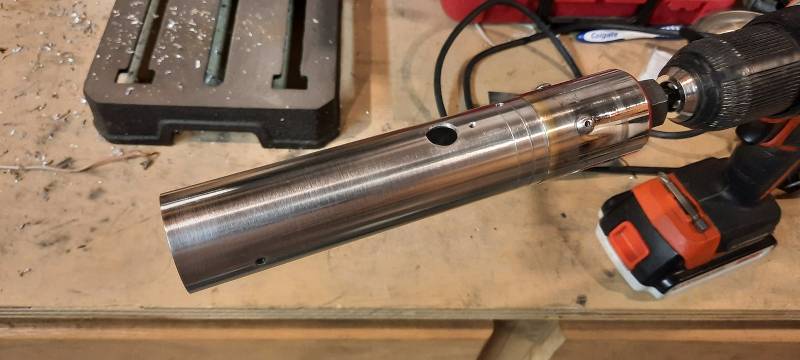
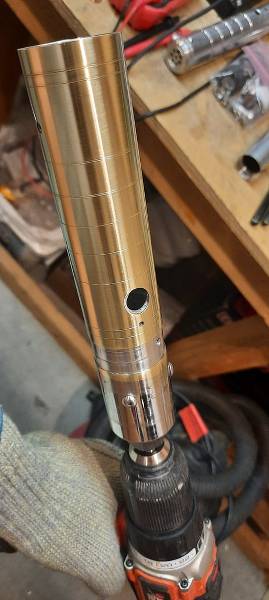
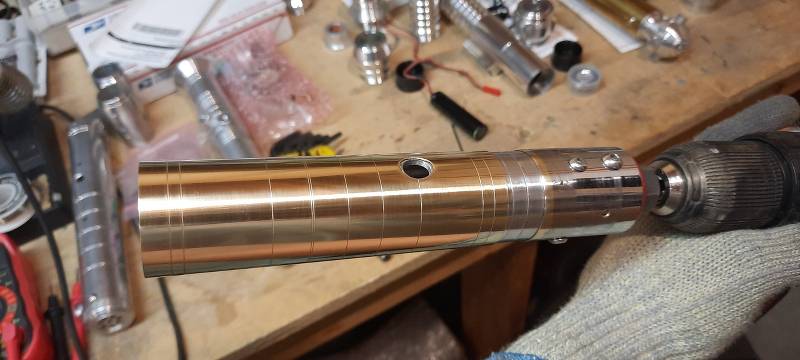
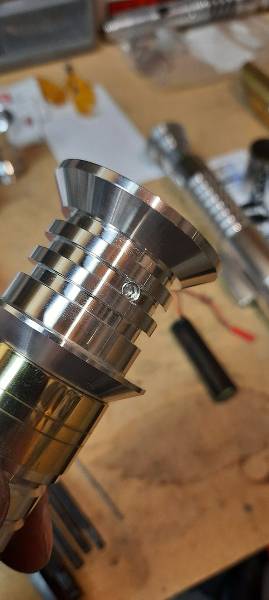
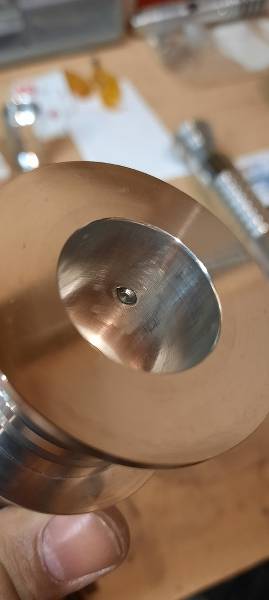
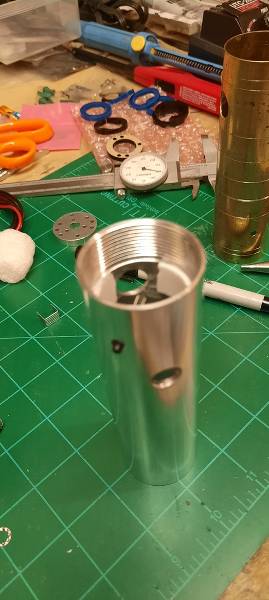
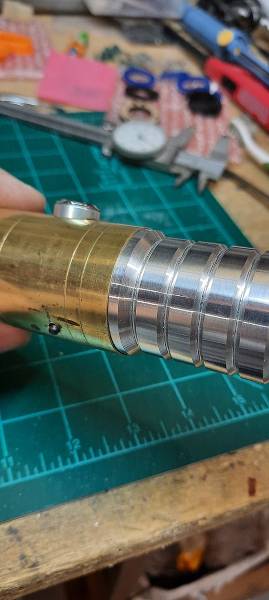
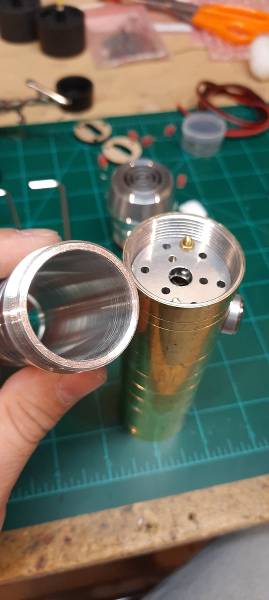
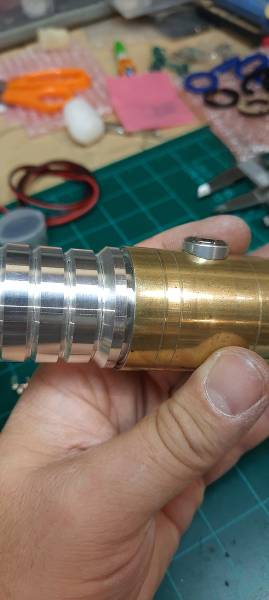
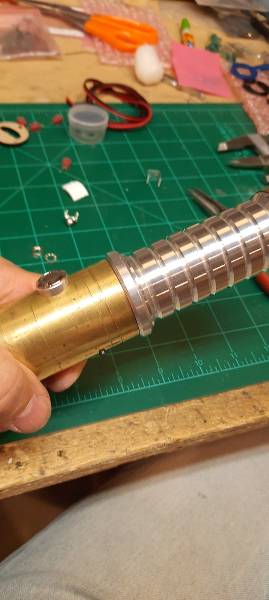
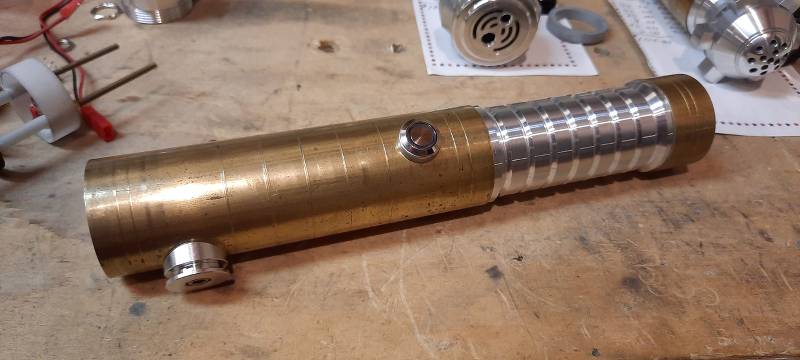
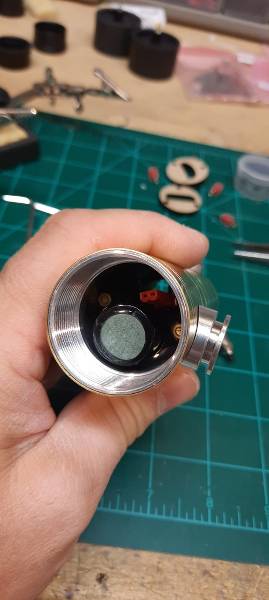
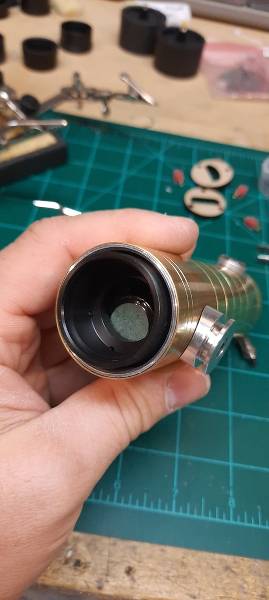
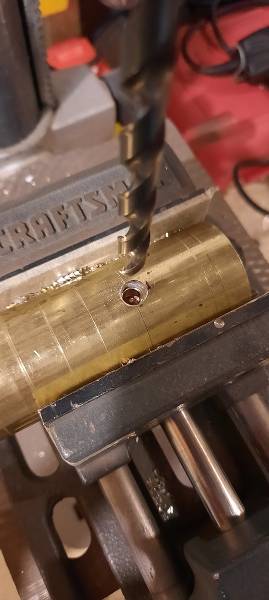
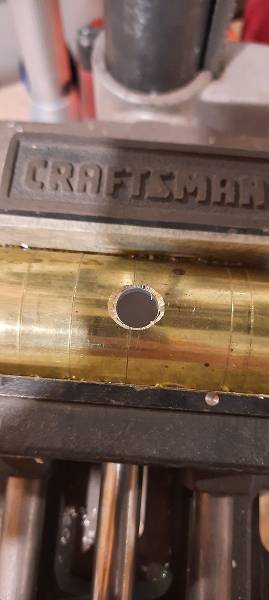
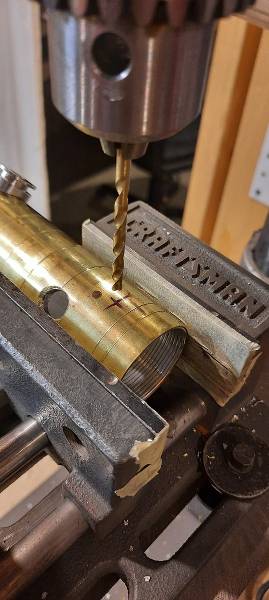
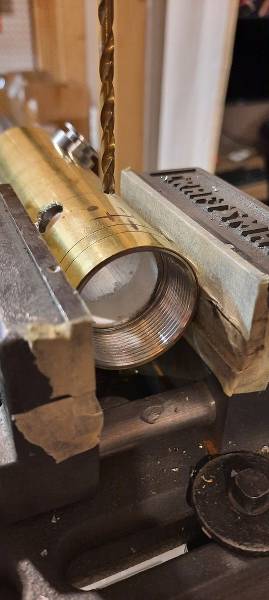
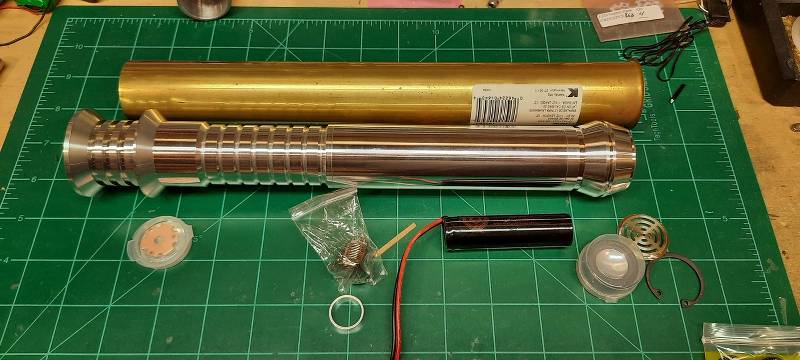
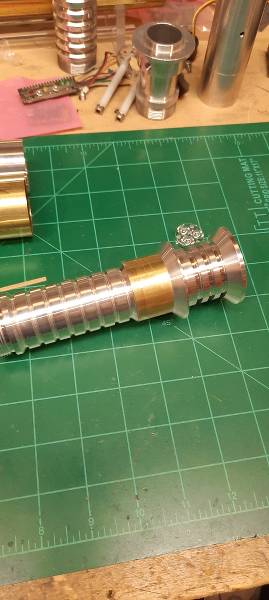
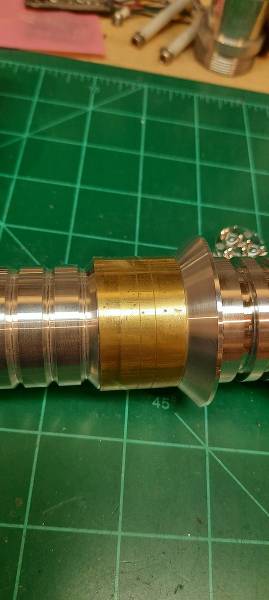
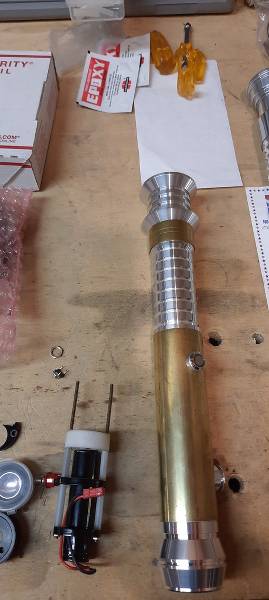
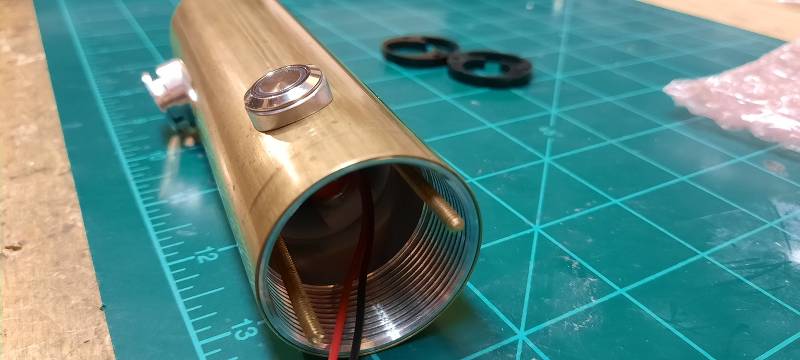
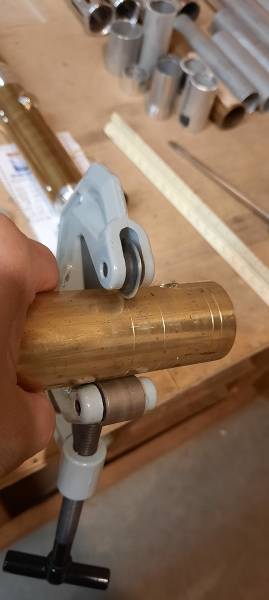
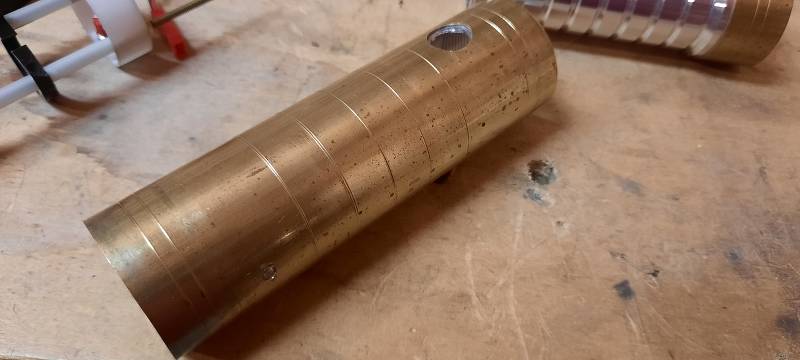
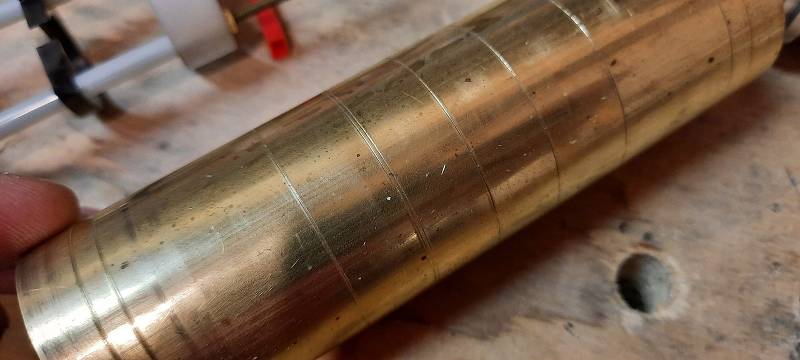
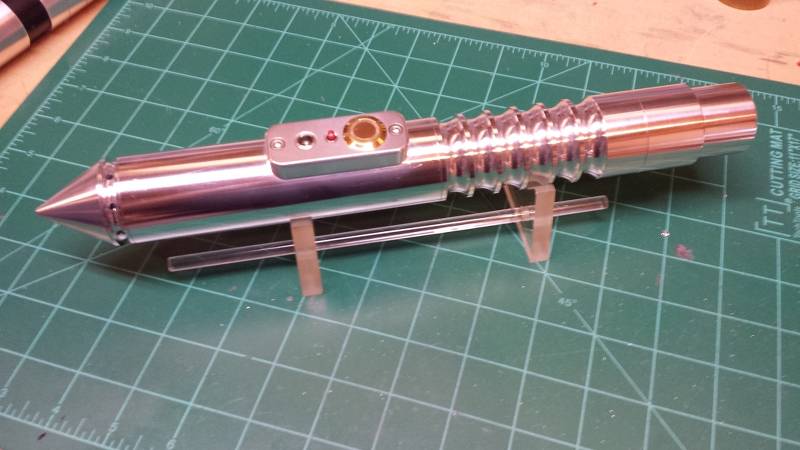
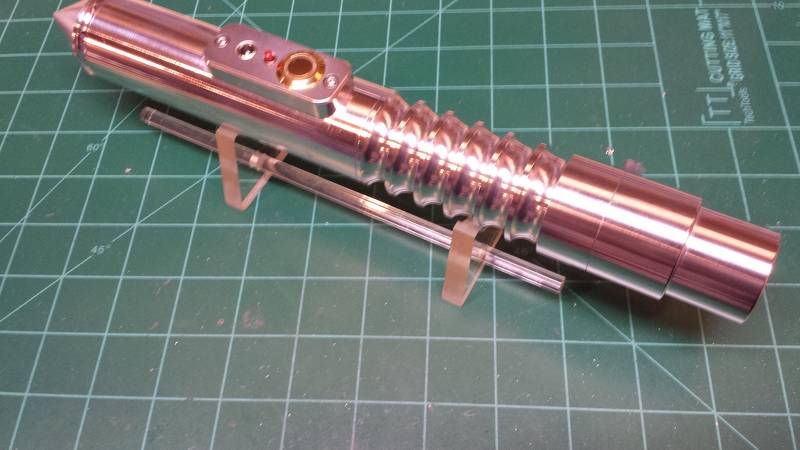
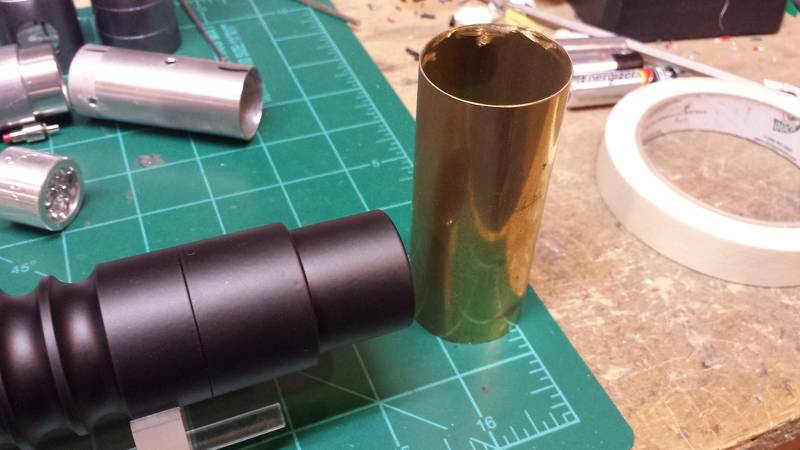
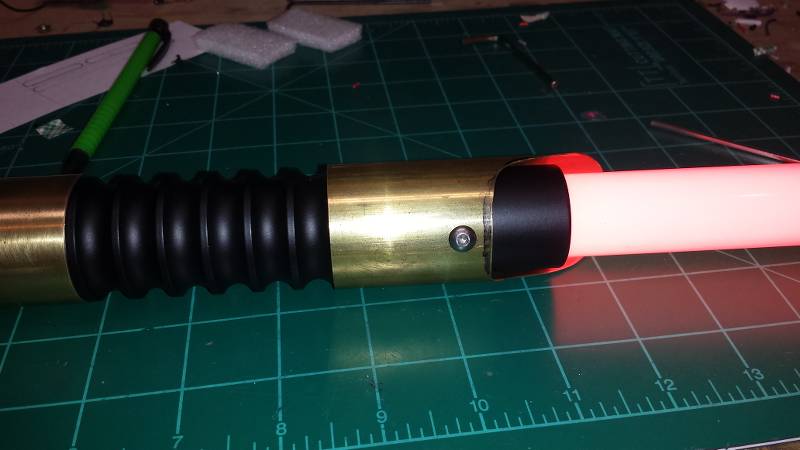
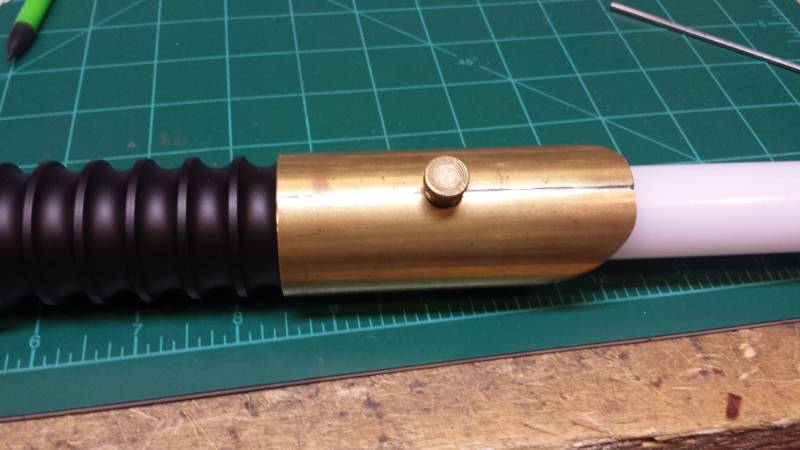
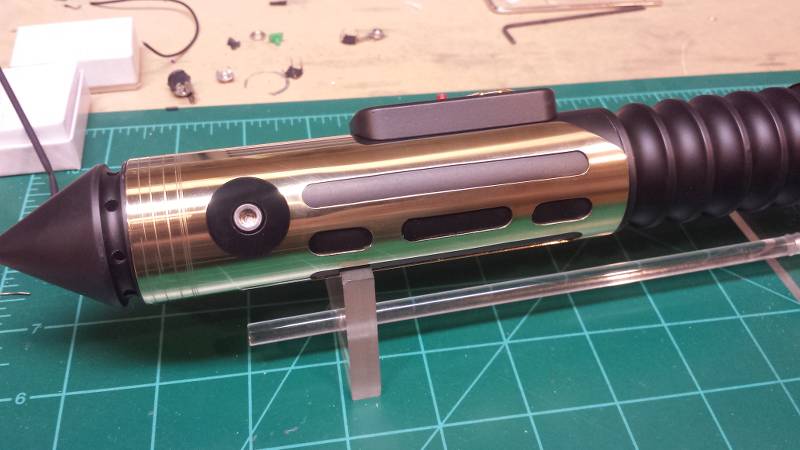
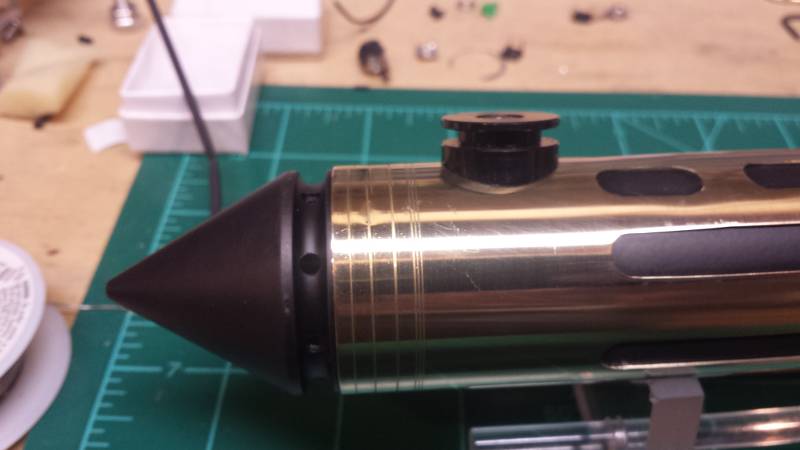
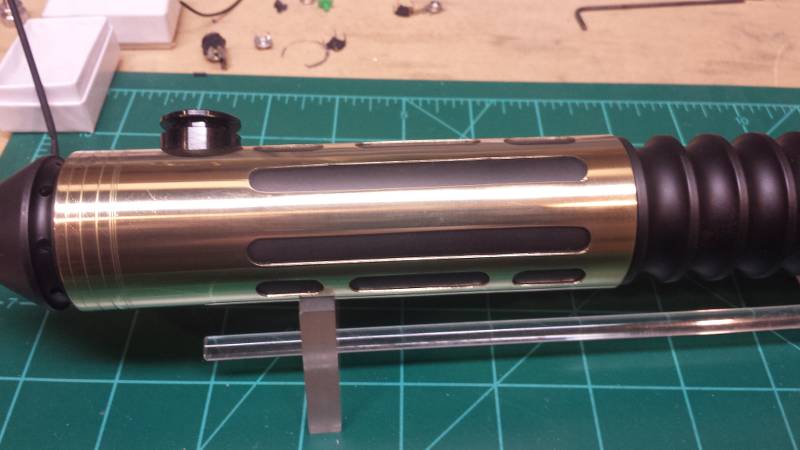
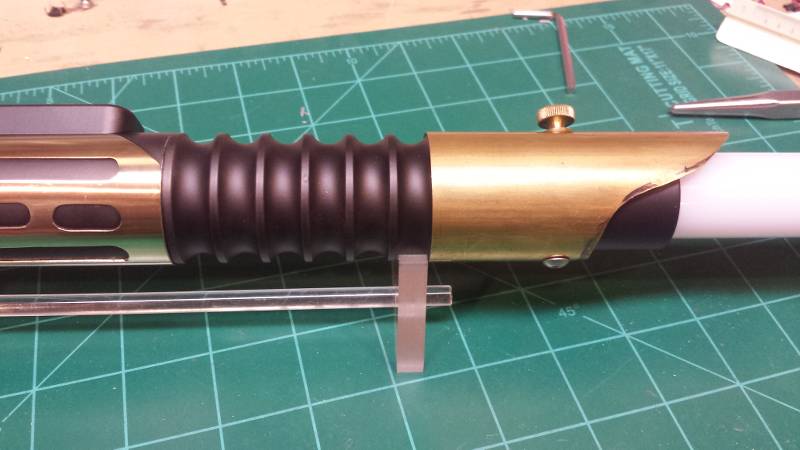
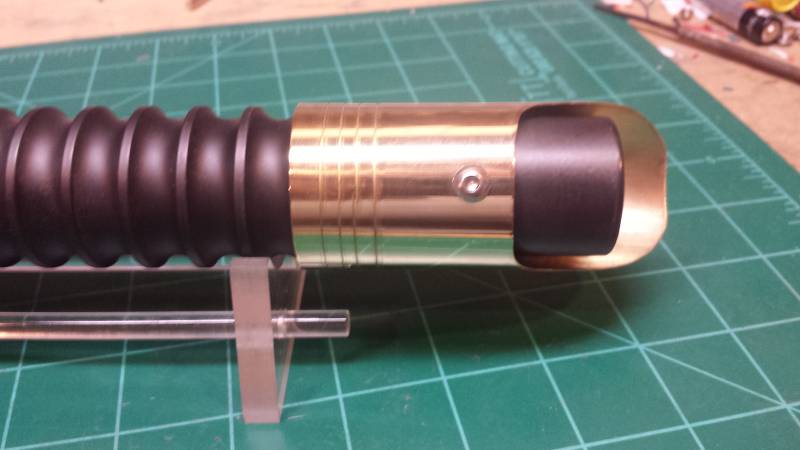
Then I thought I'd better check the fit with ribbed extension...I removed the soundboard and screwed on the extension.
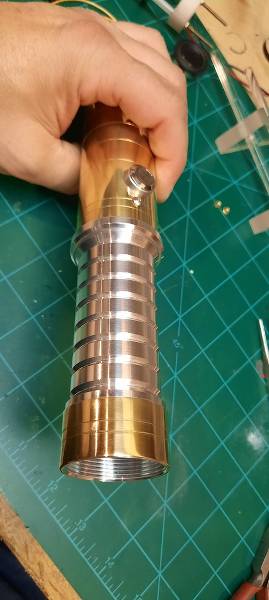
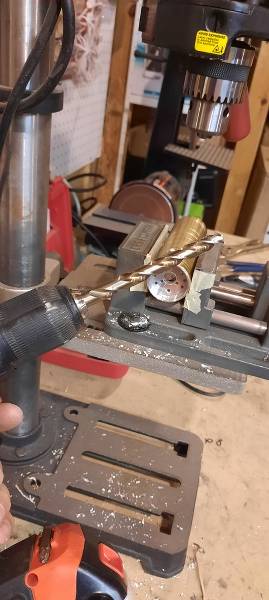
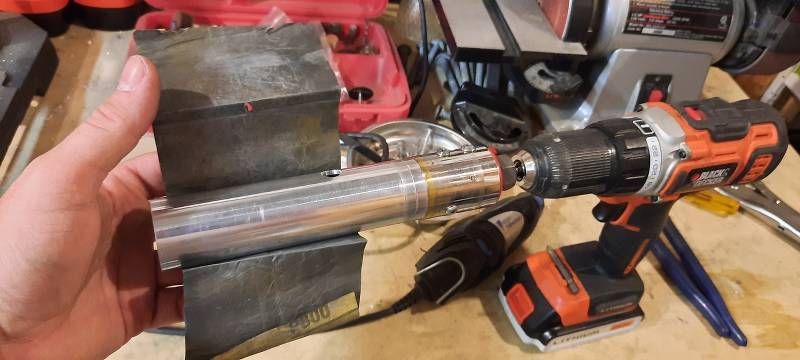
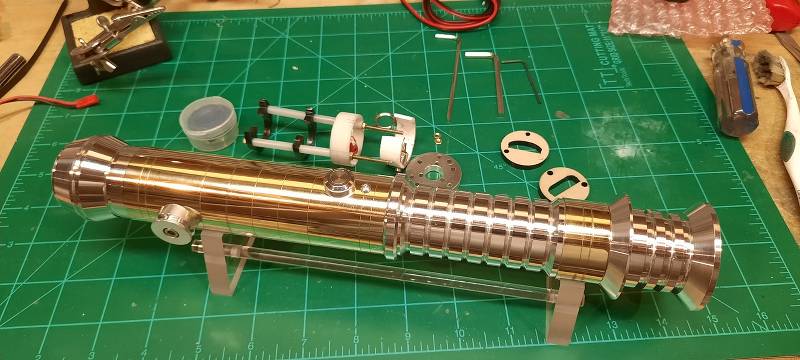
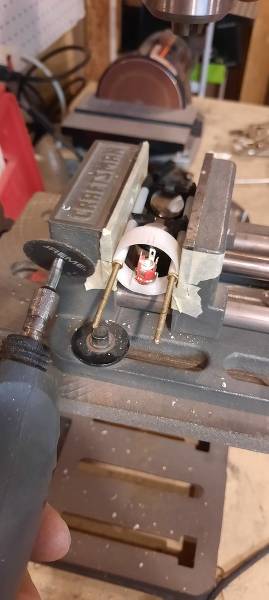
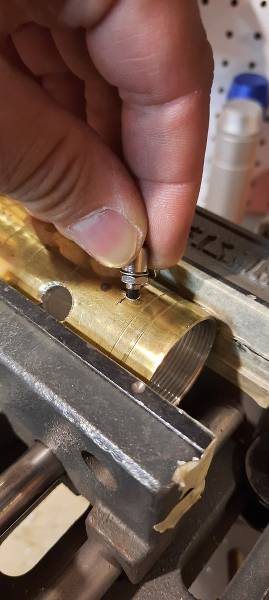
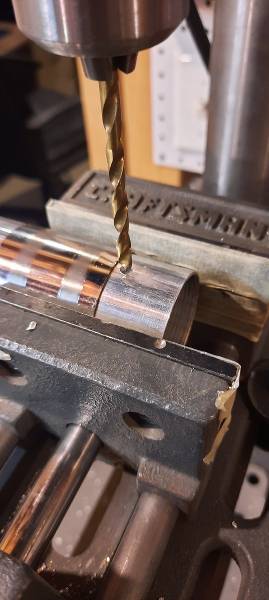
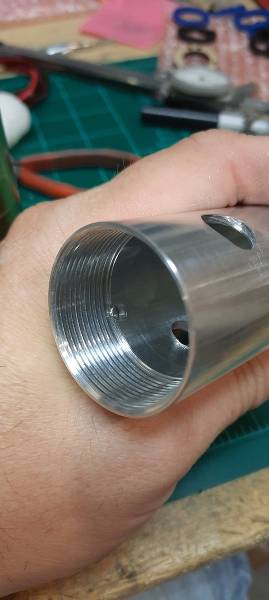
It went on, but I could feel it rubbing on the chassis discs. I took it back off, then used a cylinder hone to open up the I.D. a bit. I also used the hone to spin some 800 grit sand paper through the extension afterward. I also found that the chassis disc wasn't fitting flush on the switch mounting c-clip, so I took it all apart again and more sanding on the switch c-clip and the chassis disc until it all fit smoothly. The extension then went like butter.
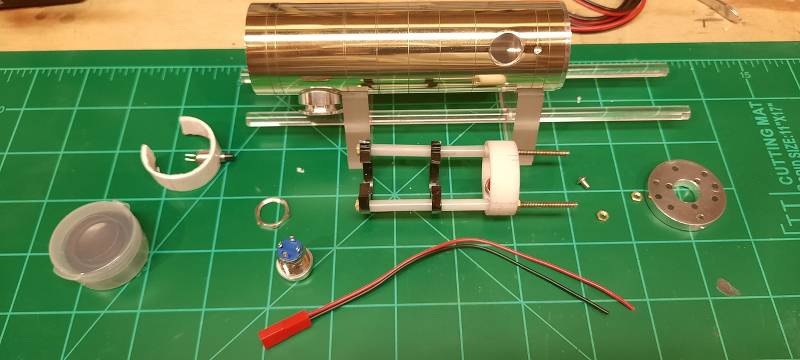
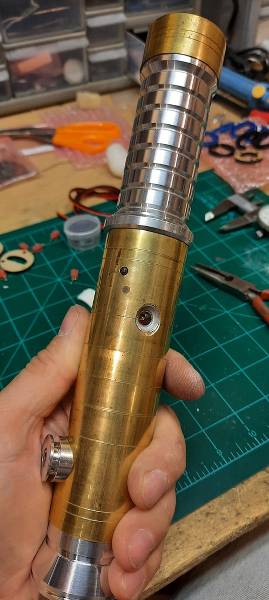
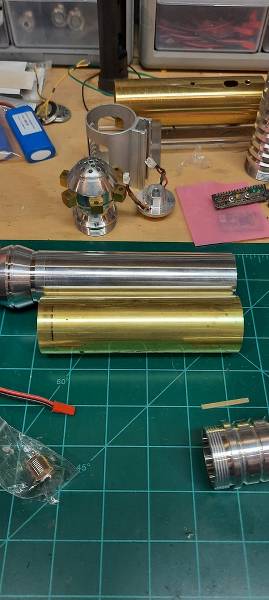
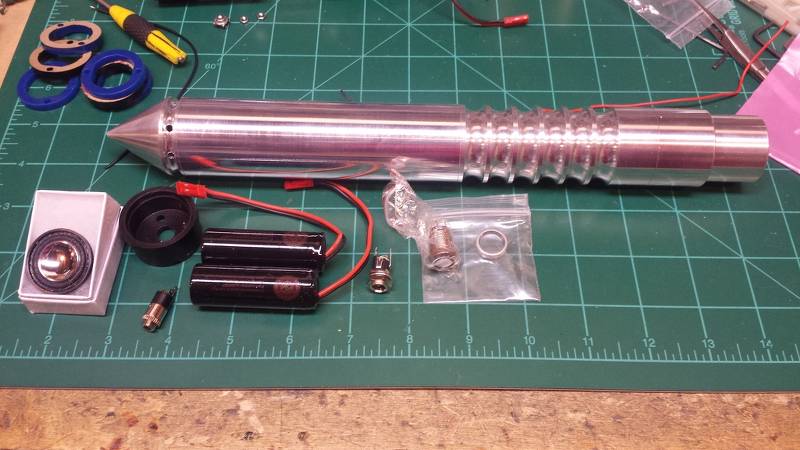
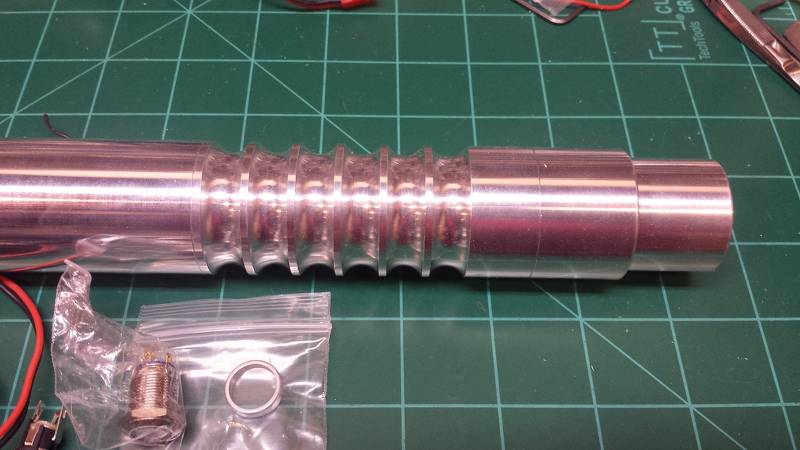
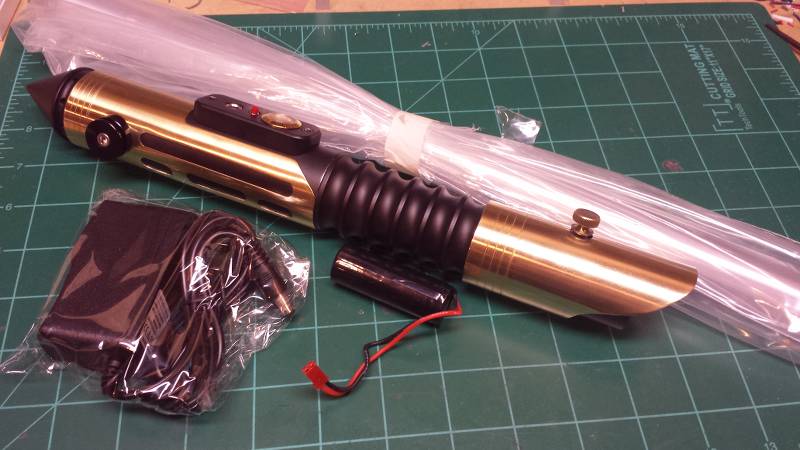
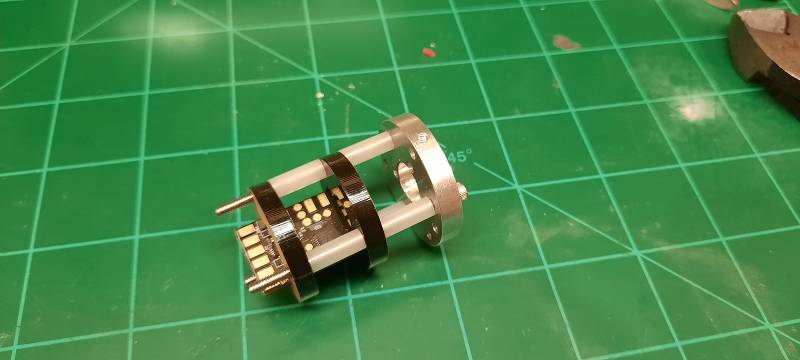
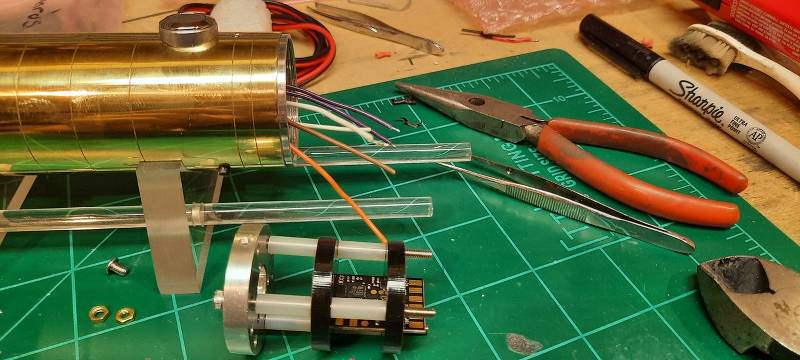
With that all finally out of the way, I could start actually wiring up the saber.
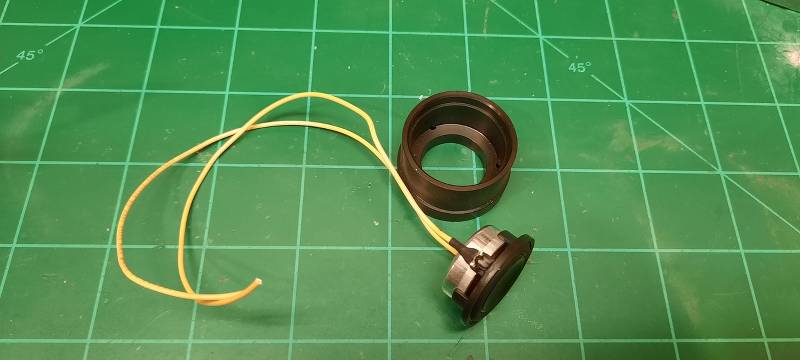
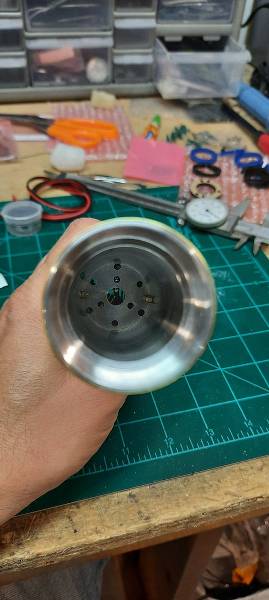
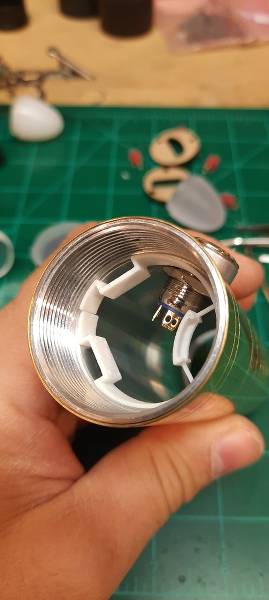
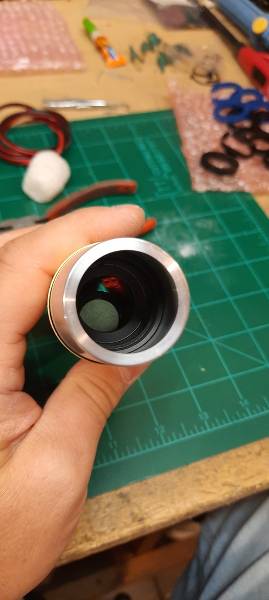
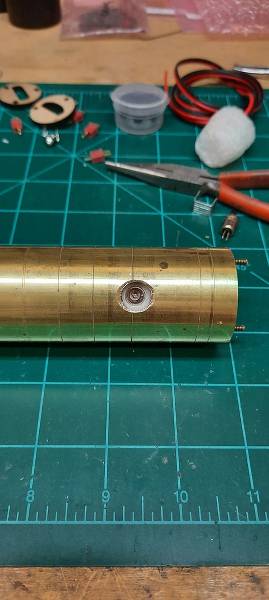
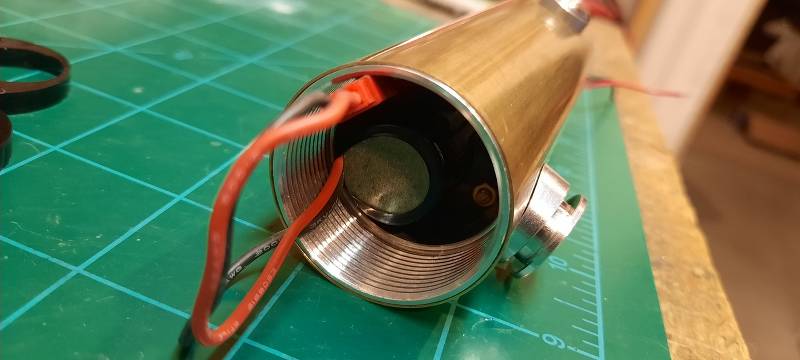
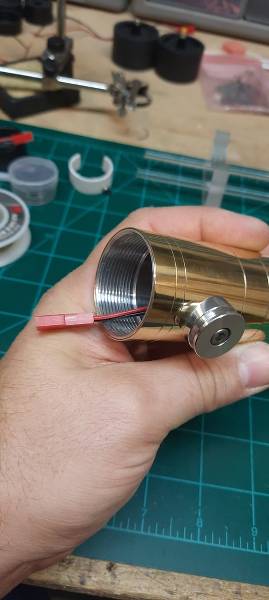
I started with the speaker.
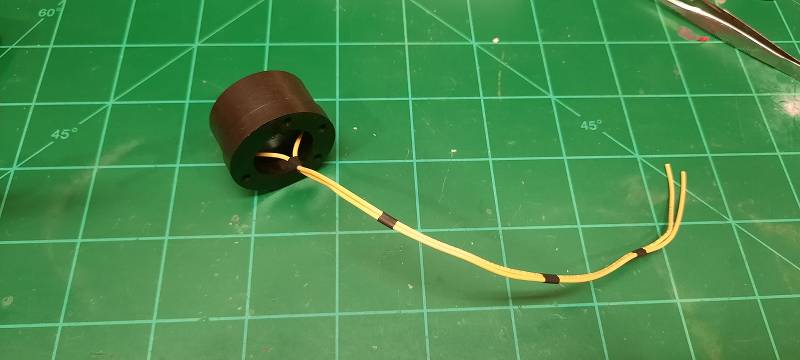
Snapped it into the mount.
All done!

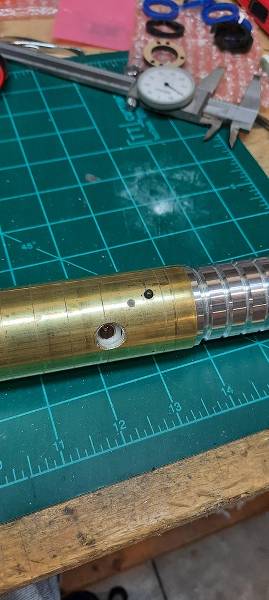
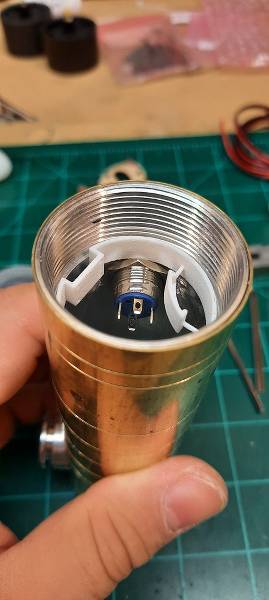
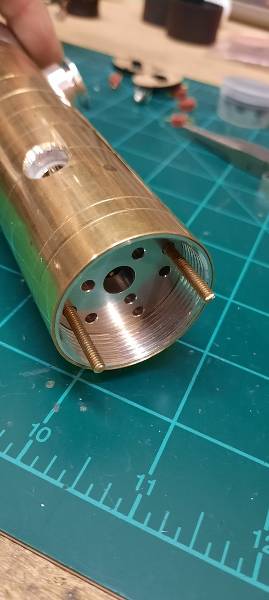
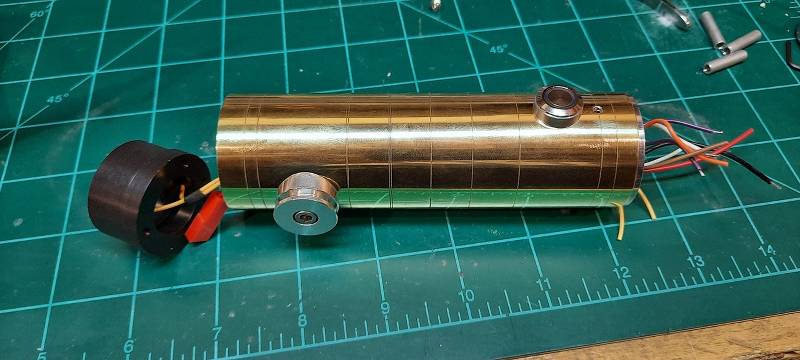
I fed the wires through the hilt...
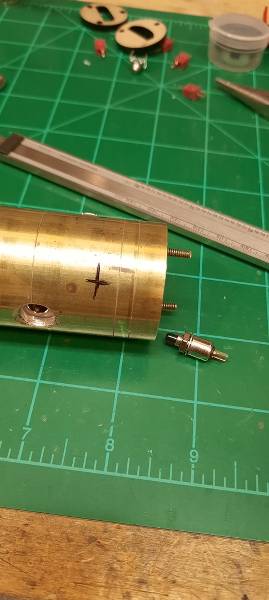
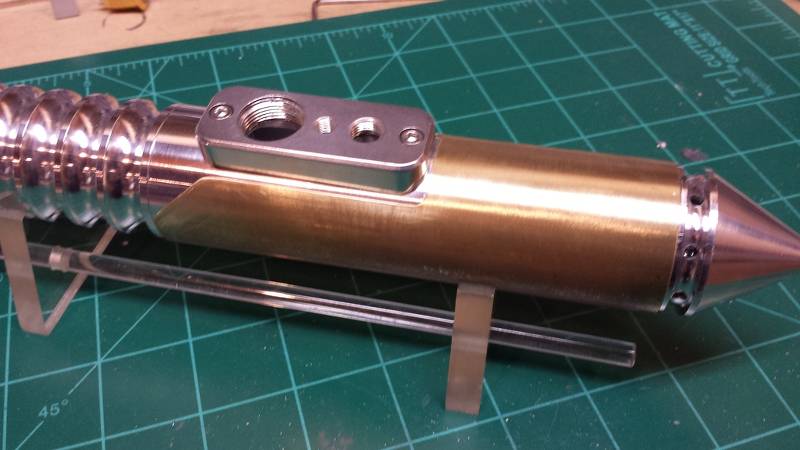
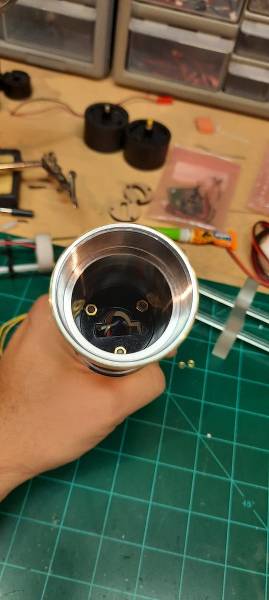
And out the other side. I also added the 4-40 nuts to the battery chassis and tightened them down.
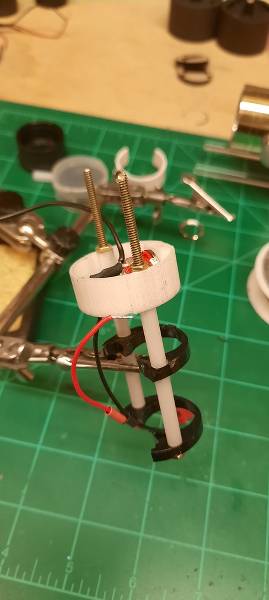
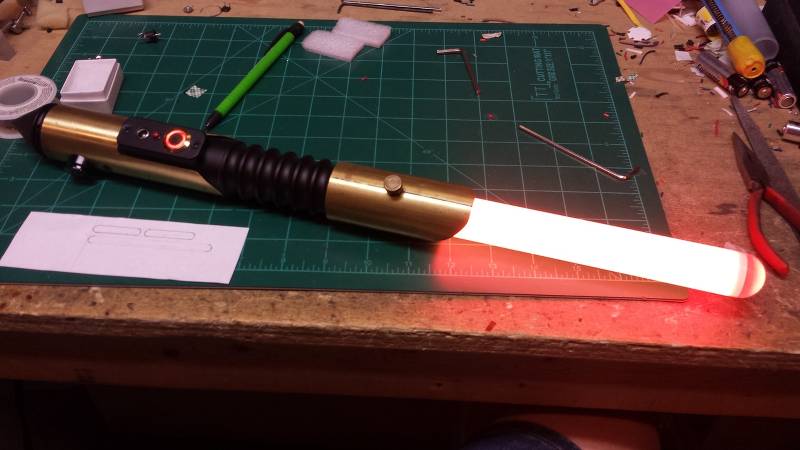
Now for the fun part:
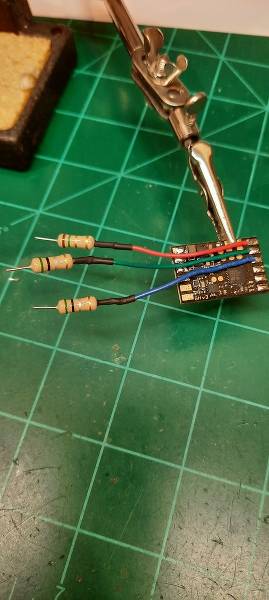
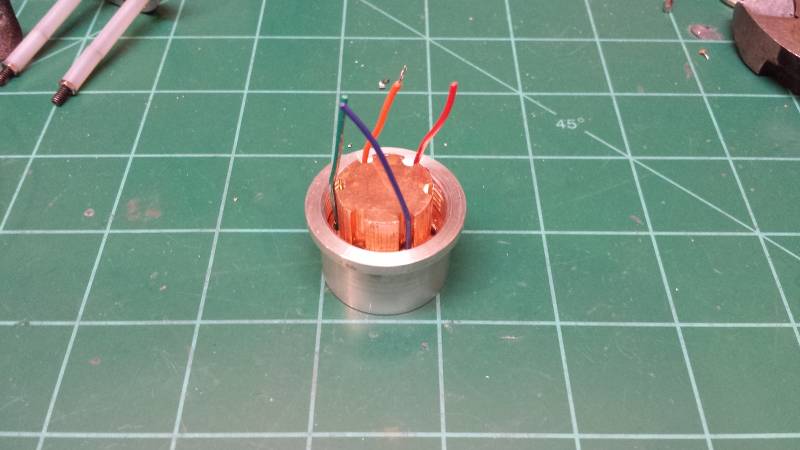
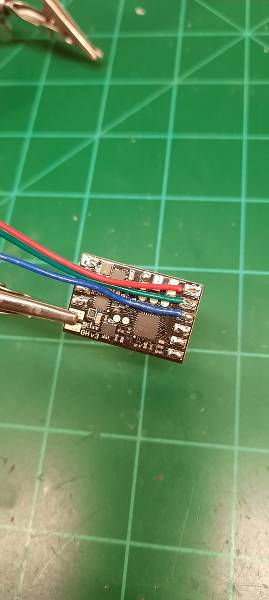
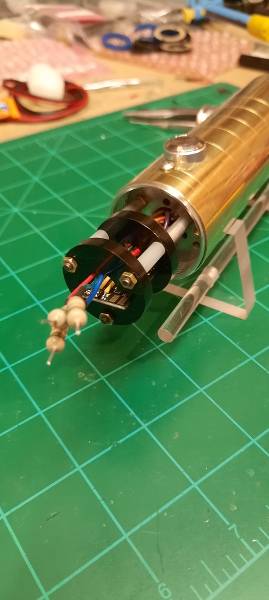
I started by adding the RGB leads to the appropriate pads, as per the wiring diagram in the manual for the Golden Harvest board.
I then added the appropriate resistor for each color. blue and green have the same specs, so they got the same resistor.
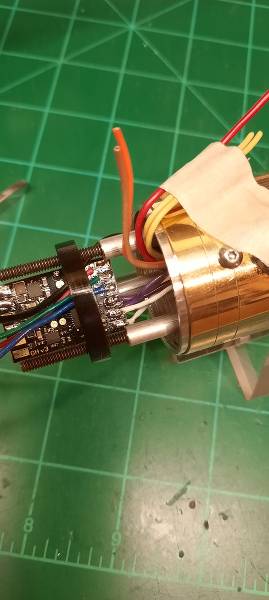
Next, up...switch wires.
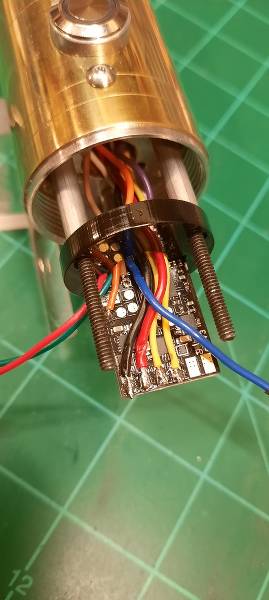
Then i did the positive and ground for the switch led, followed by the main power leads and finally, the speaker leads.
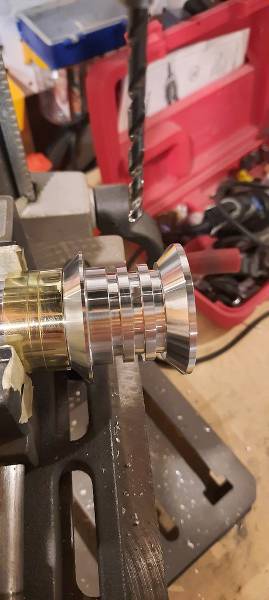
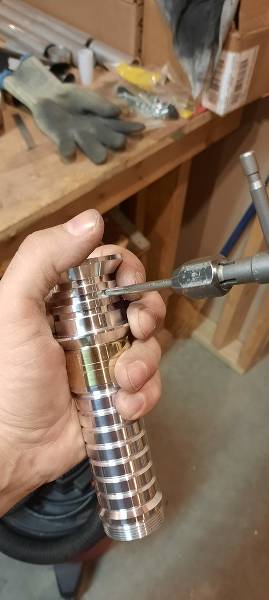
Now, to add the final length to the blade led leads!