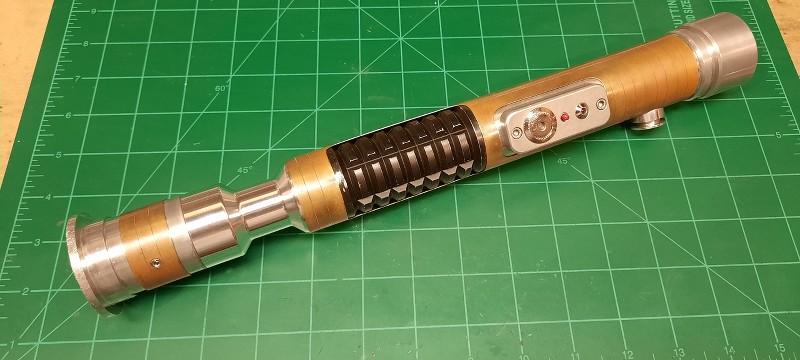
I installed the ribbed extension and the choke:
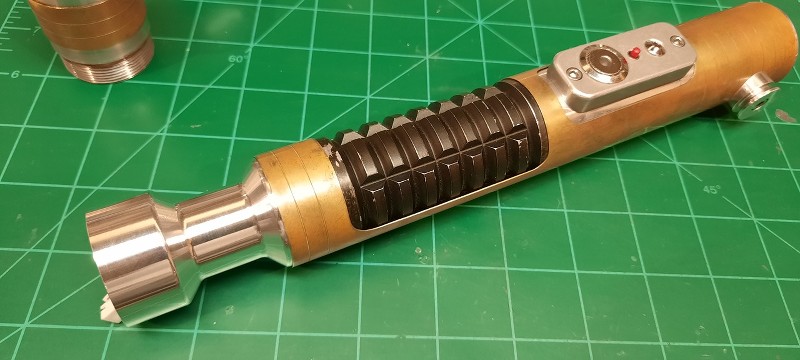
This is going to be a long saber now.
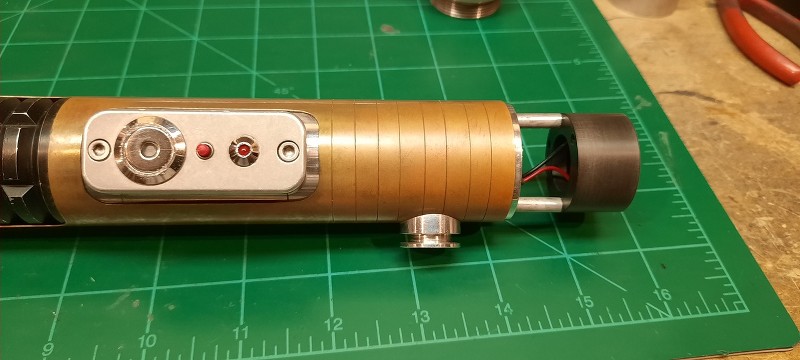
I had some difficulty with installing the led module:
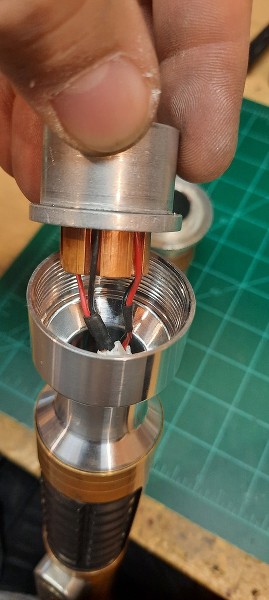
The wires need to be right inside those channels or the heatsink won't fit into the choke. I found that by twisting the wires a bit after plugging them in made it fit correctly. I then used high-temp hot glue to secure the wires to the heatsink channels. now popping the module in and out is easy.
All assembled:

Well, mostly. I don't have the battery pack for this one, so I can't really do a full install of the battery chassis.
Powered on:
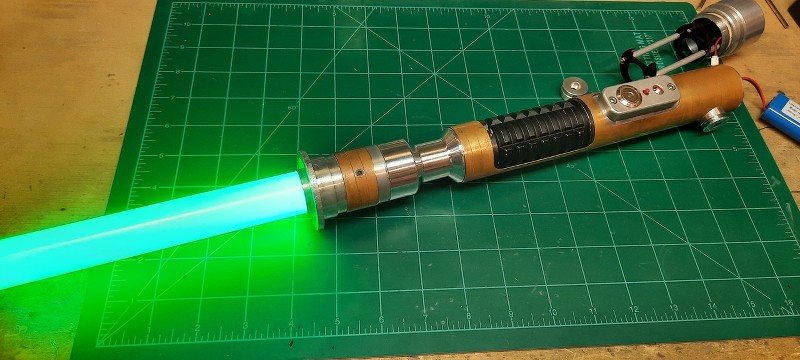
I noticed while it was on that there was significant clipping of the sound , mo matter if there was a clash, swing or what have you...I had to remember back when this board was installed that if the led drew too much current, that's what would happen. I took it apart again and removed the SD card to change the current for led 1 from 900 to 700 and that fixed the issue. I didn't use RICE for that because at the moment I don't have the app on my new PC yet.
It's basically ready, except I found this old used choke in my cabinet:
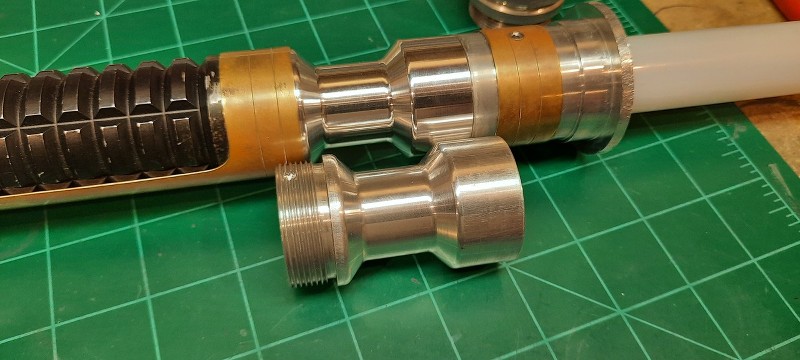
It has a drilled divot in the threads, but it still screws into MHS parts just fine and matches the patina of the hilt a bit better than the shiny new one. It'll be up to Kett to decide on that, though.
I also have an old CT button:
The one on the saber is the new one, but I have an old one from one of my own sabers that also matches the used finish. I unplugged the battery and installed the battery chassis. I also noticed the pommel liked to catch on the speaker holder, so I gout out my 1.25" cylinder hone and spent a few minutes on the pommel, and now it spins on there nice slick!
Here's how it looks right now:
It's pretty much done and ready to go, just need to get with Kett on the swapping out for old used parts!
 Topic: QUI-GON JINN's Brass Saber 27 Build for KettTares (Read 8312 times)