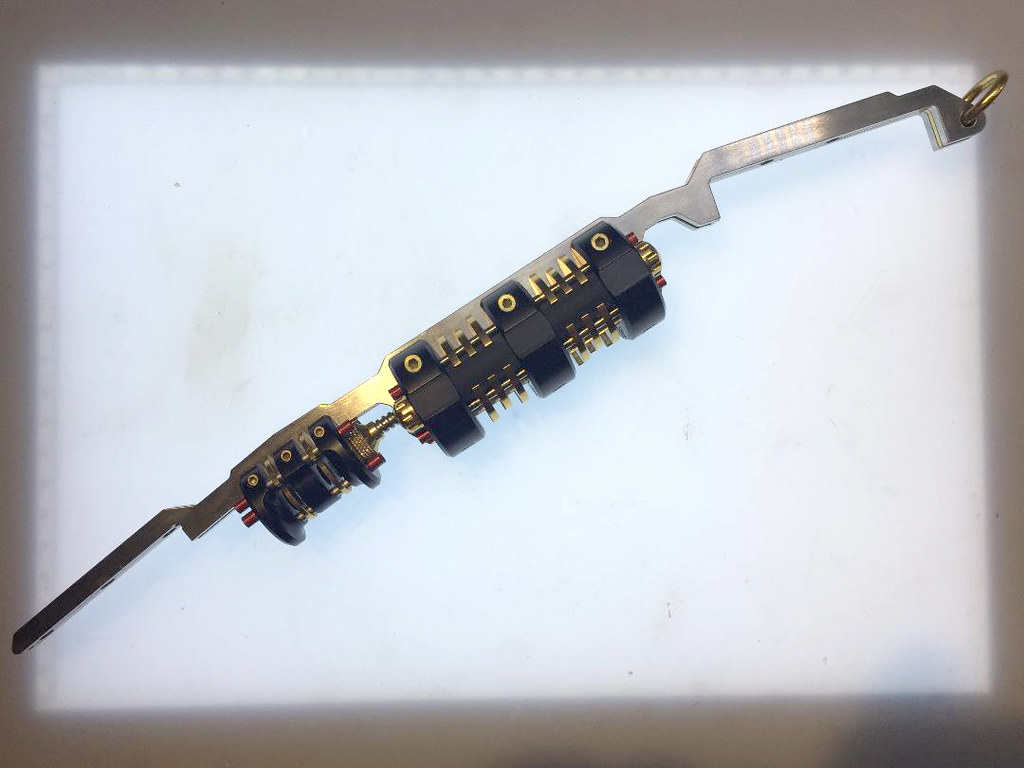
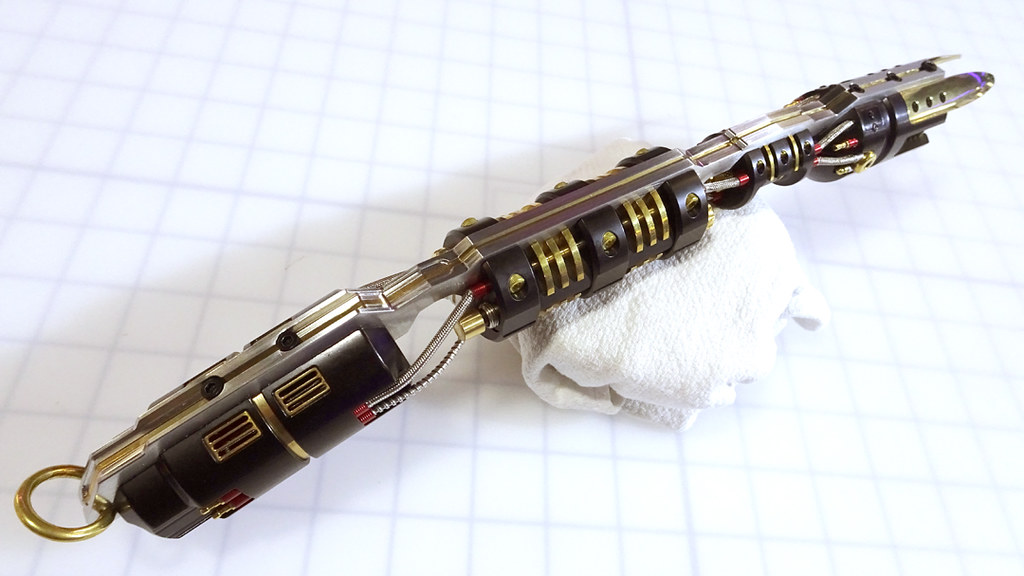
Assembling the Black MambaThe hilt came like this:
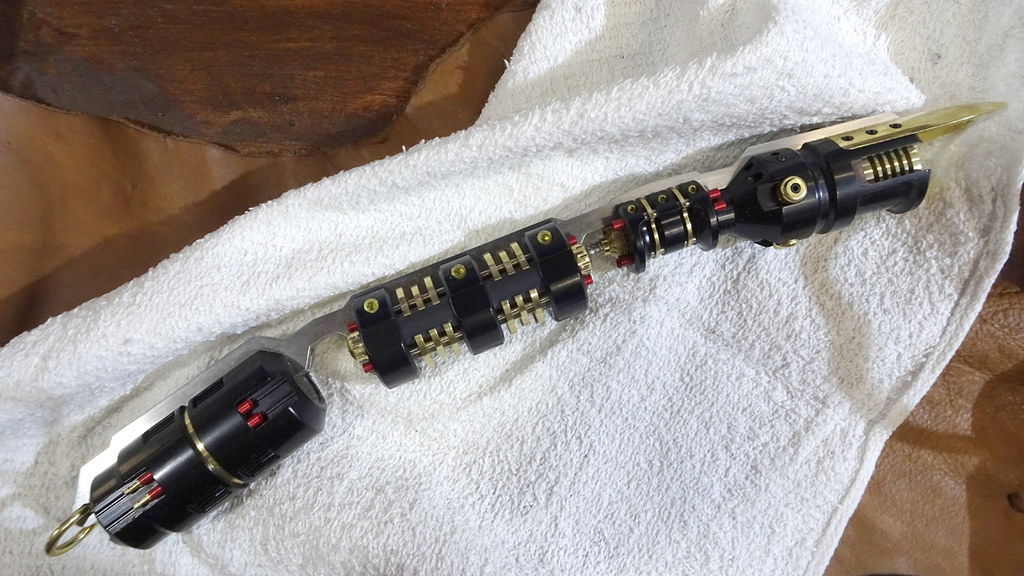
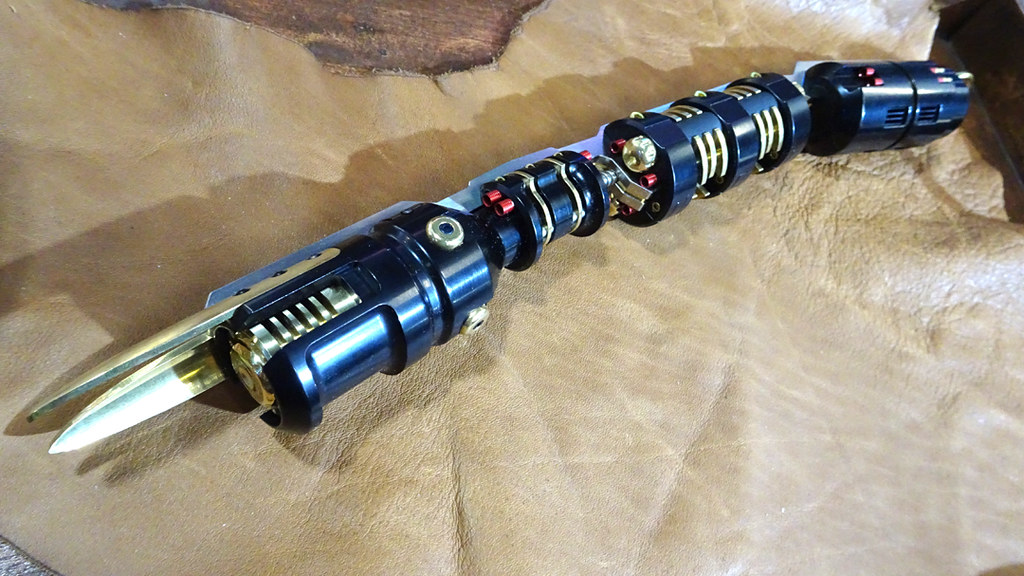
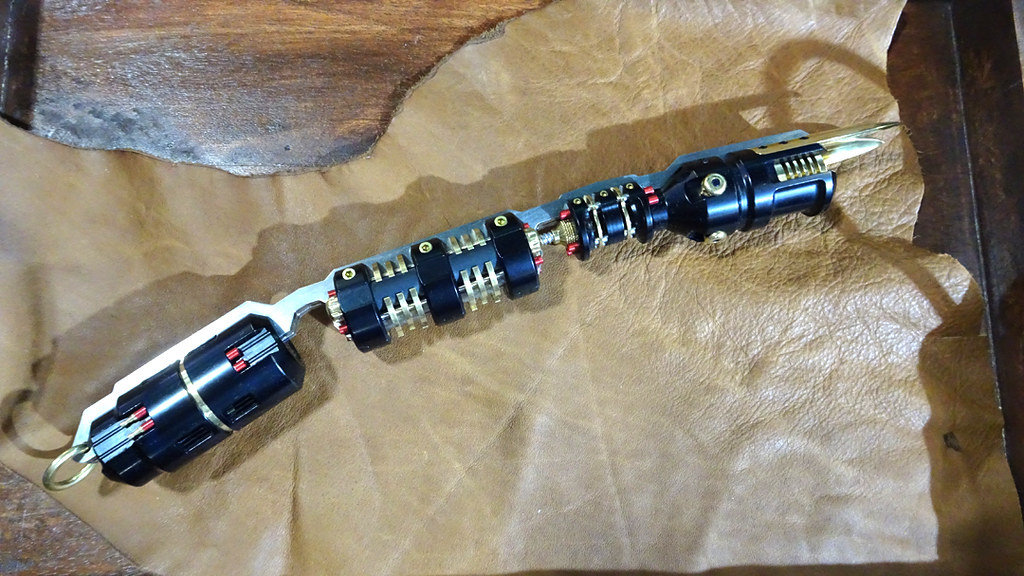
Beautiful, right off the bat.
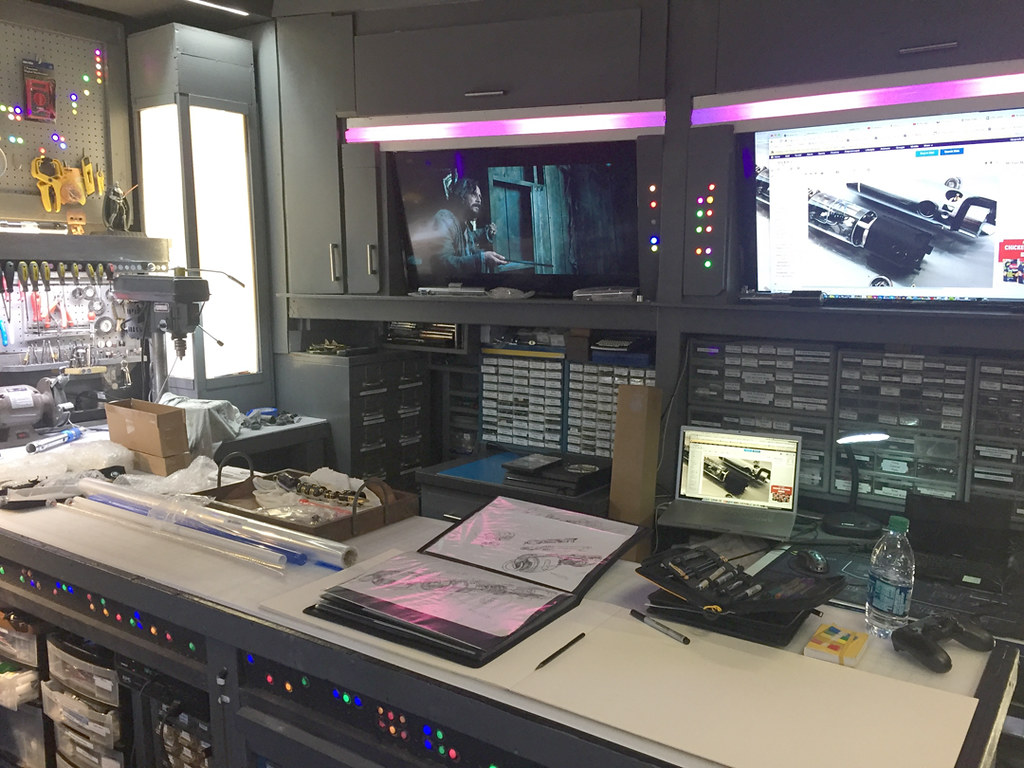
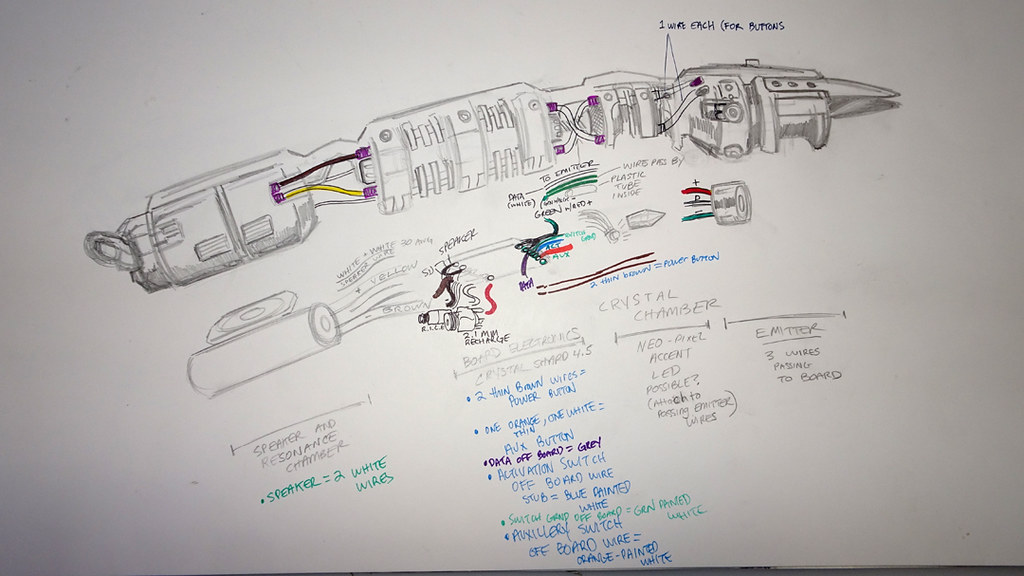
I was working in my space ship on the lightsaber work bench using Slothfurnace drawings that came with the saber for inspiration on how to do certain things and the intentions of the original designs:
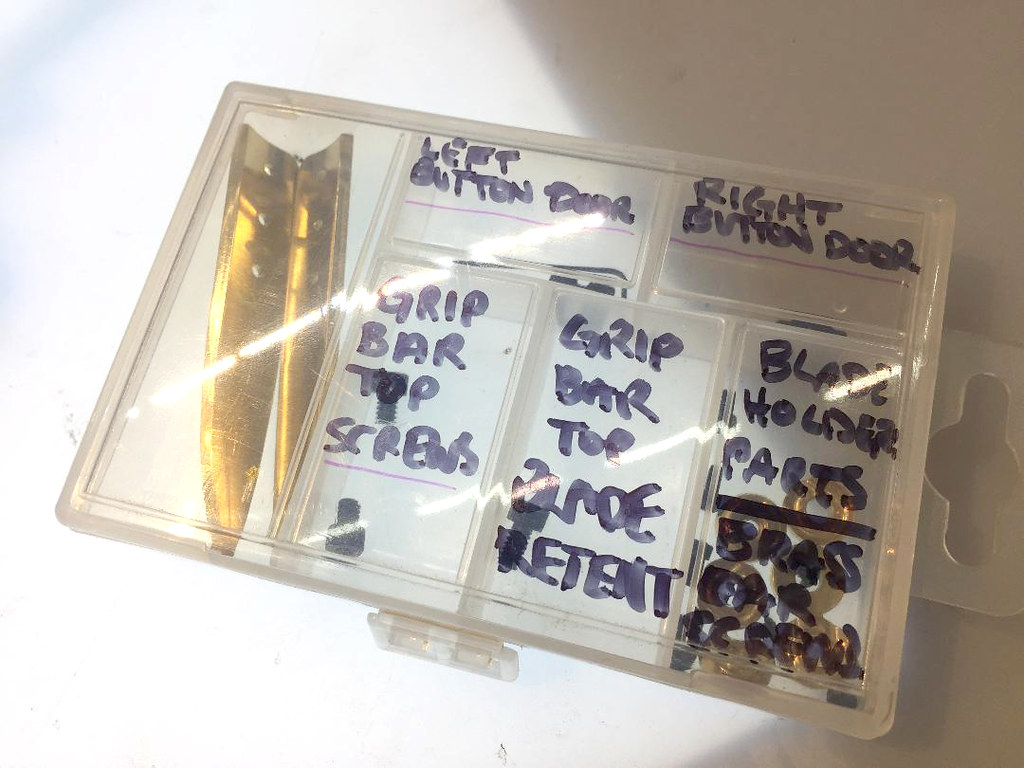
Organization is key, and I had plenty of these small containers I was using like this to keep track of the parts for the different sections of the hilt:
Slothfurnace has his drawings,... and I had to make mine:
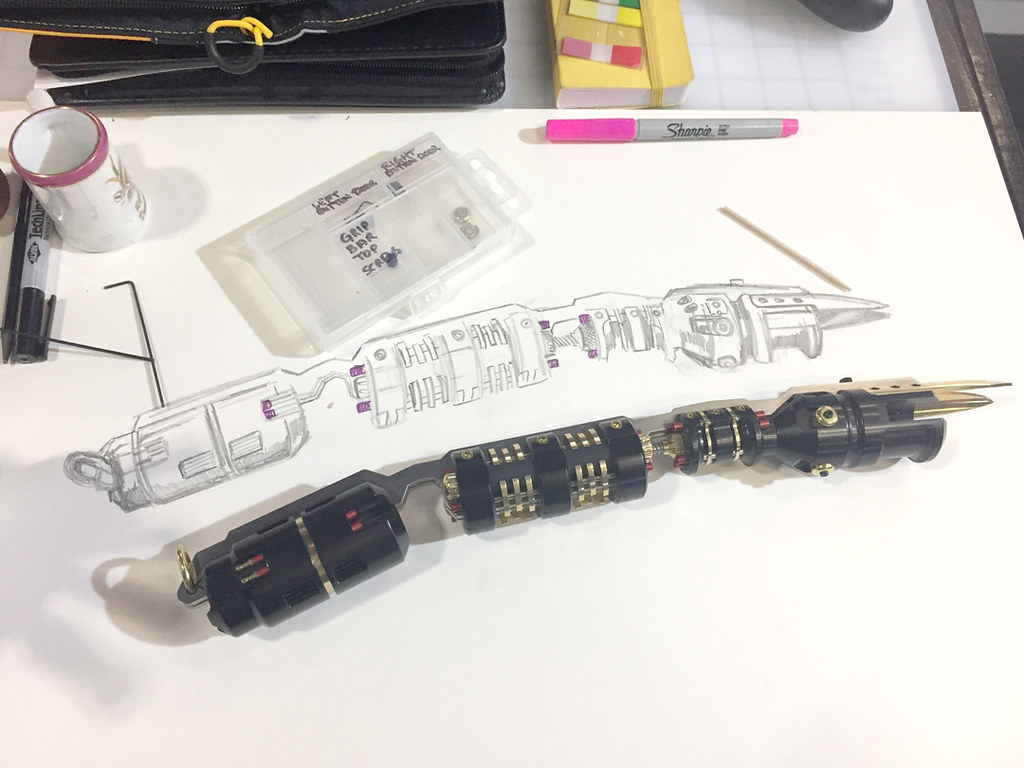
A complicated situation like this needed to have a good plan and drawing it out was one of my first steps.
A nice 10 amp battery was needed to properly run the full-length neopixel blade:
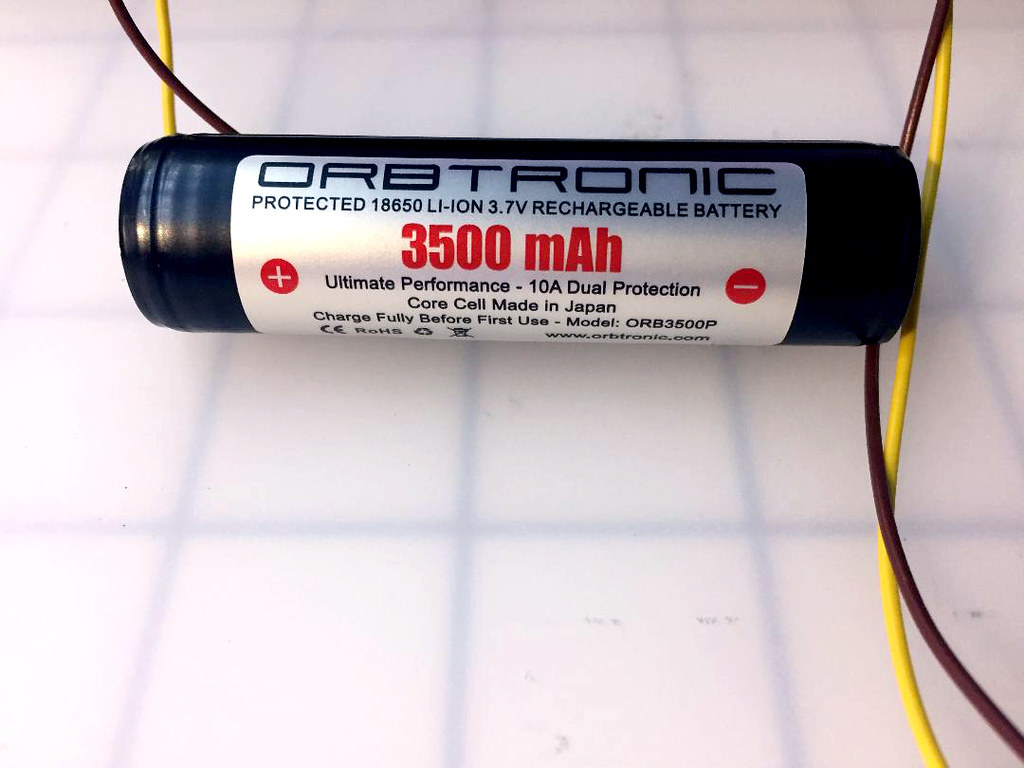
The high capacity battery needed to be dressed up a bit because it may be visible on close inspection through the vents of the battery can:
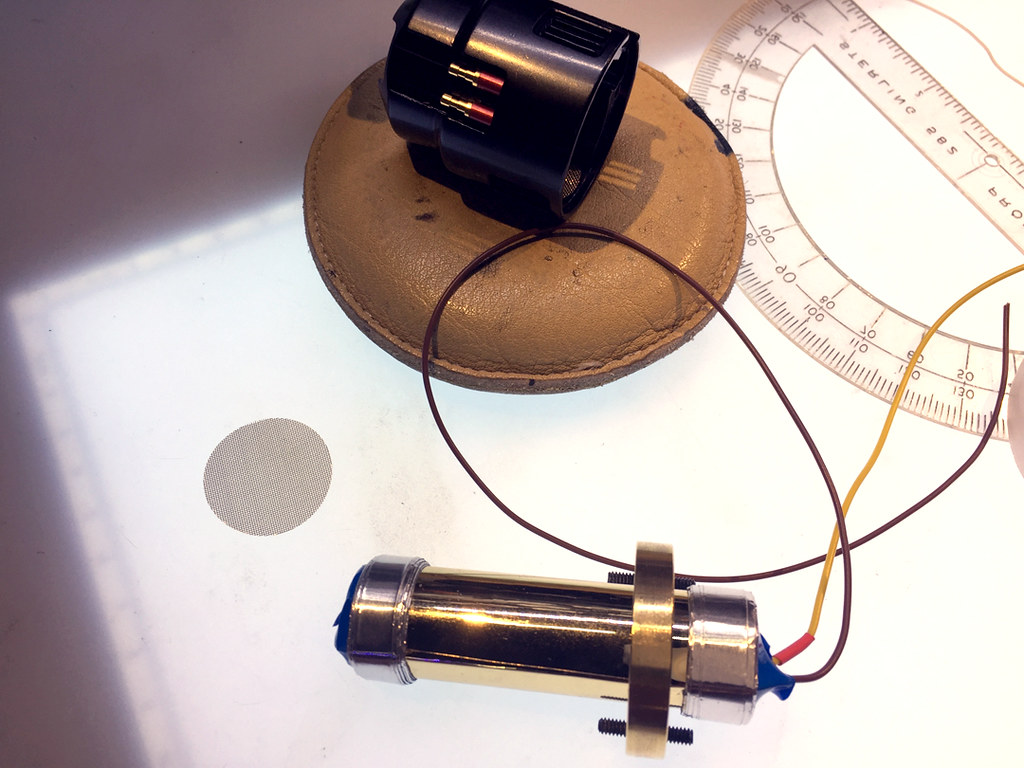
And then it fit snugly in with the provided rectangular speaker supplied by Orbital Machining for this build.
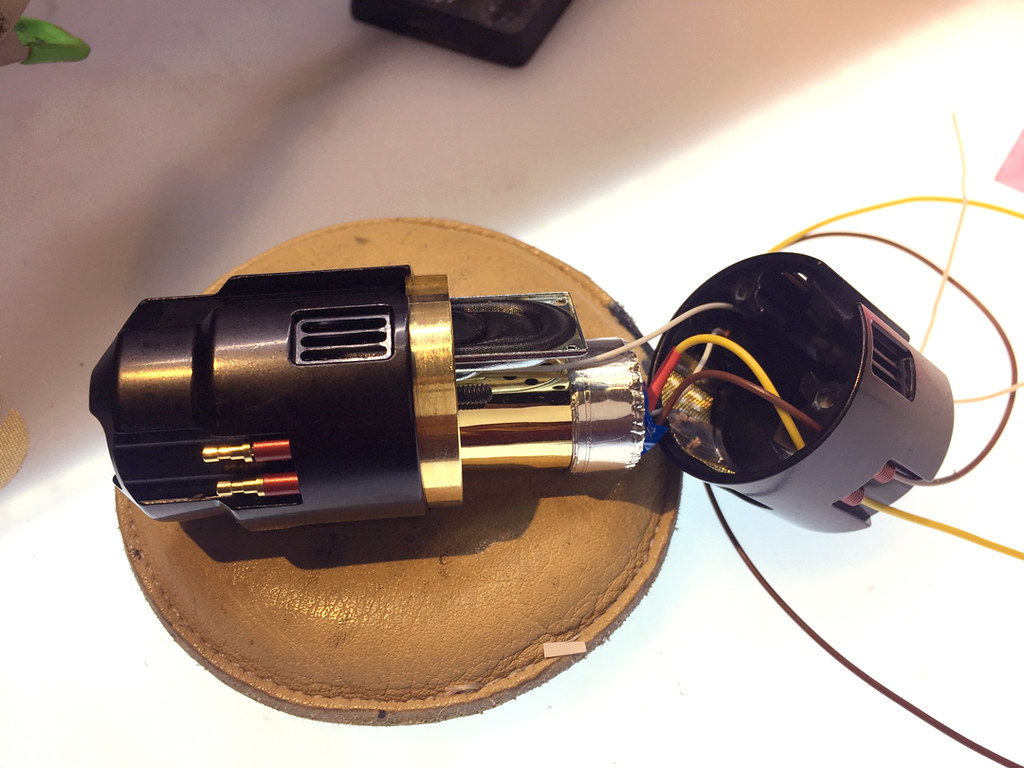
The battery pod is attached to the spine here and you can see the yellow and brown wires which are the positive and negative here:
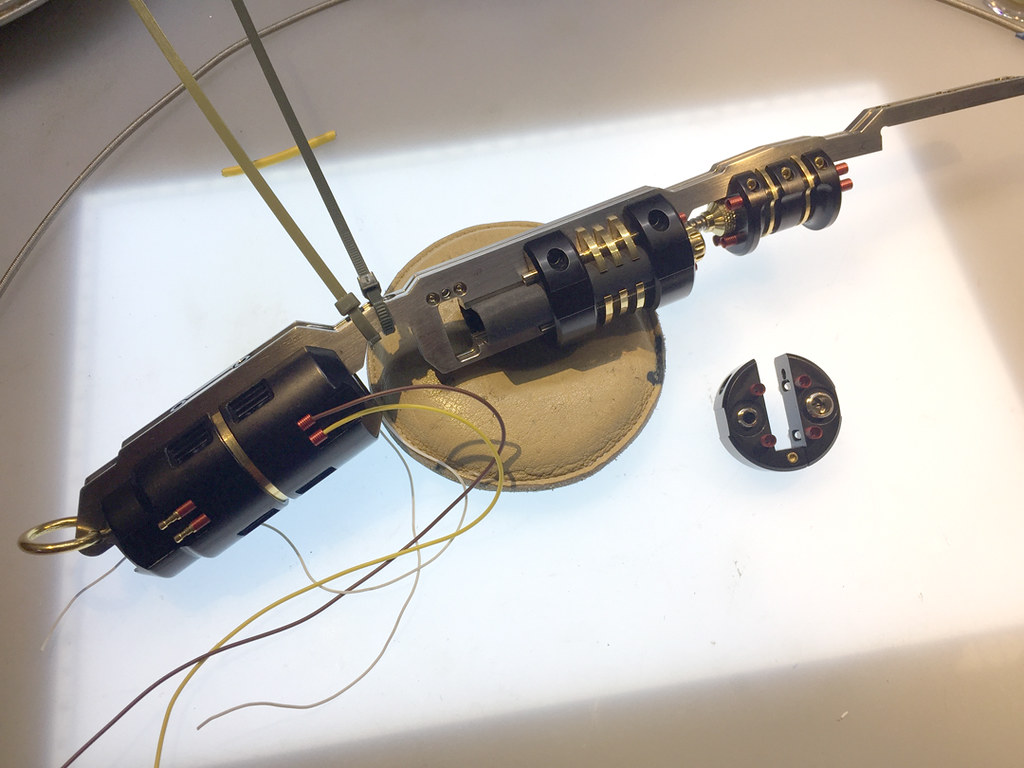

Parts have to come off so work can begin:
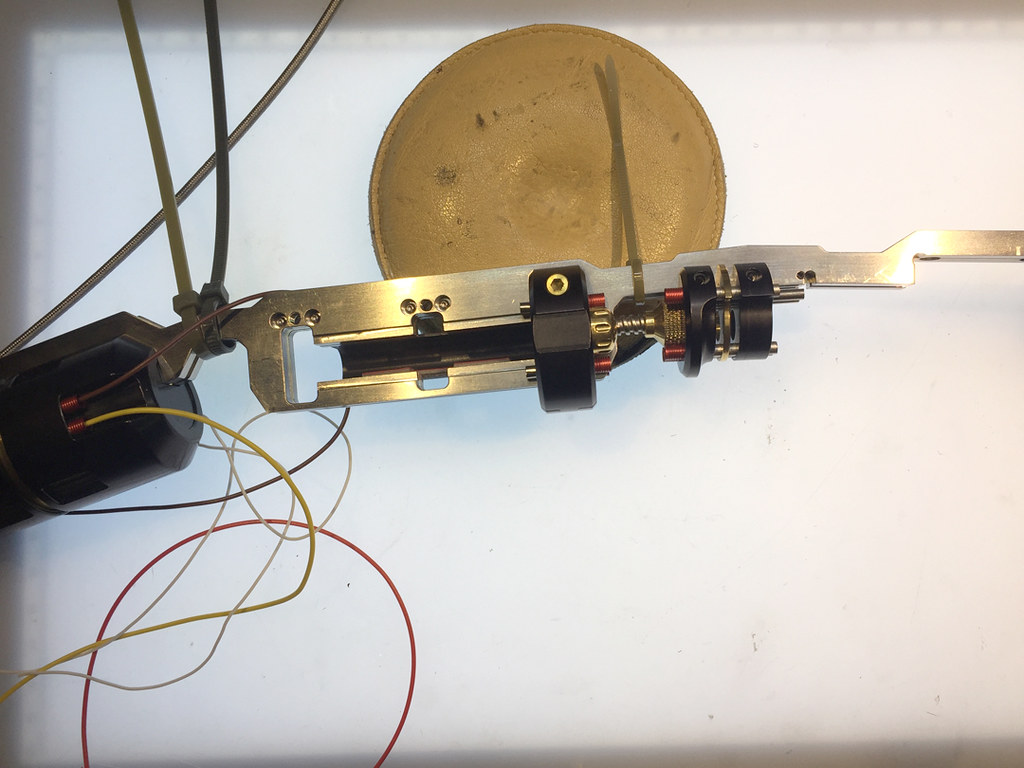
Adding some zip ties to help support the structure of the spine while parts are removed.
The crystal chamber has a small 3535 pixel and chip to light the crystal. In this photo you can see the base before the crystal is placed here and you can see the diffuser over the pixel LED:
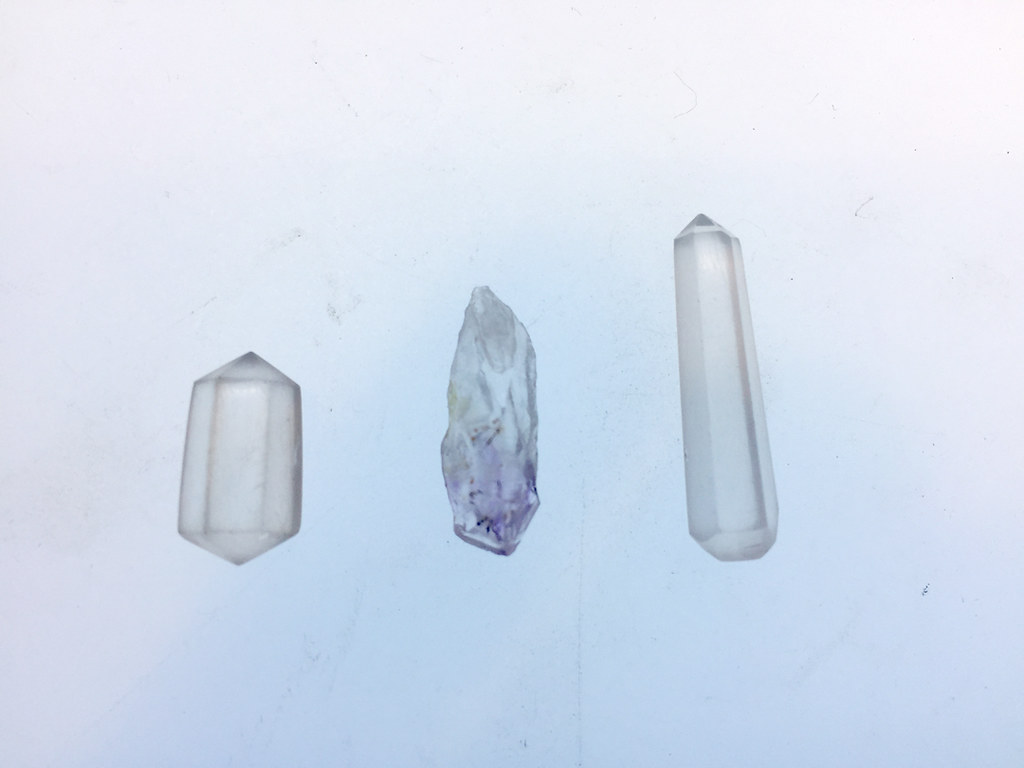
Test-fitting a crystal inside the chamber:
The middle crystal in the following photo is the actual crystal used:
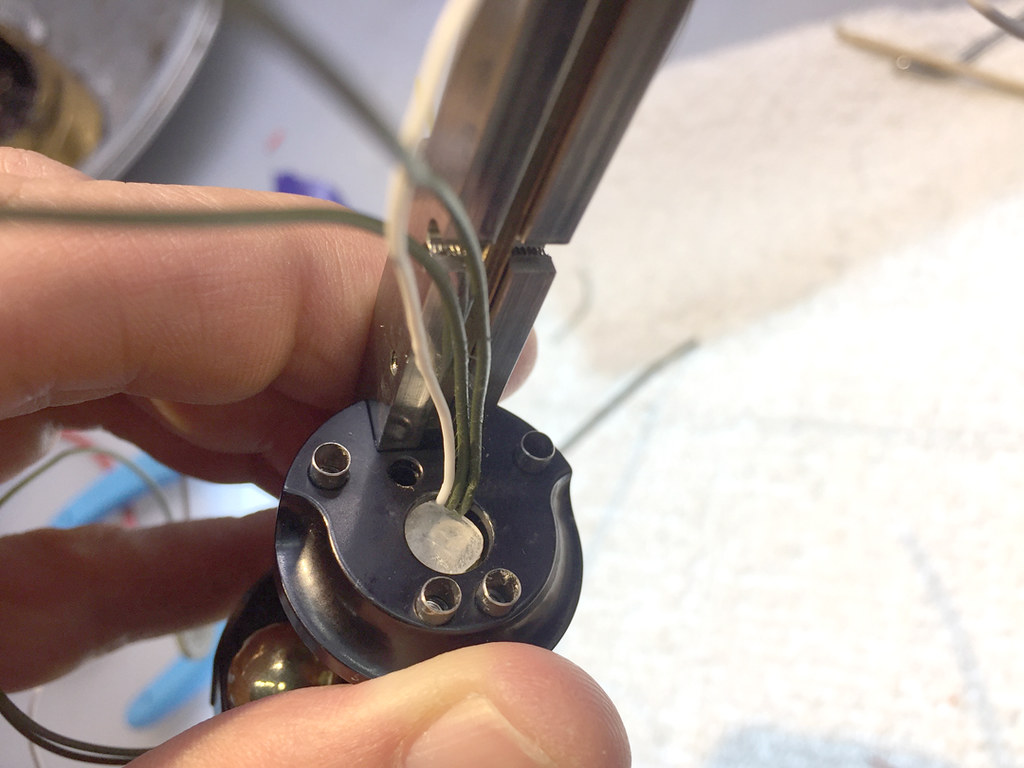
Here you can see the emitter and its tiny actuator switch doors and the wires coming from one of them:
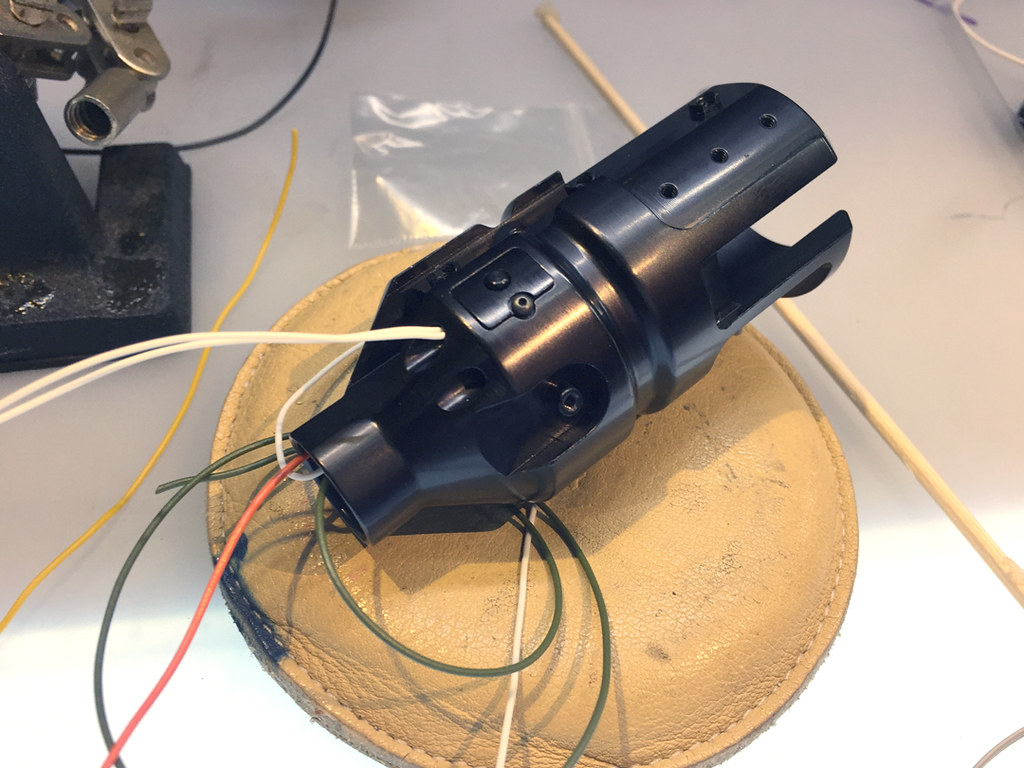
The buttons are held in the chamber by 3M double-sided tape packed in around the small button, with a small square of electrical tape below the button just to put a barrier in between the button and the metal body of the emitter:

You can actually destroy the functionality of the board regarding one of the buttons if a button grounds out. Doing that on a build like this would be horrifying.
In the emitter you can see the Custom Saber Shop pixel connector and its pogos:
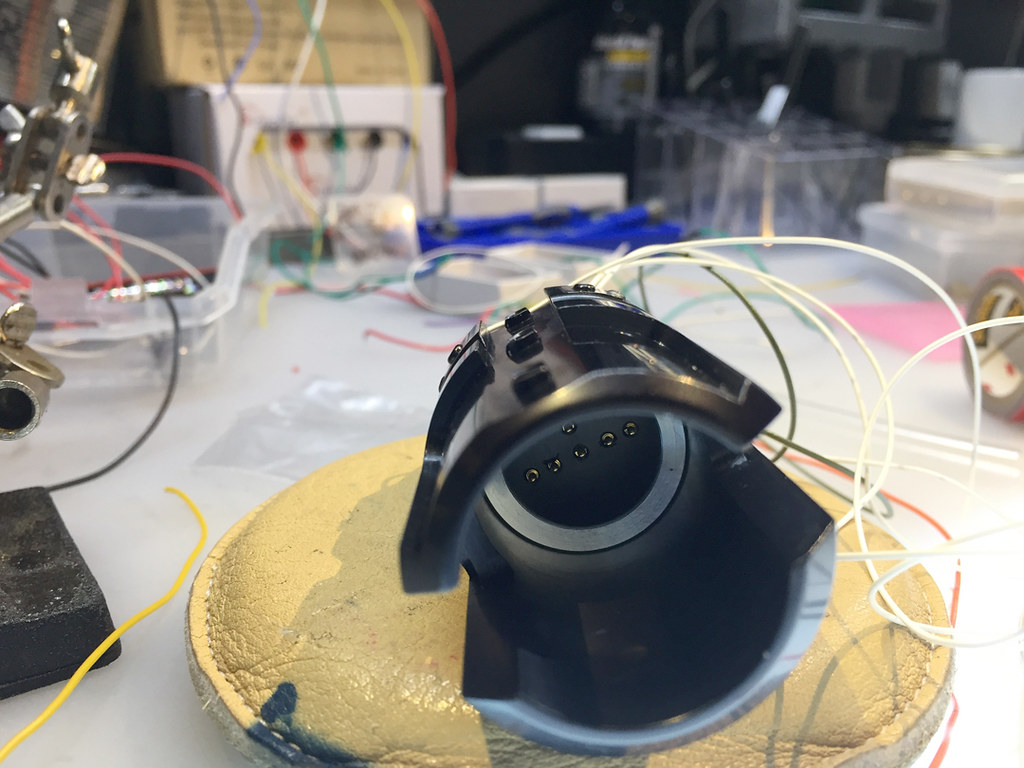
The emitter being prepared to go onto the main body:
This is a photo of feeding some button wires through the braided tubing which is a functional design feature:
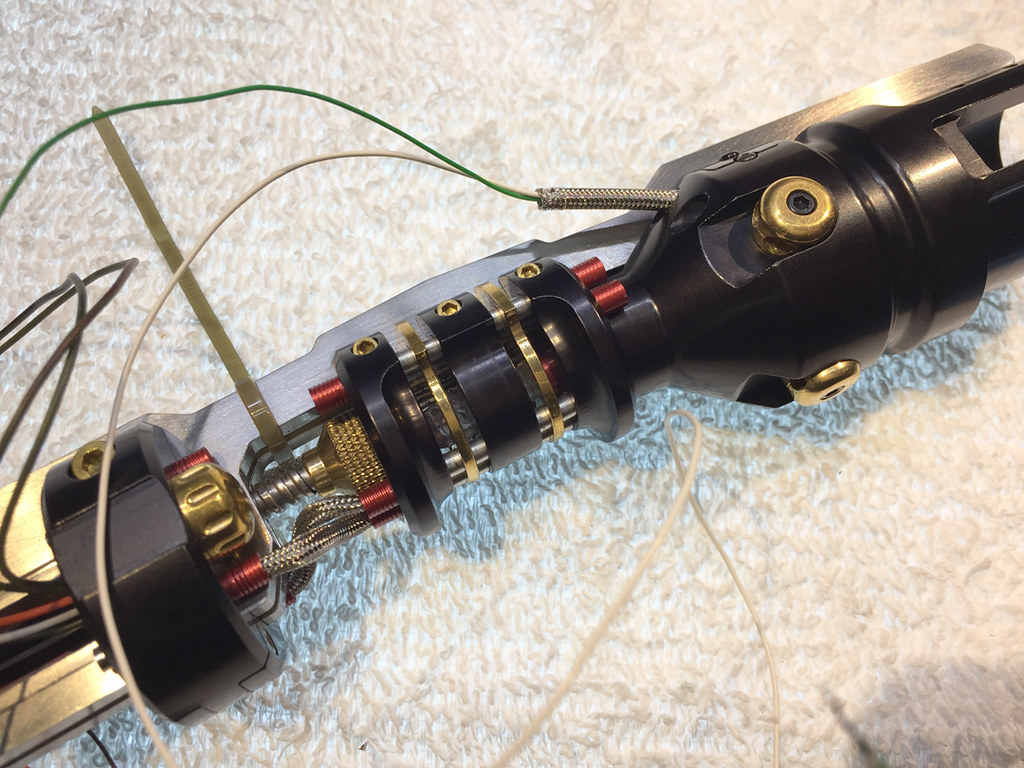
Also in the above photo... the crystal is visible in the chamber.
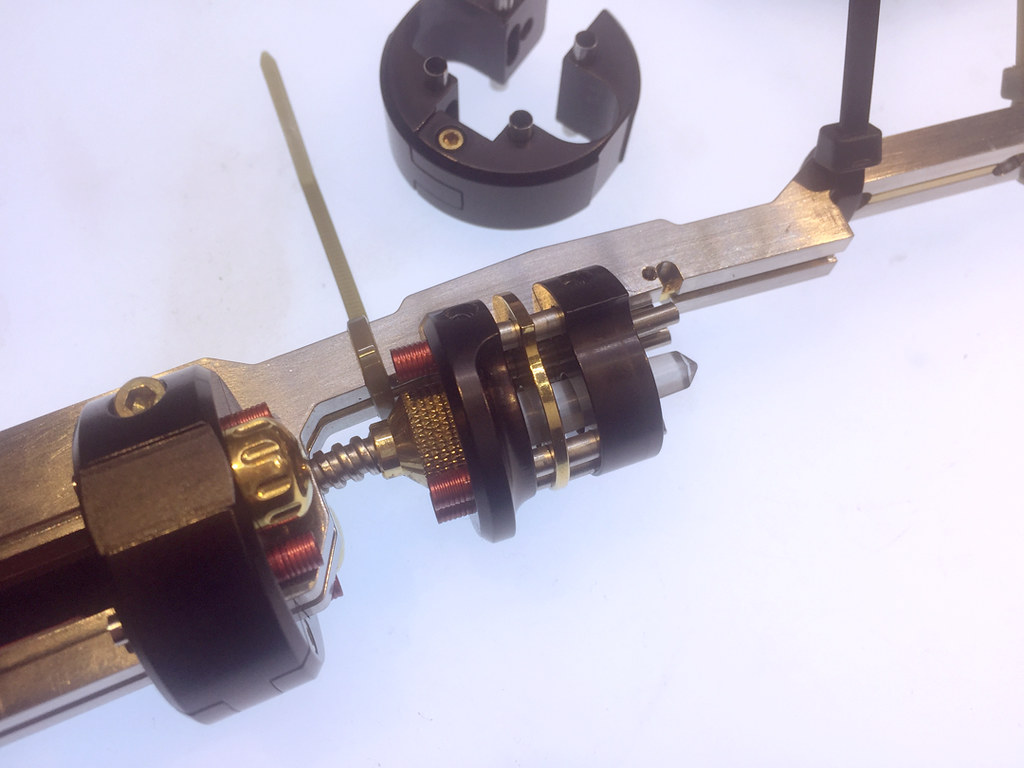
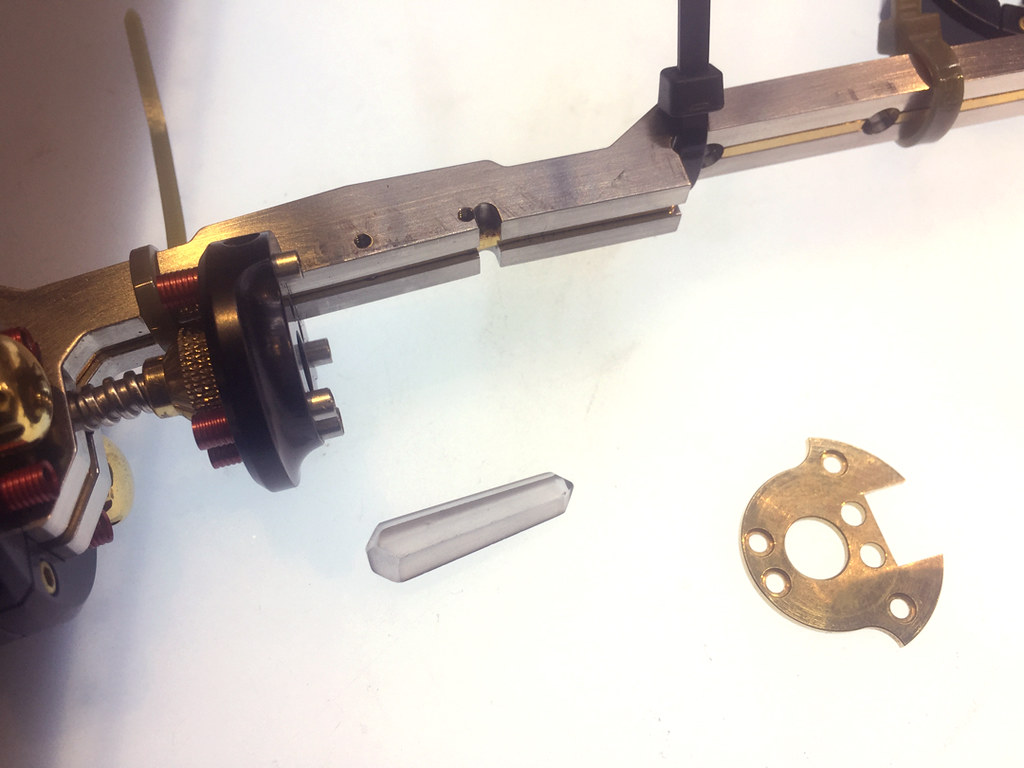
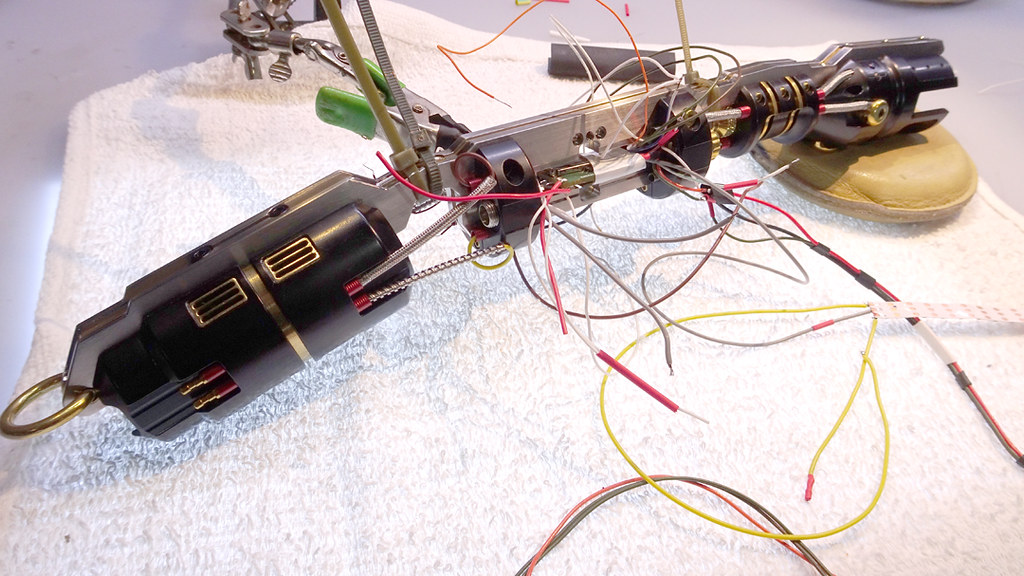
Preparing the hilt for the final chamber assembly which will house the sound board and all its connections:
And with special permission from Erv' at Plecter Labs and Michael (Yoda of FX Sabers forum), I was permitted to use the Crystal Shard 4.5 so that Jason would have the unstable effects that might befit this curved and unique lightsaber:
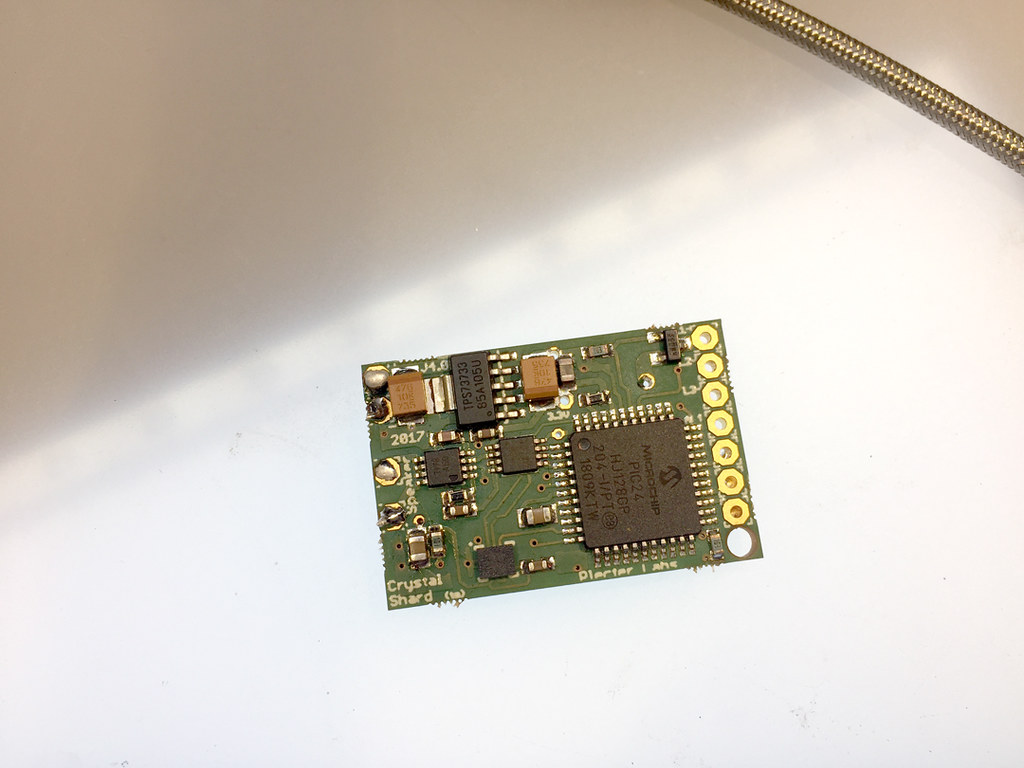
Thank you to Erv' and Yoda. This really worked out great for this build.
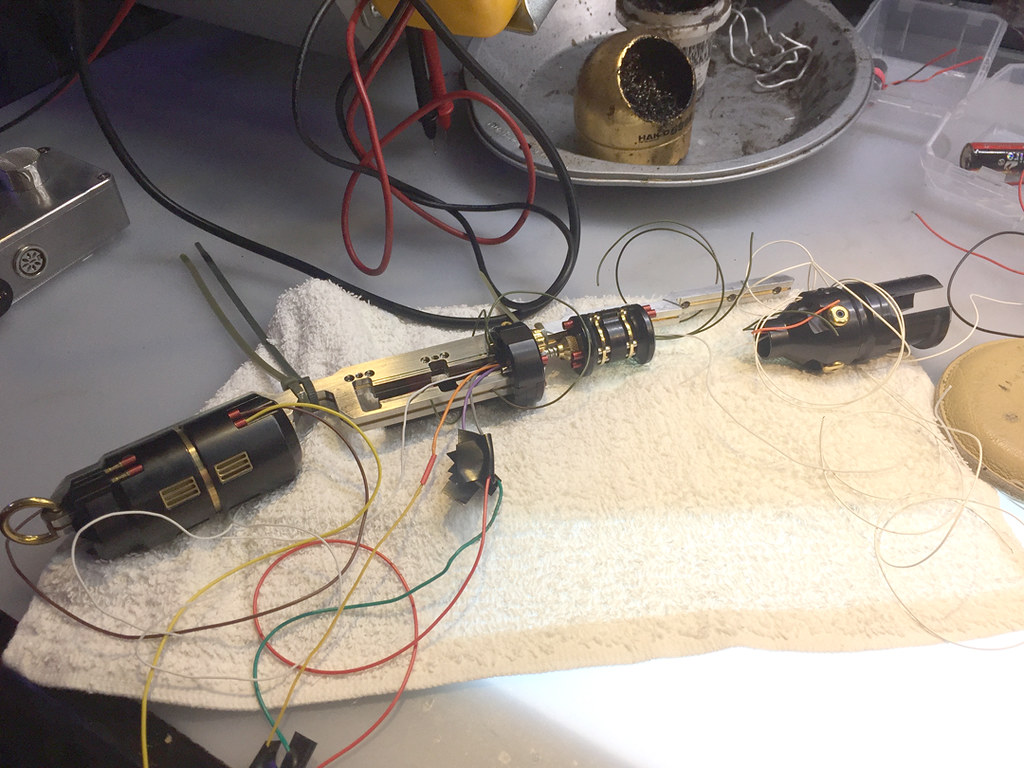
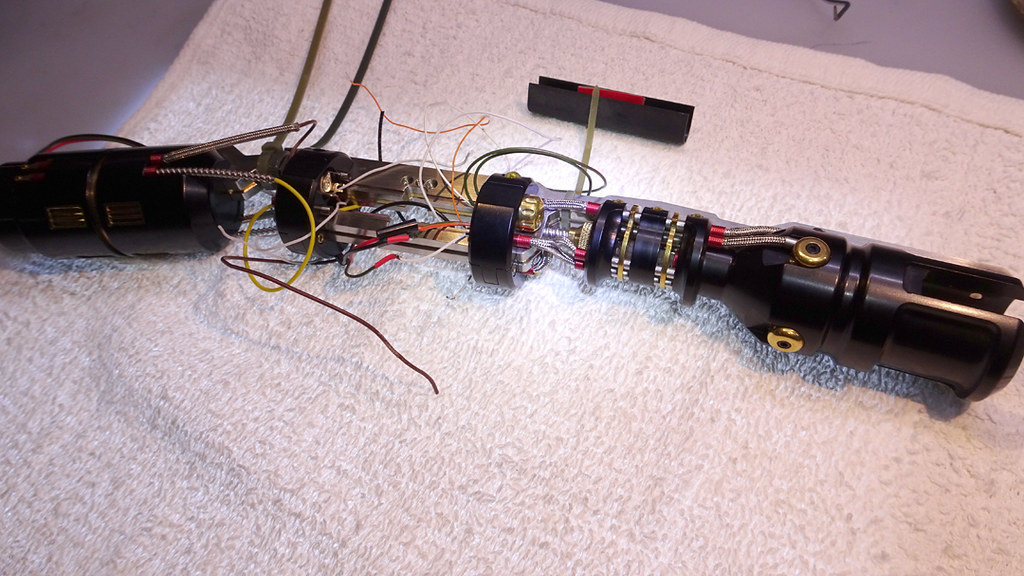
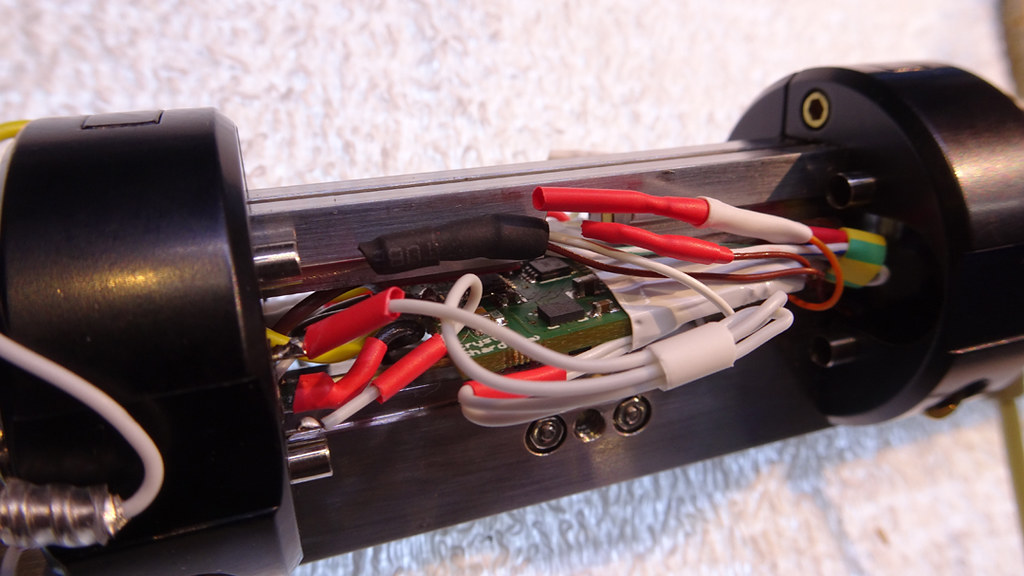
Oh my gosh, Jason... I'm so sorry... your saber exploded!
Just kidding... that's just all the extra wires hanging out waiting to be cut and shortened once we are fully tested and everything works.
I'm actually leaving a little extra wire here just in case adjustments need to be made in the future... things won't get pulled or forced if we have a bit of extra wire to work with later:
Once everything's tested and working properly... make your changes to the SD card you won't get another easy chance... and the casing will go on along with the rest of the spinal parts:
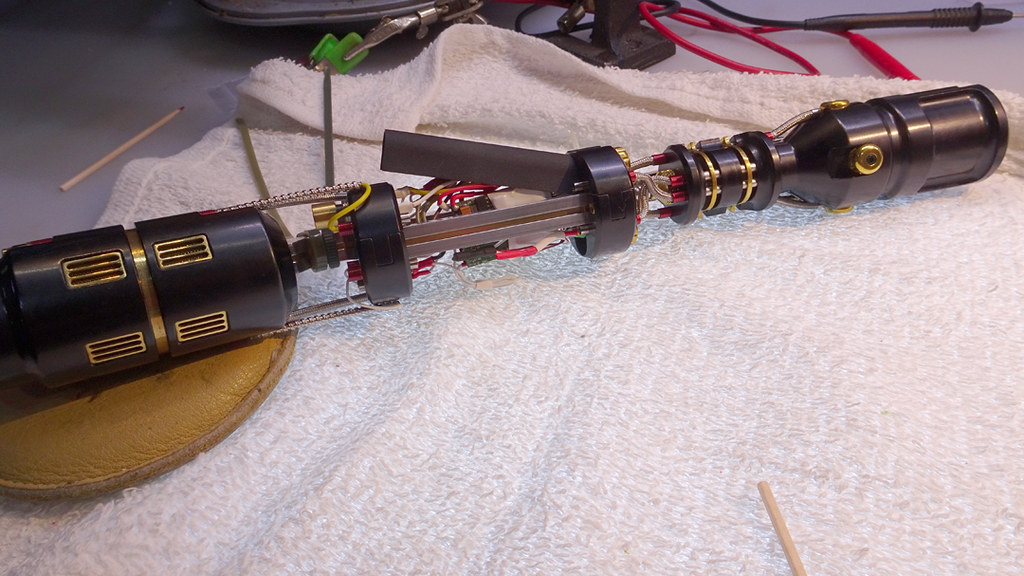
This is near the end, and the tubing has to be pulled and prodded until it hides the wires and is properly in place. Here you can see the wires inside the tubing:
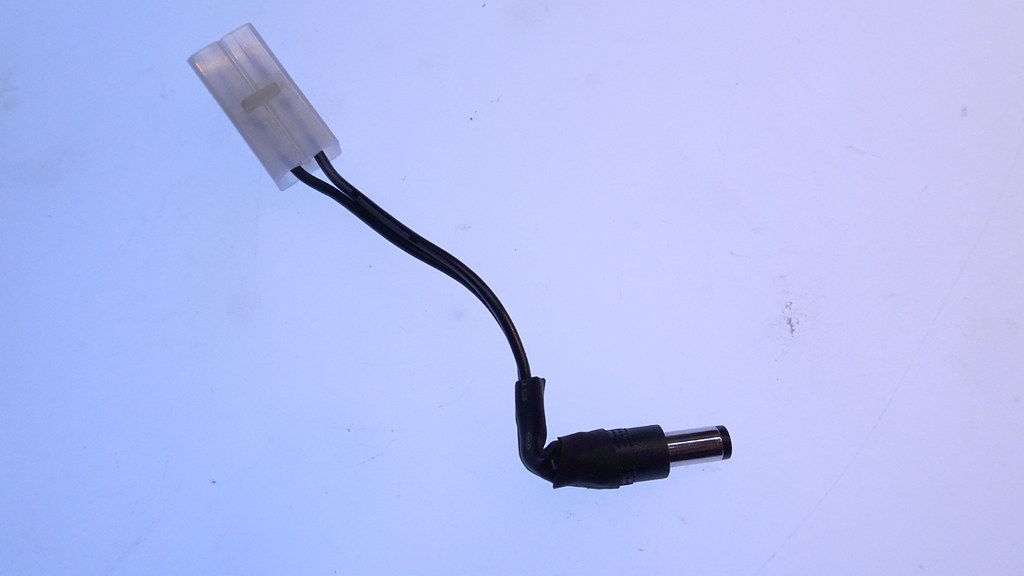
You need a special cable with a 90 degree angle like this to fit into the Black Mamba:
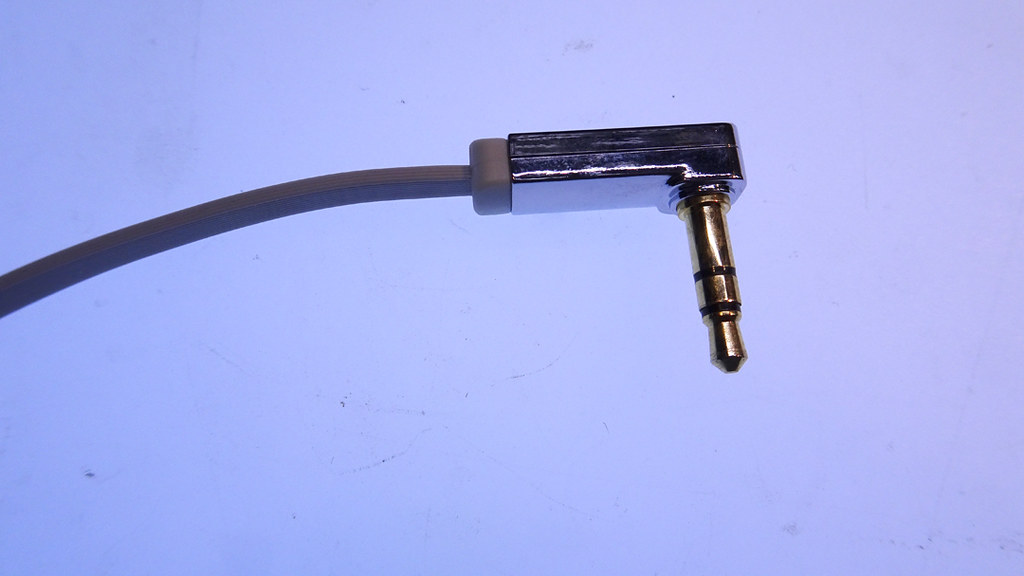
Just get an adapter and this type of cord on Amazon to use with your USB cord from TCSS that plugs into your computer.
To fit a power cord to charge the hilt using the supplied 2.1mm port, you'll need to remove some of the surrounding plastic from the standard TCSS 2.1 adapter and bend a 90 degree angle similar to what you need for R.I.C.E.:
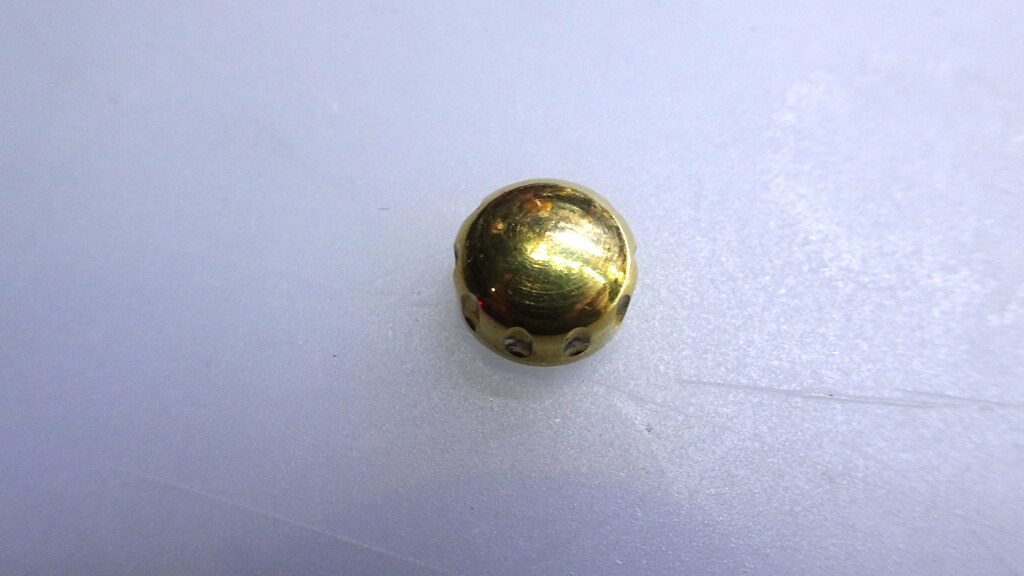
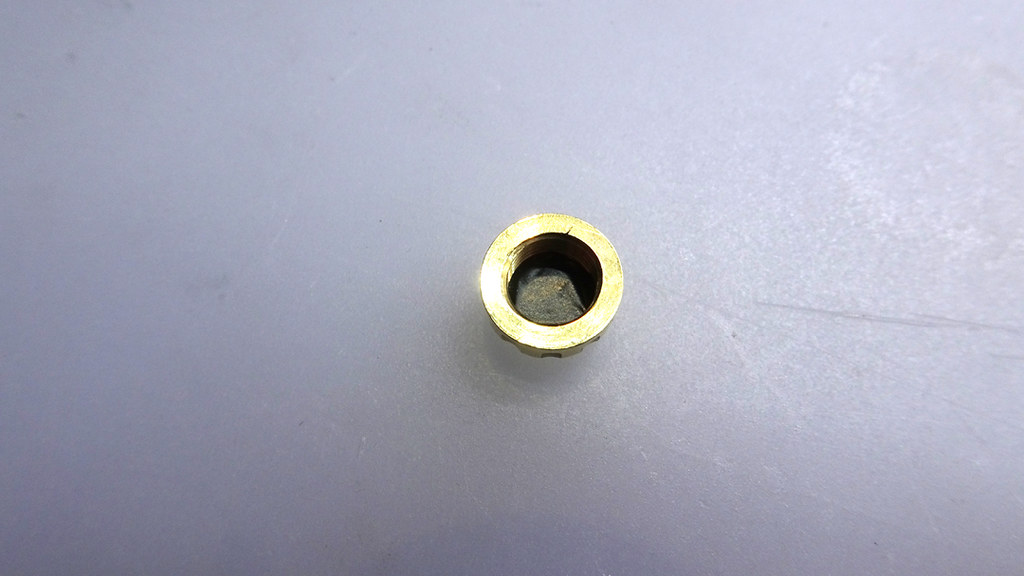
We want to fit some electrical tap to the bottom of the inside of the brass screw on buttons for over the R.I.C.E. port and also the charge port button top. Just to make sure nothing gets grounded:
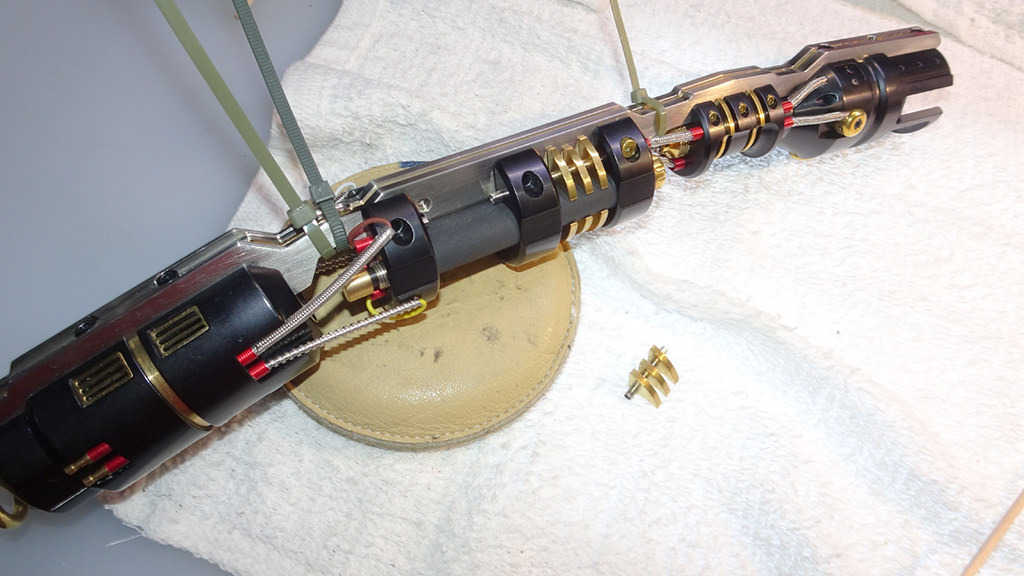
Once everything is done:
 Topic: Black Mamba for Pfockerchief (Read 5789 times)